Chapter 5: Ceres Major
Phoenix II —FAQ (IOS)

BOOKMARK
FAQ (IOS) by light_rock_zz
Version: 5.3 | Updated: 07/29/2025
FAQ of the Month Winner: January 2020 | Highest Rated Guide
Campaign
Chapter 5: Ceres Major
| Details of Campaign Missions in Ceres Major | |||
|---|---|---|---|
| Campaign Mission #15 | Campaign Mission #16 | Campaign Mission #17 | Campaign Mission #18 |
WARNING! This section is VERY spoiler heavy. Read on at your own risk.
Total Credit Earnings from Chapter 5 is ¢1.340.
Campaign Mission #15
Mission Description: Assigned to explore an ancient site, you uncover what the Invaders are looking for…
Mission Intel:
Other Bullets: Pellets, Shurikens
Invader Notes:
- Pellet Spinners (Both Spiral & Lane) do NOT appear.
- Both Shuriken Launchers & Shuriken Wave Launchers appear.
Total Reward for Completion: (4 Acts) × (4 Waves each) × ¢5 = ¢80
Video Walkthrough:
Wave Layout
| Wave 1 | Wave 2 | Wave 3 | Wave 4 | |
|---|---|---|---|---|
| Act 1 |  |  | 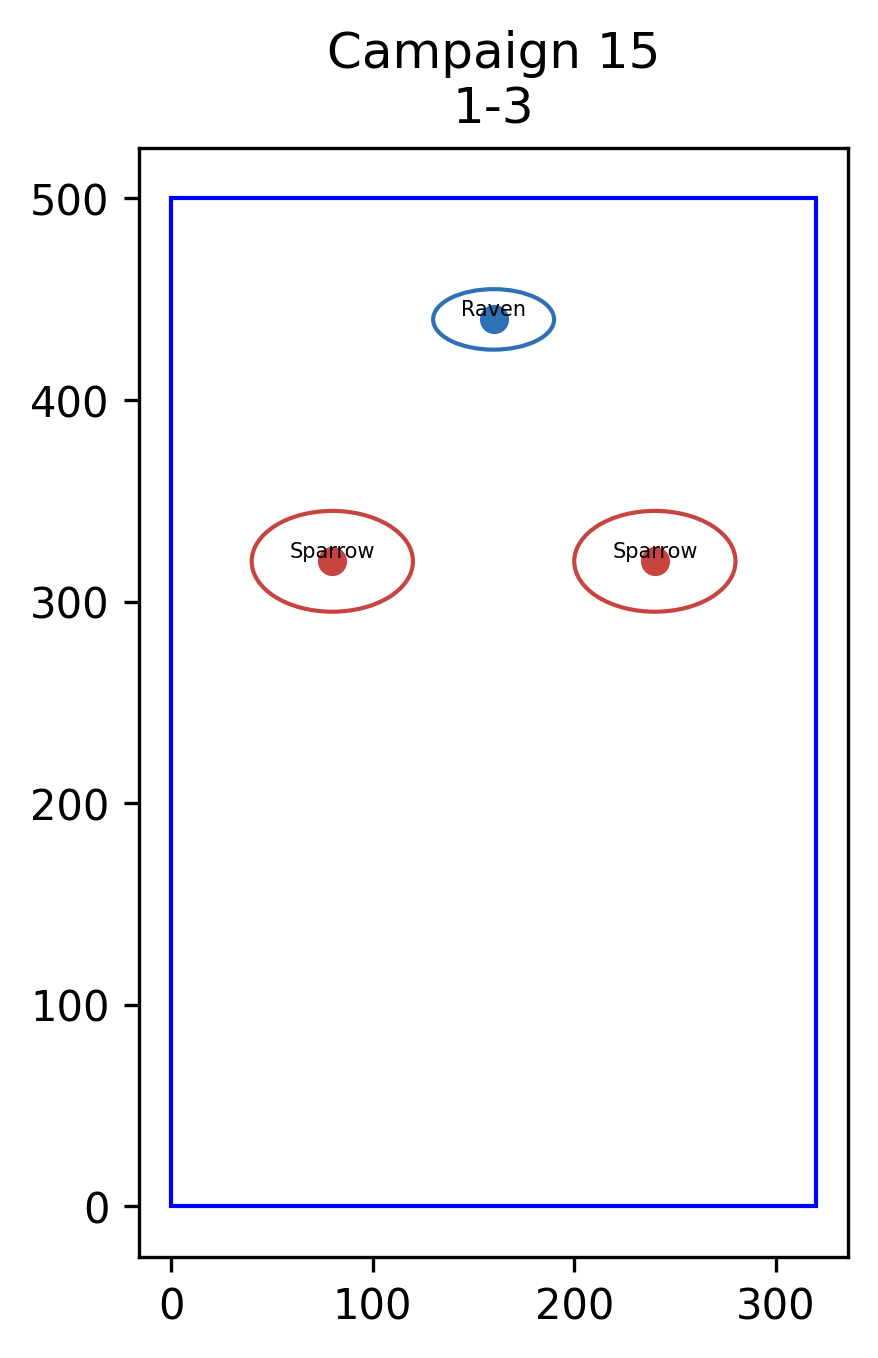 | 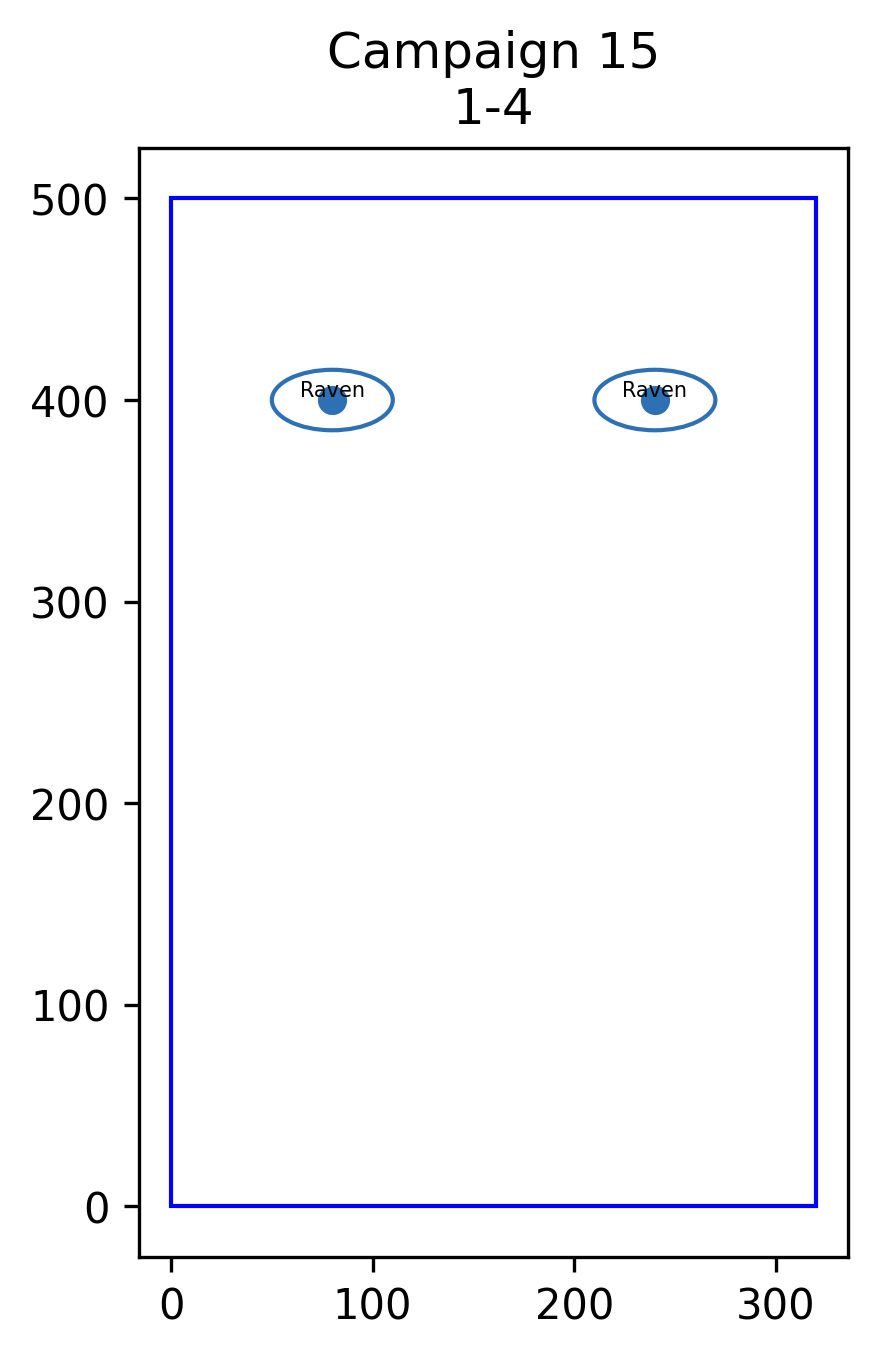 |
| Act 2 | 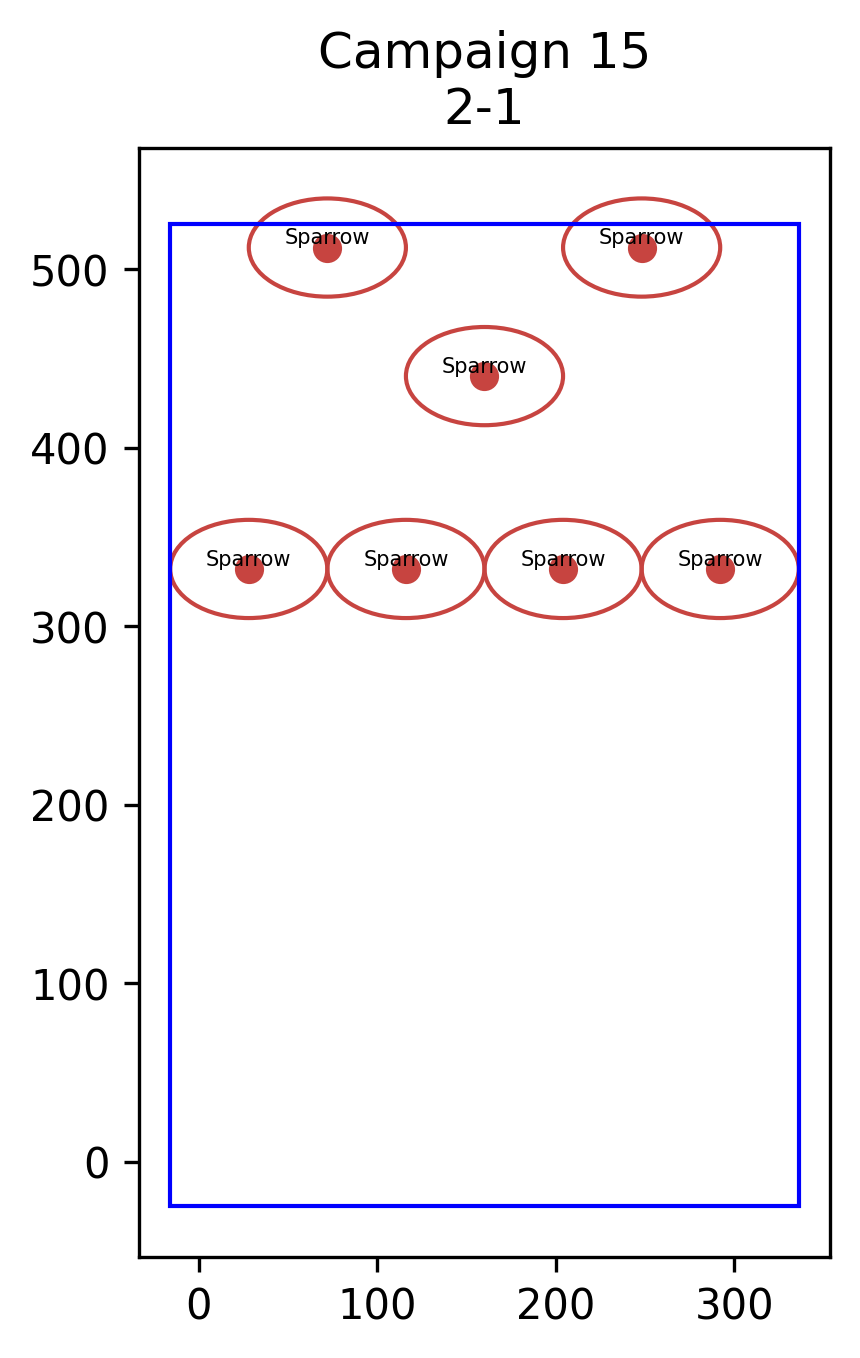 | 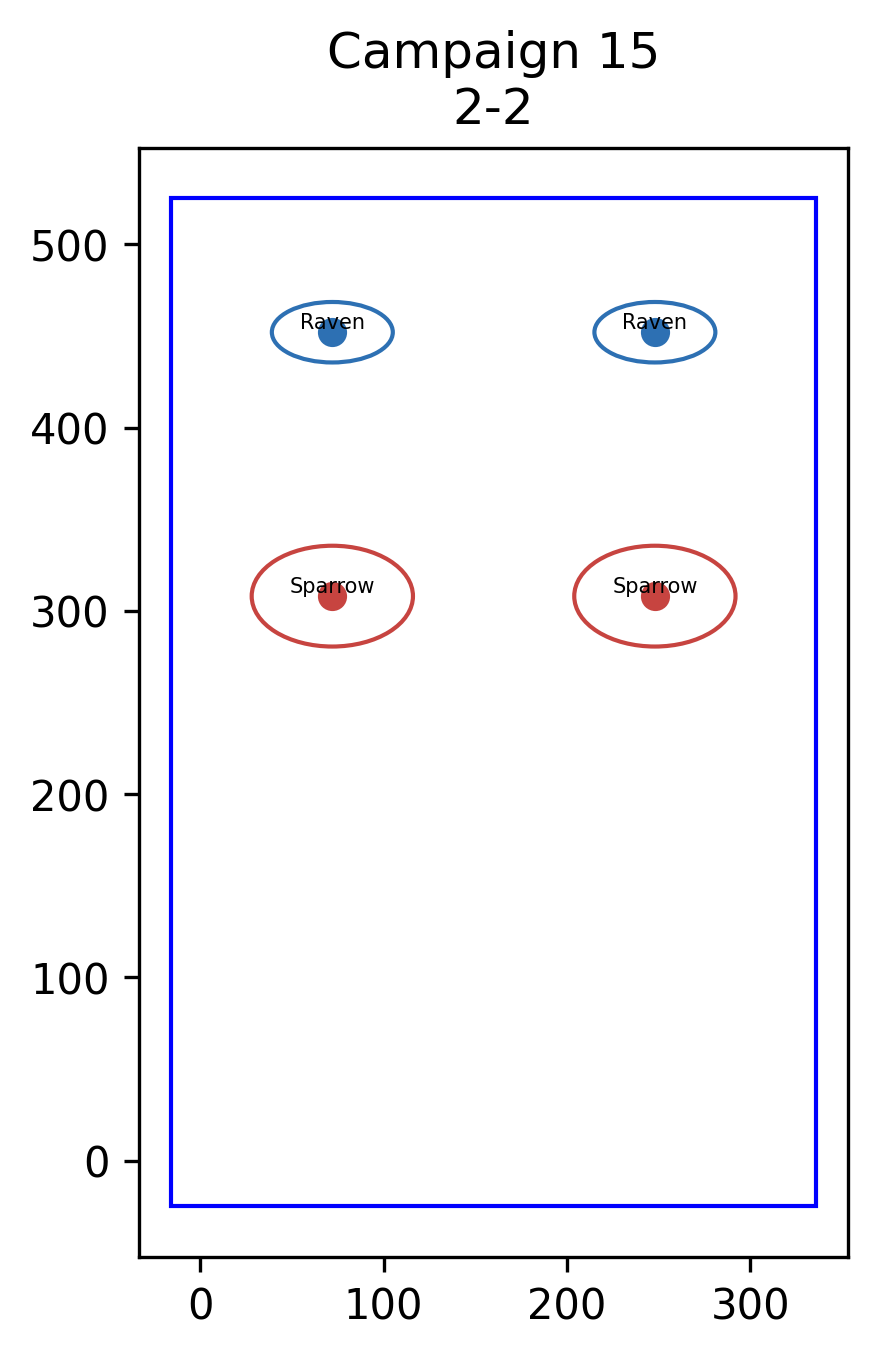 | 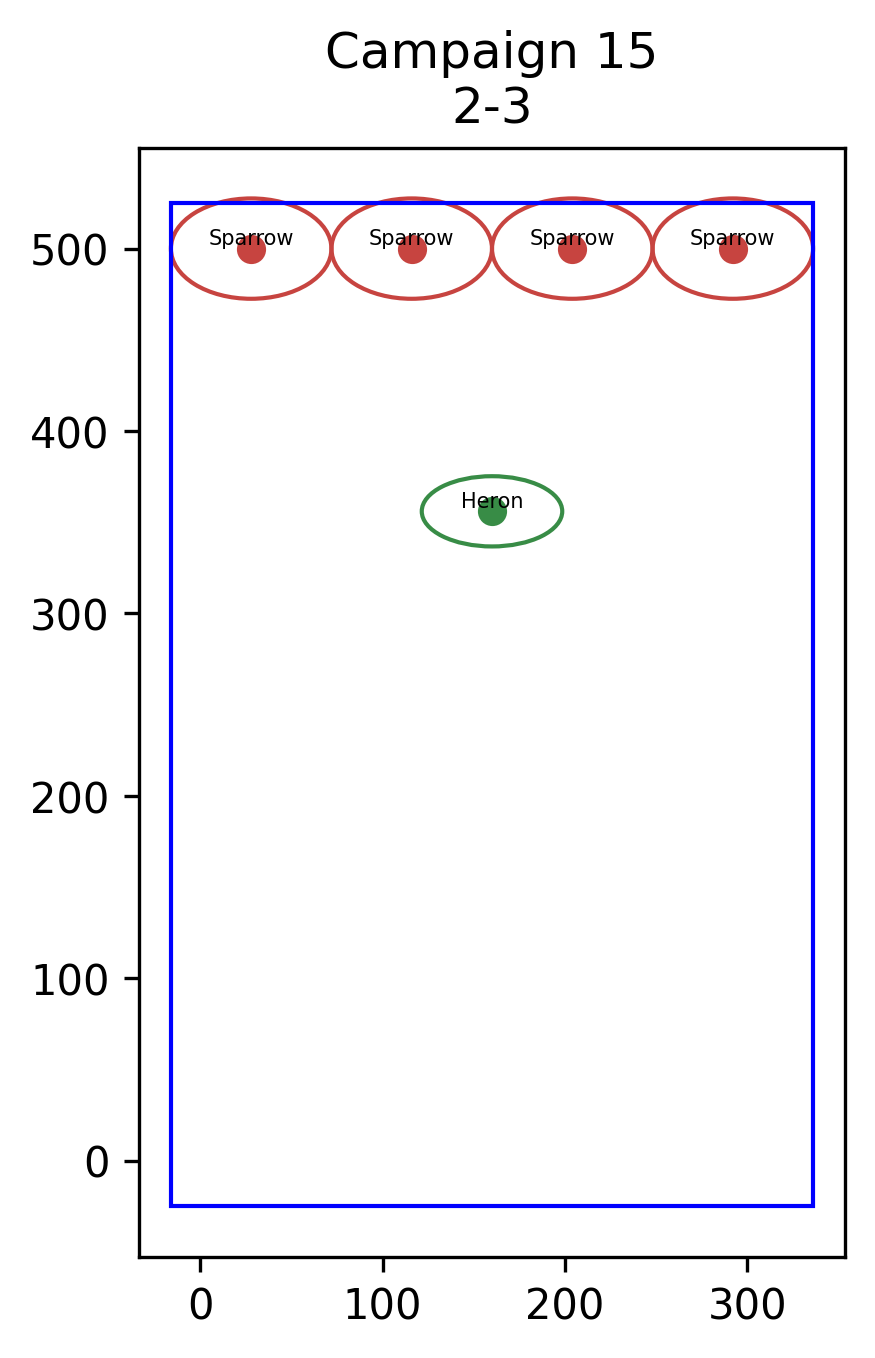 | 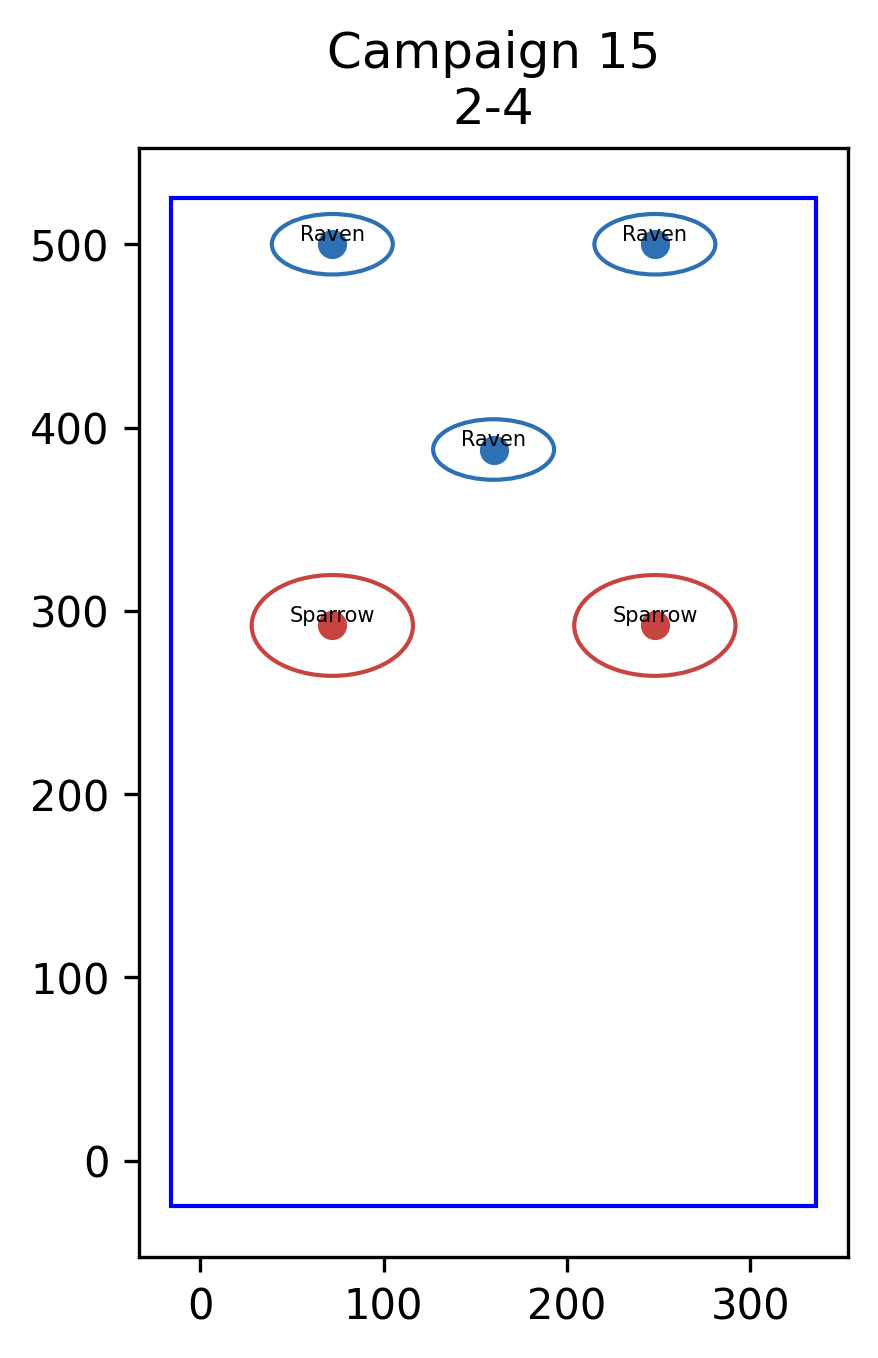 |
| Act 3 | 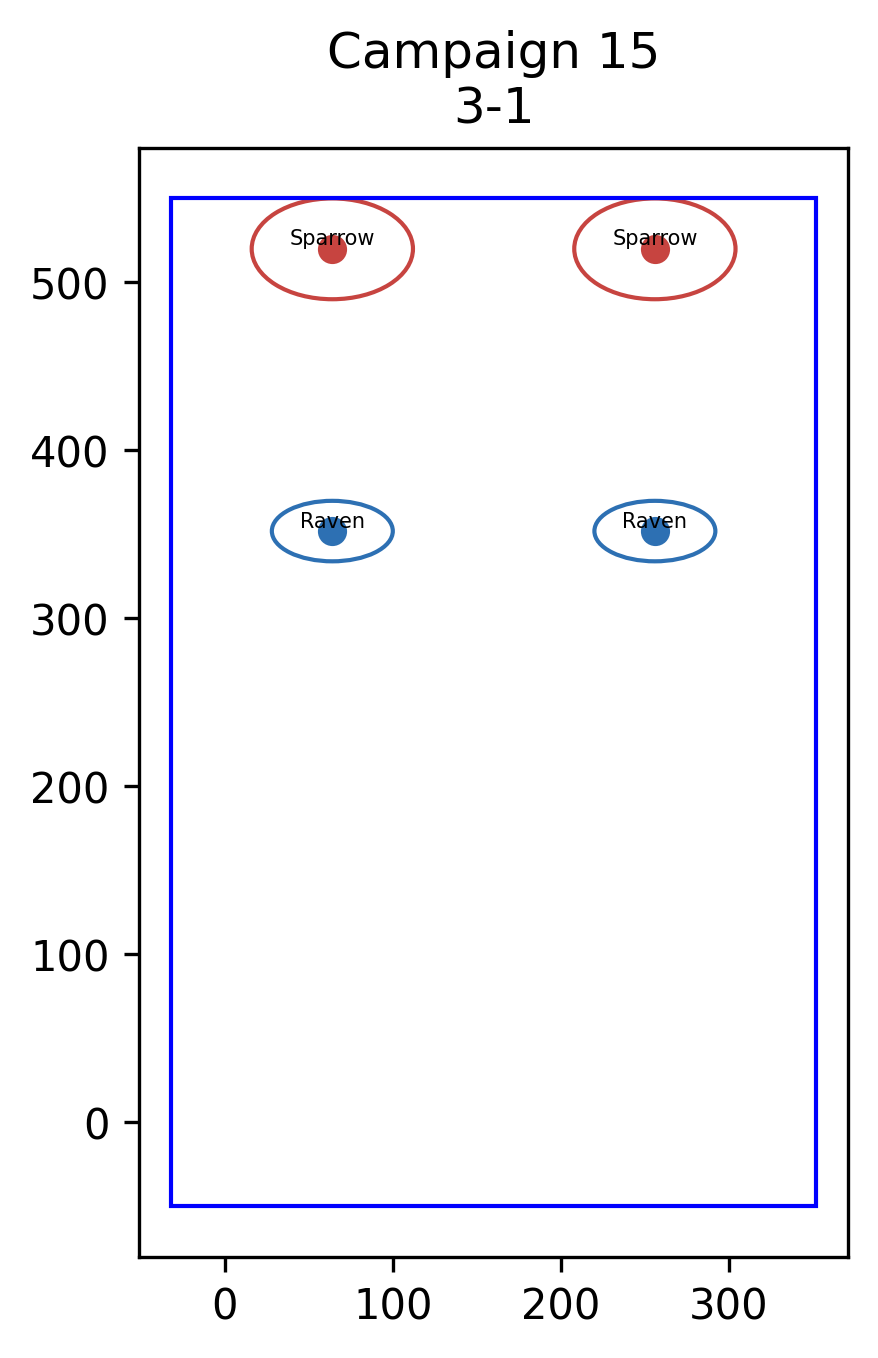 | 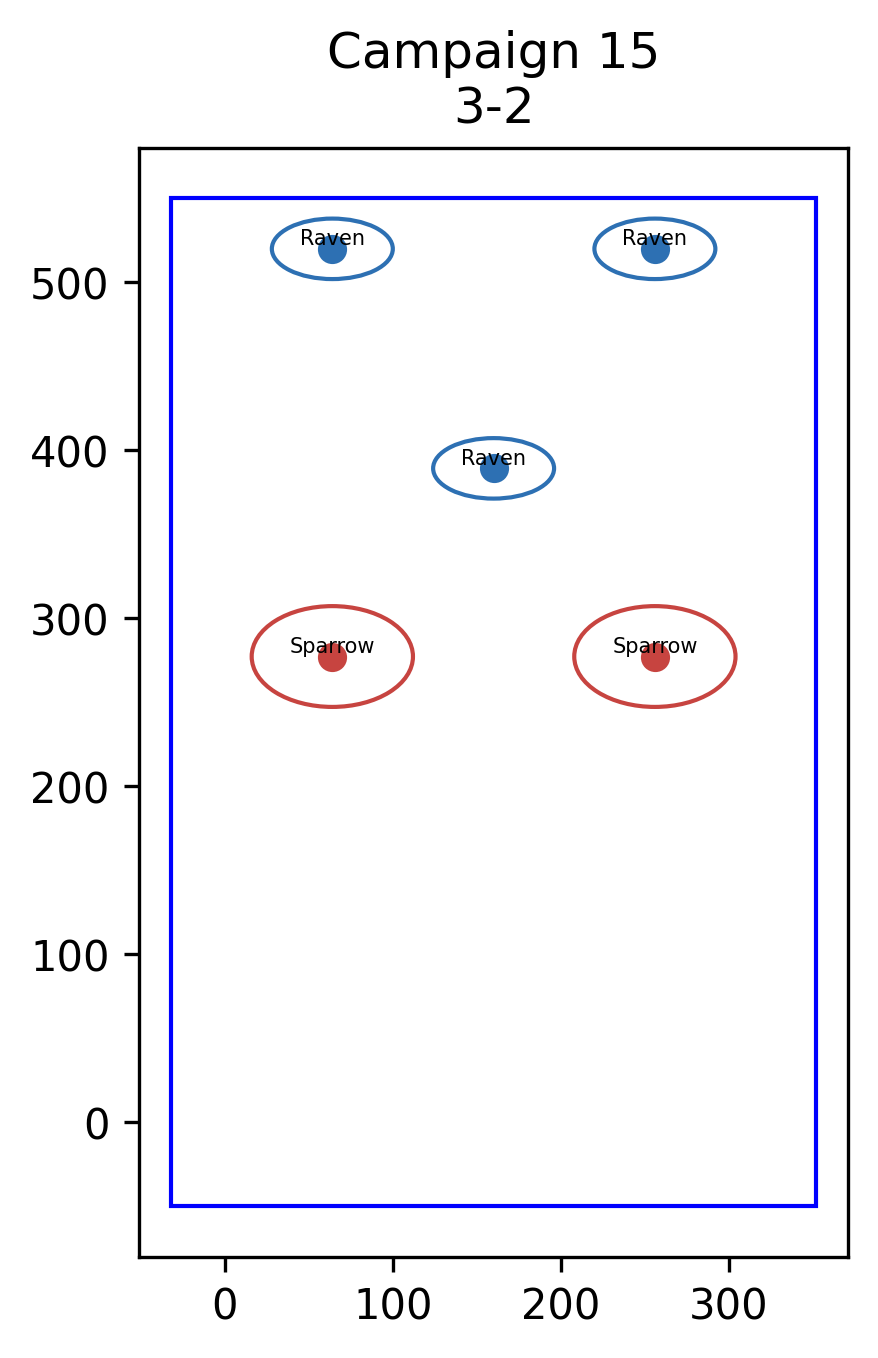 | 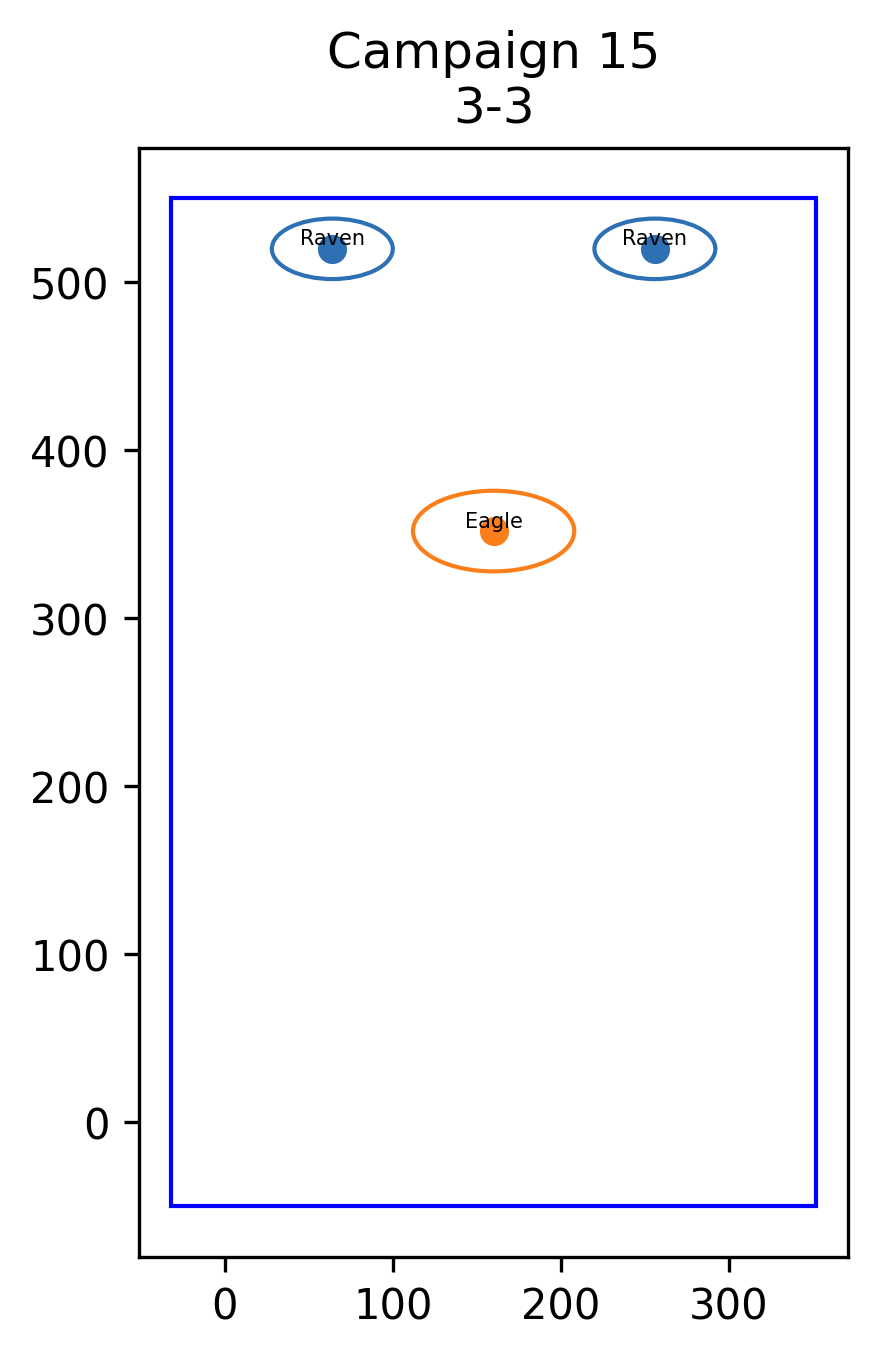 | 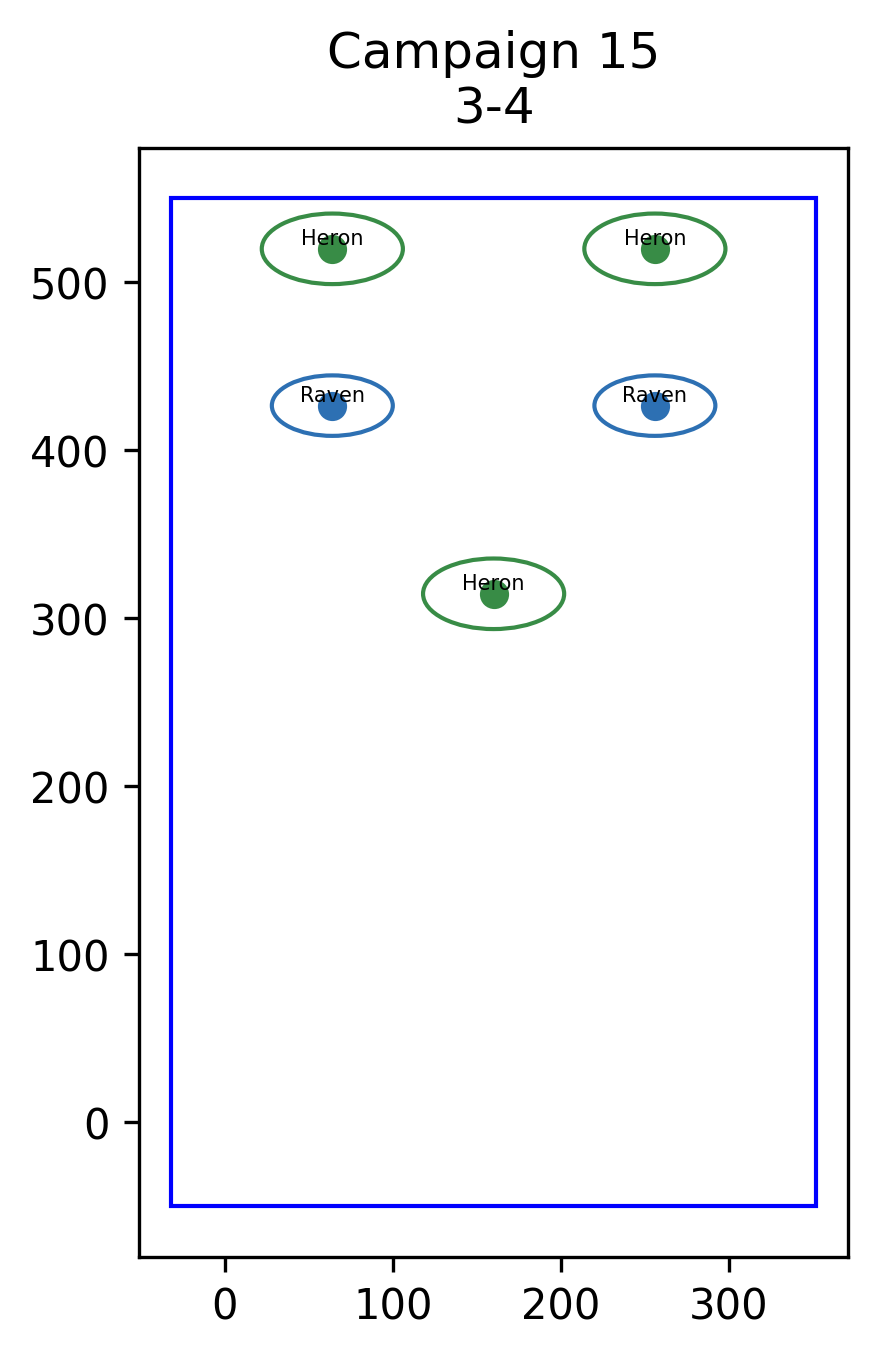 |
| Act 4 |  |  | 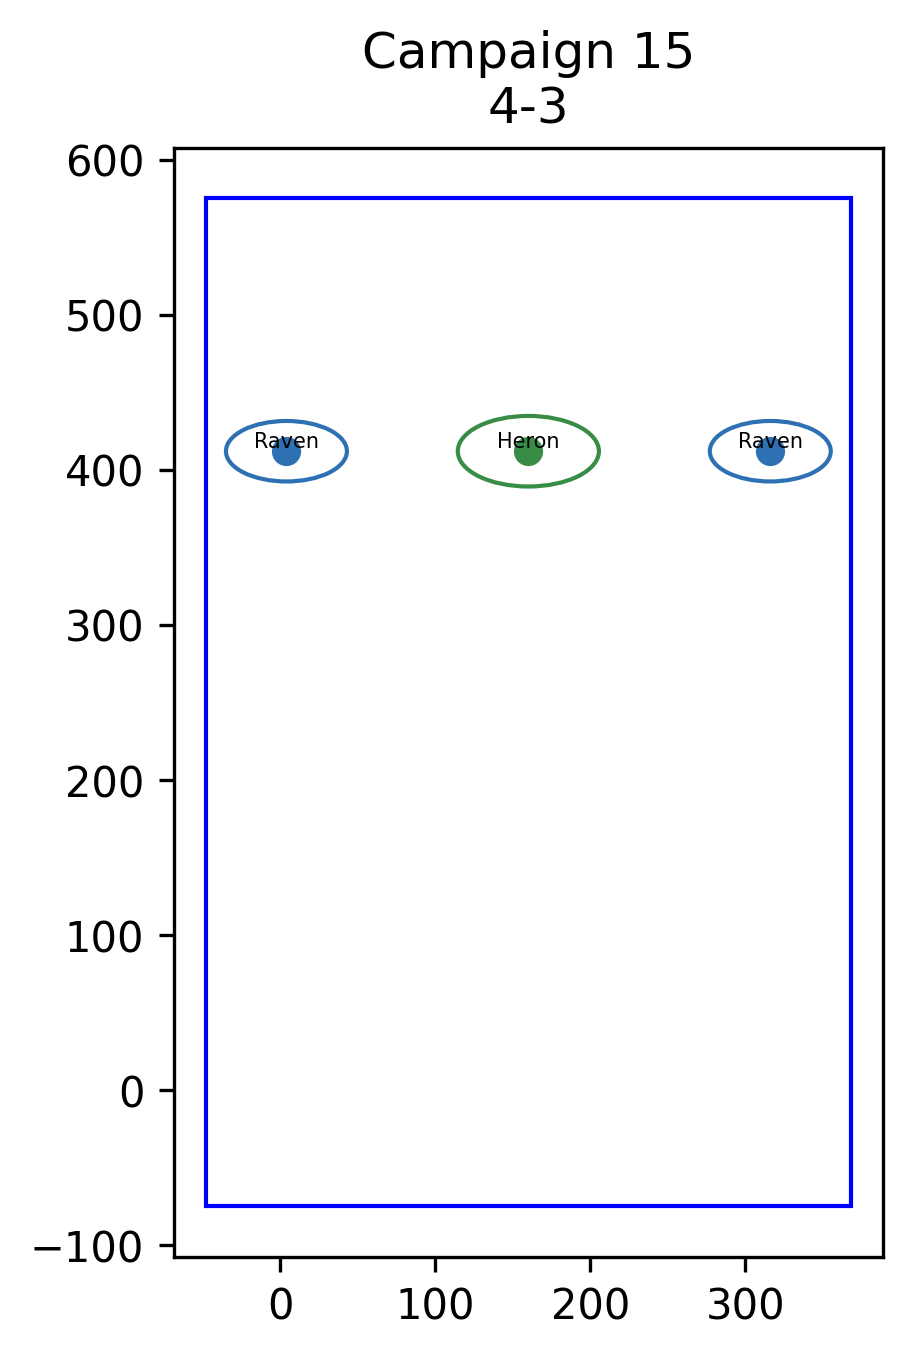 | 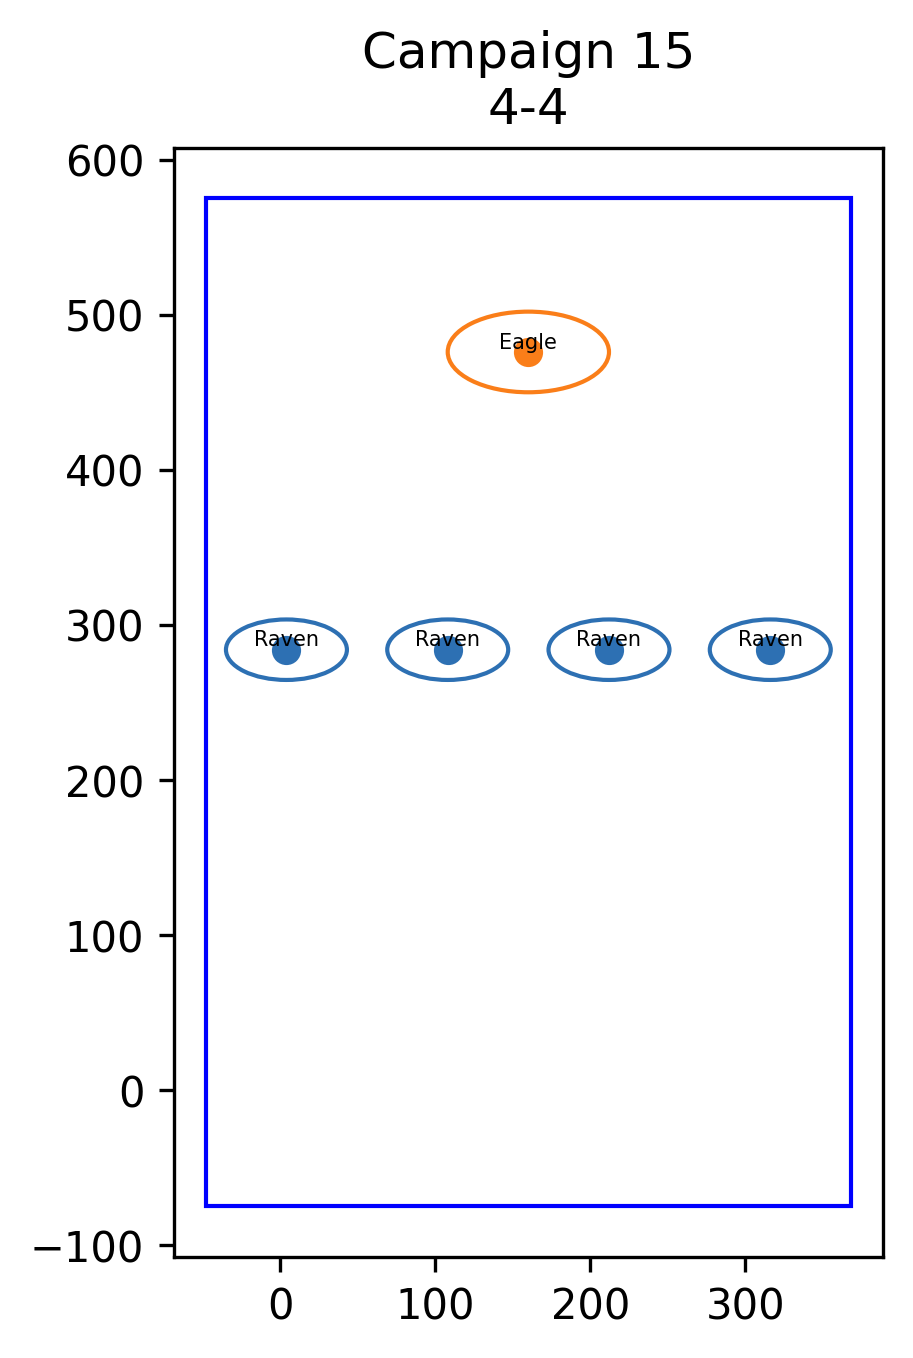 |
| NPC Giving Transmission | Condition | Transmission |
|---|---|---|
Commander Khier | Pre-Mission | [Rank], this is Ceres Major, an abandoned system that was of minor interest to us. Until now. |
Mission Start | These floating ruins may hold secrets. At least, according to Invader data. Your mission is to investigate the sector. | |
Operator Mian | Clear Wave 3-4 (A full screen scan occurs) | Woah! Check out those ruins, some are pulsing with energy. I'll analyze them as you move forward. |
| Mission Complete | The architecture, the energy readings—it all points to technology beyond our understanding. | |
Commander Khier | Post Mission | We are detecting a massive concentration of energy in a small area. |

Campaign Mission #16
Mission Description: A strange energy reading turns your mission critical…
Mission Intel:

Other Bullets: Darts, Pellets, Shurikens
Invader Notes:
- Only Pellet Spinners (Spiral) appear in Wave 4-4, Pellet Spinners (Lane) do NOT appear.
- Both Shuriken Launchers & Shuriken Wave Launchers appear.
Total Reward for Completion: (4 Acts) × (4 Waves each) × ¢5 = ¢80
Video Walkthrough:
Wave Layout
| Wave 1 | Wave 2 | Wave 3 | Wave 4 | |
|---|---|---|---|---|
| Act 1 |  |  | 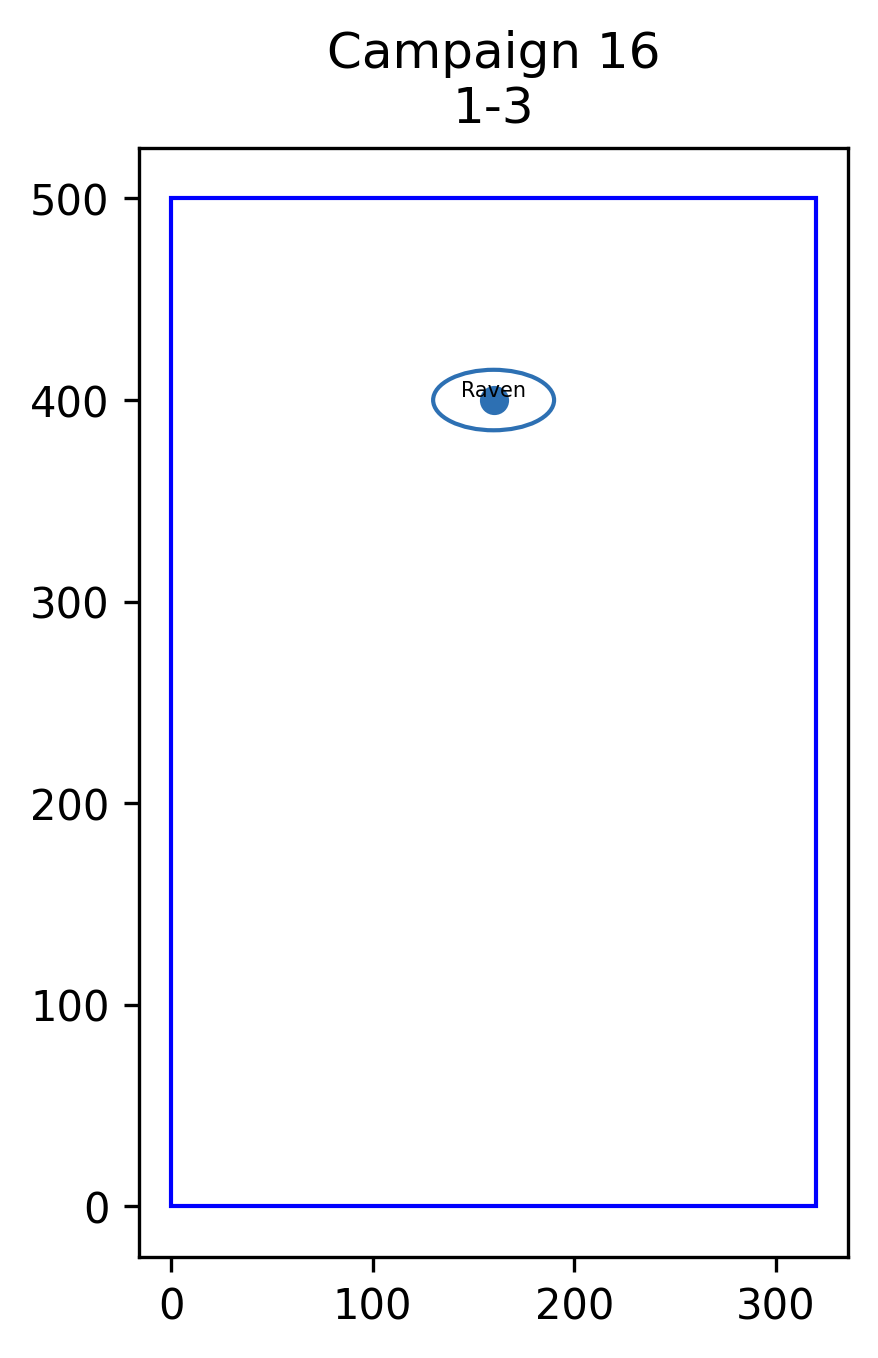 | 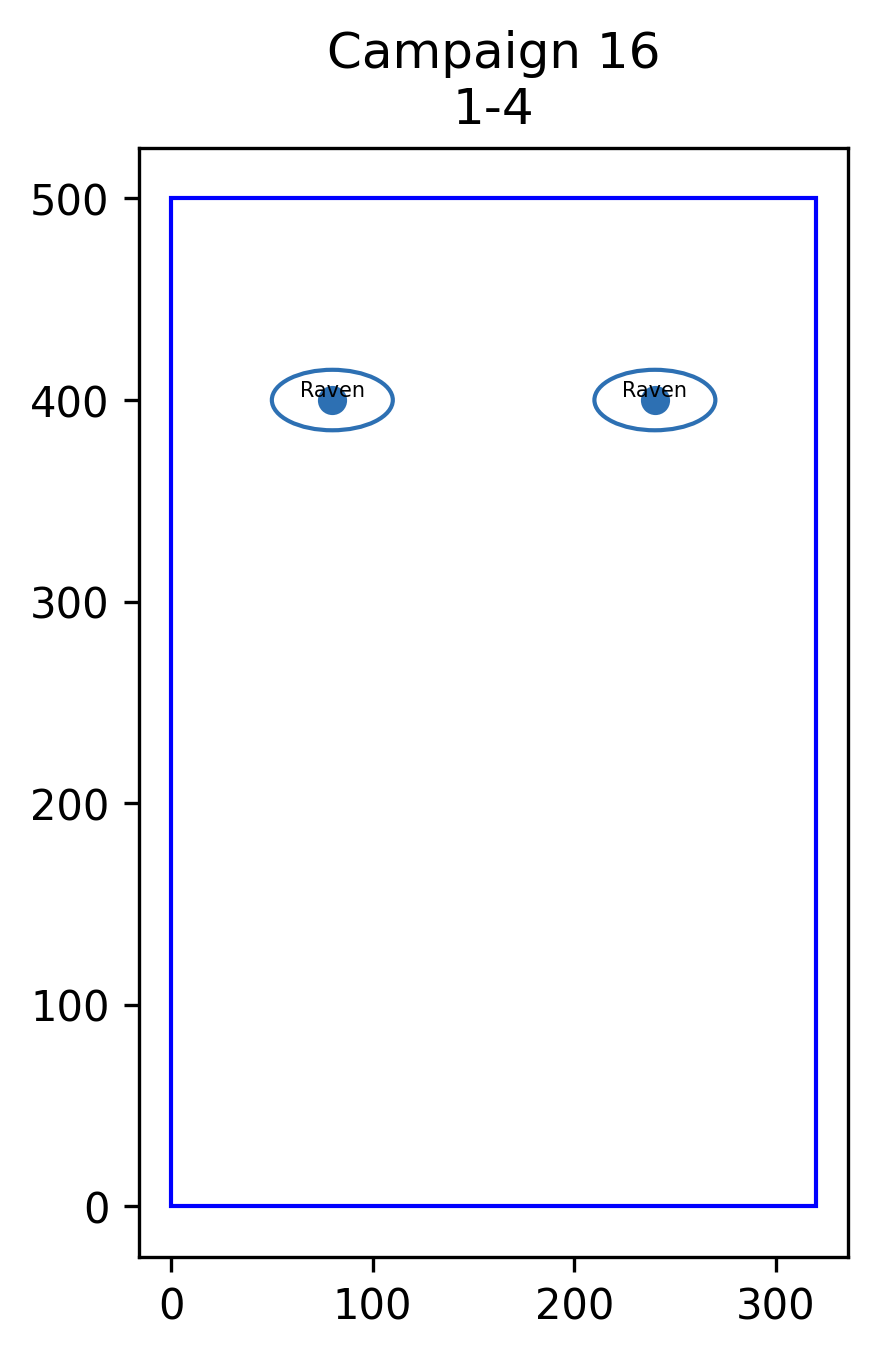 |
| Act 2 | 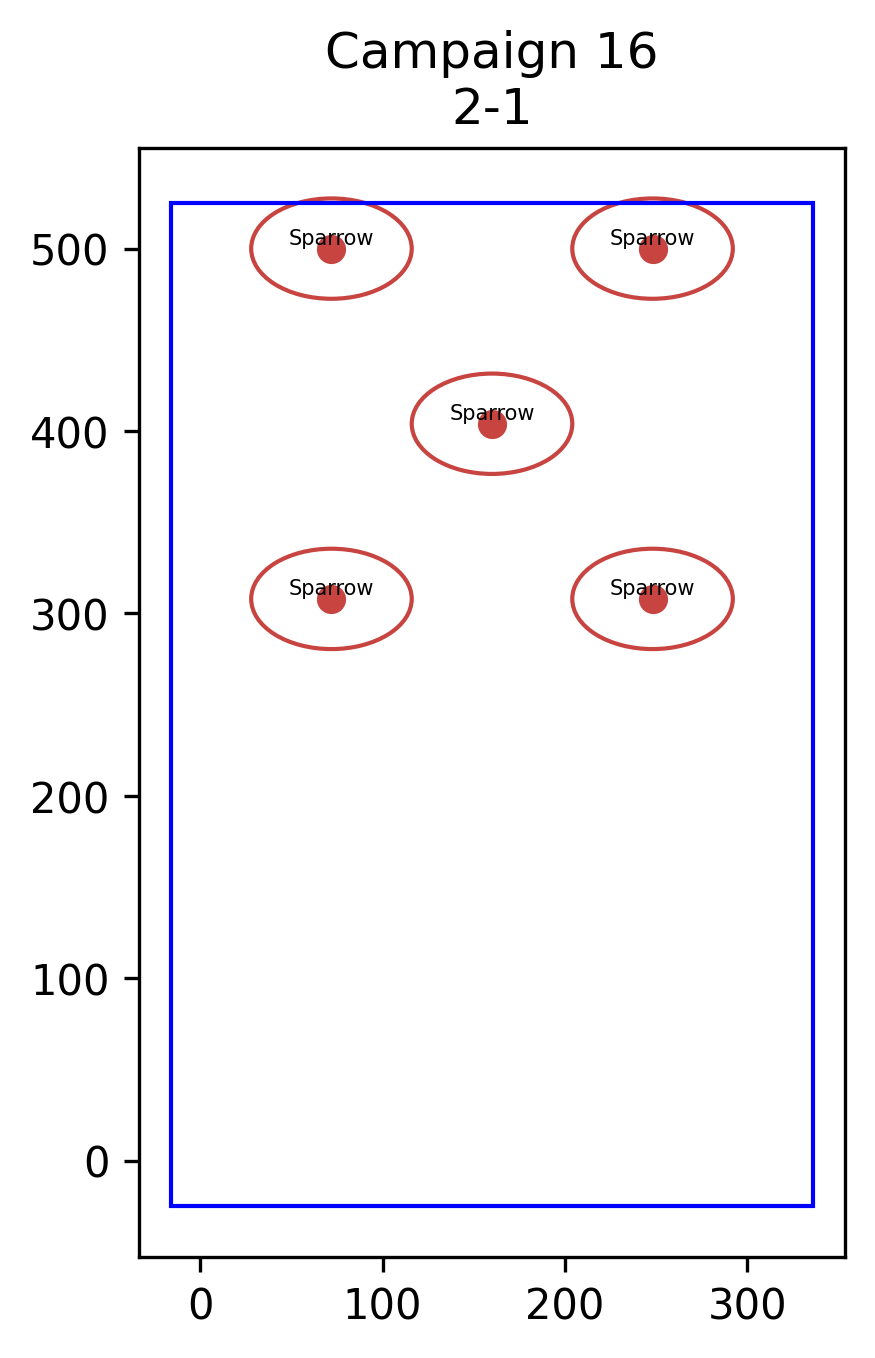 | 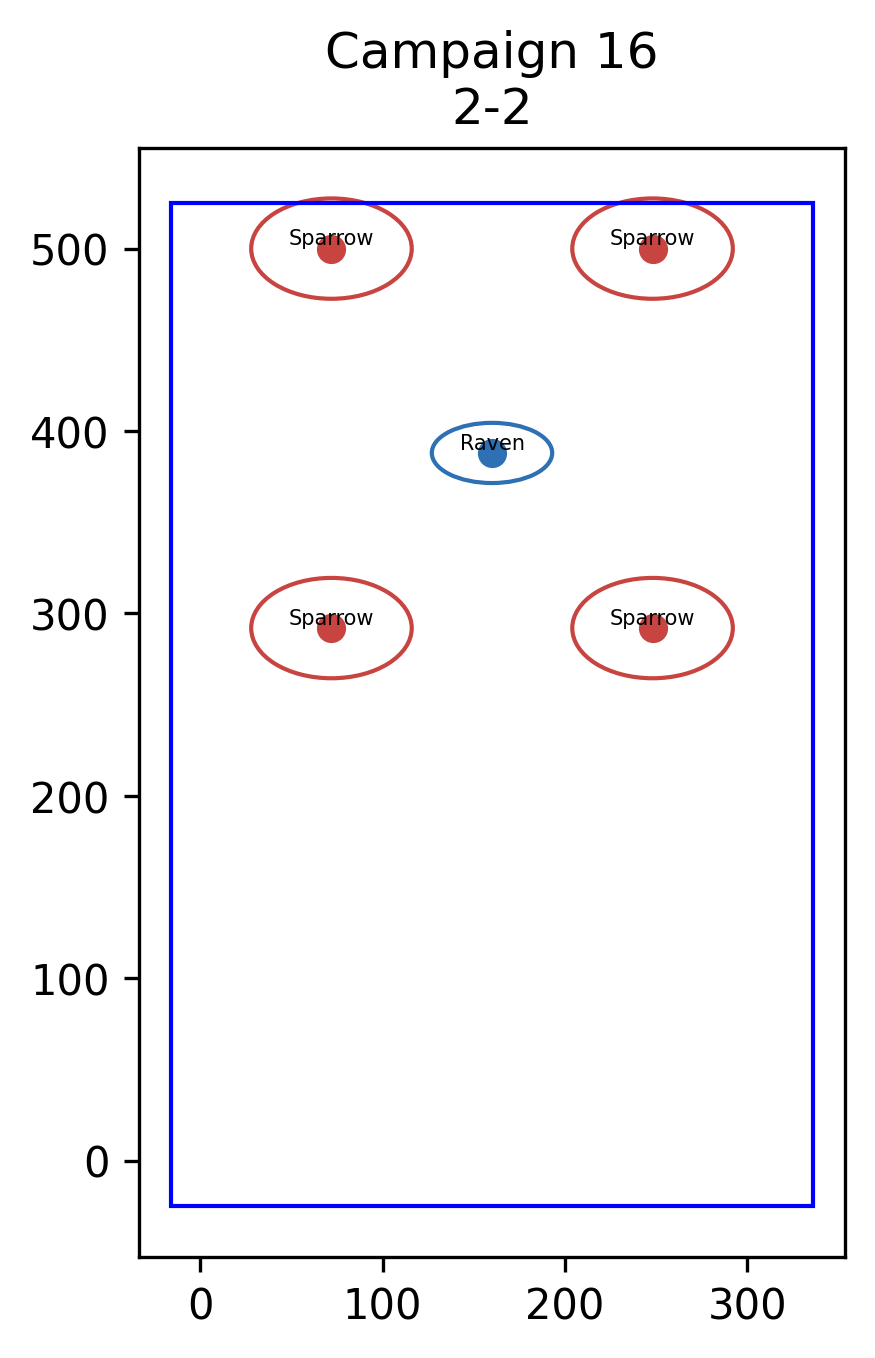 | 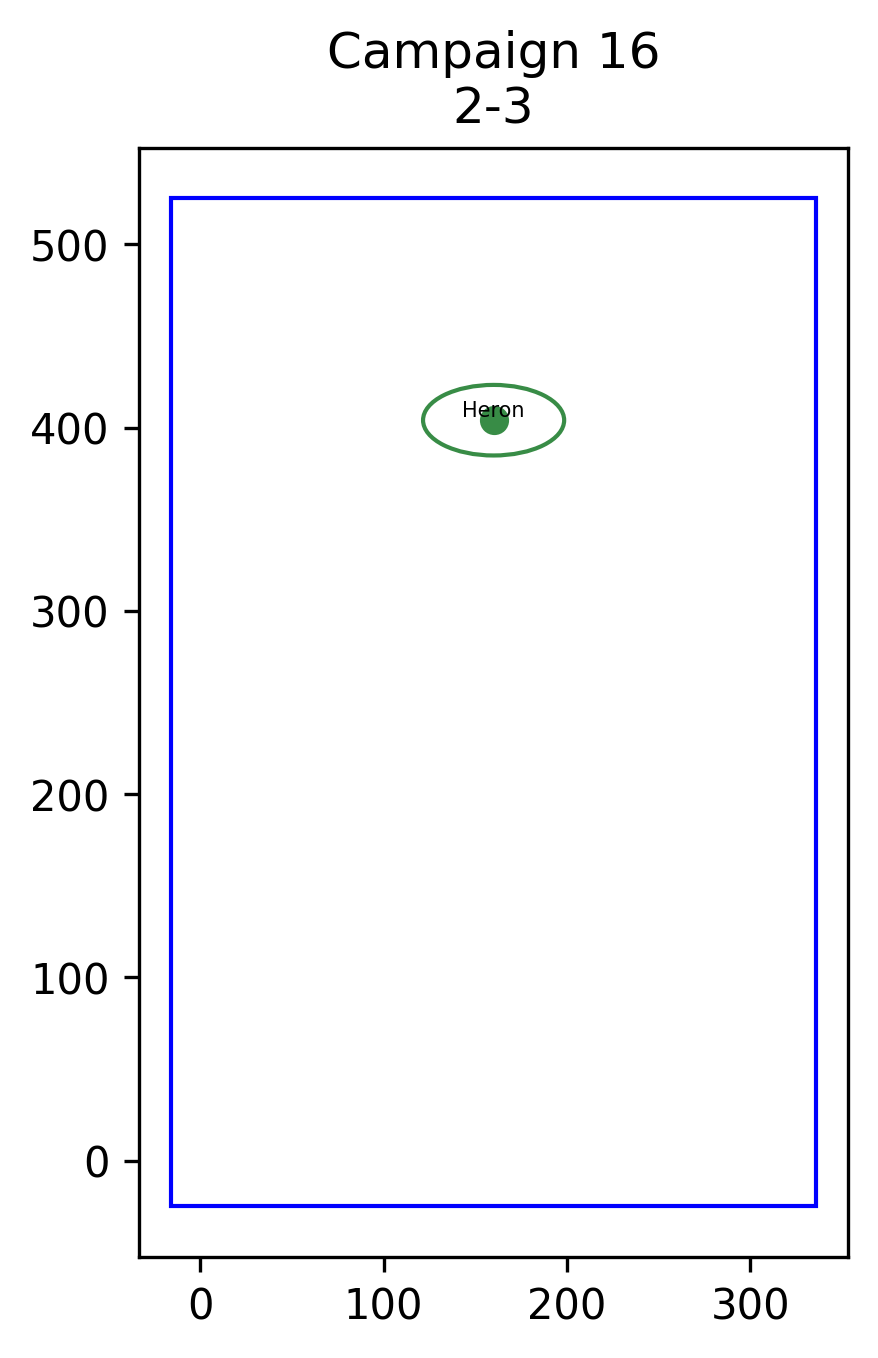 | 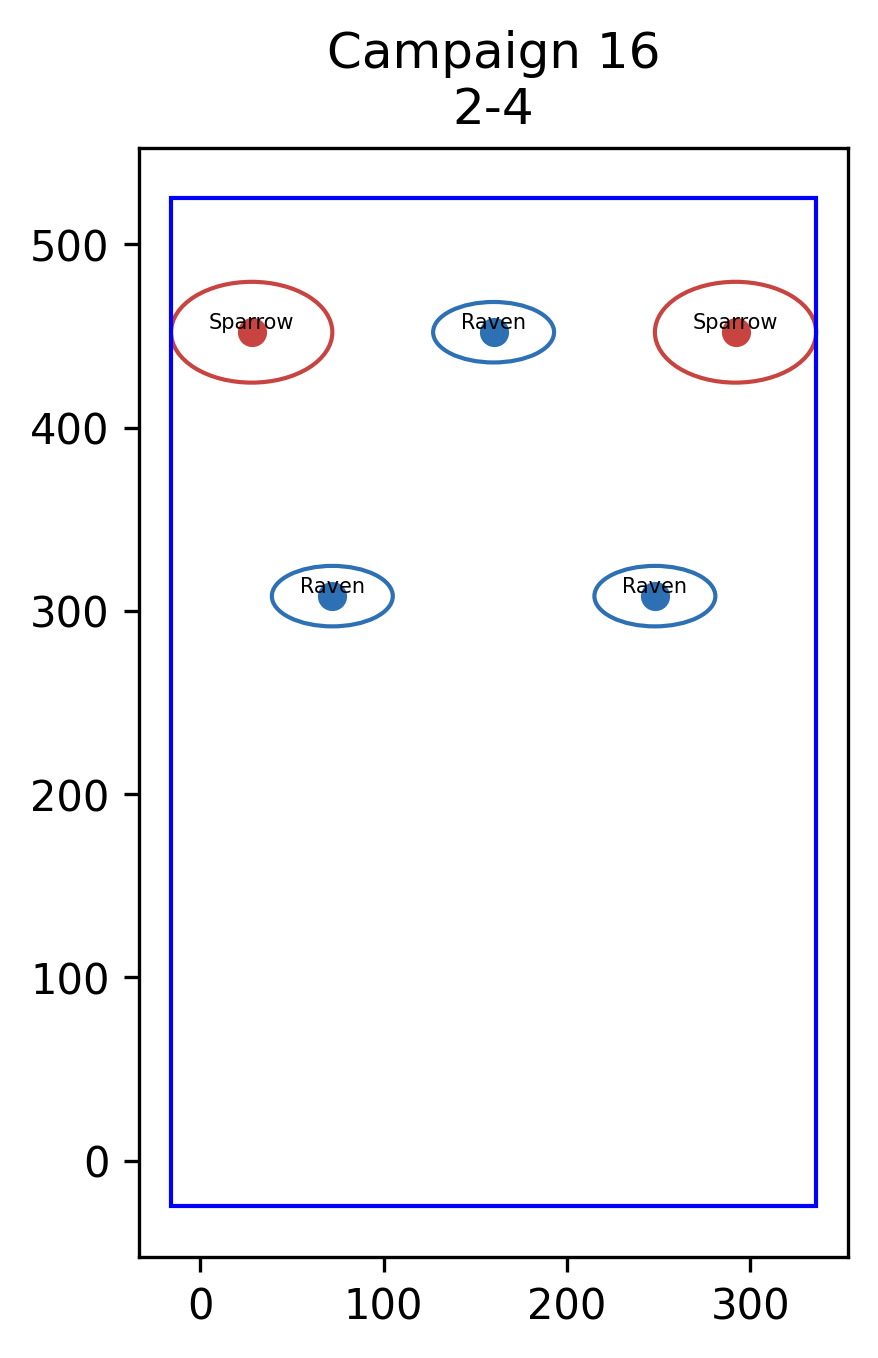 |
| Act 3 | 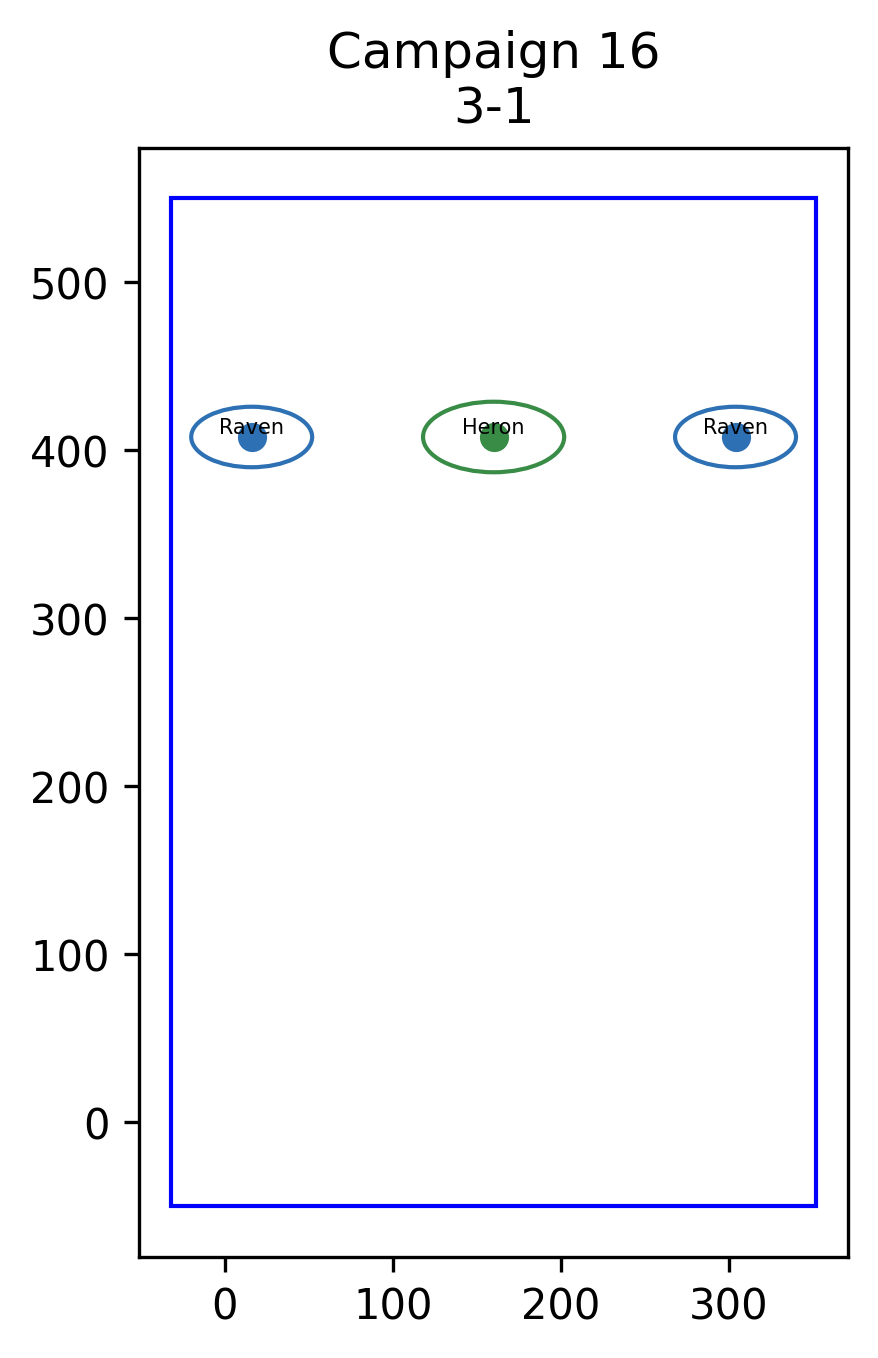 | 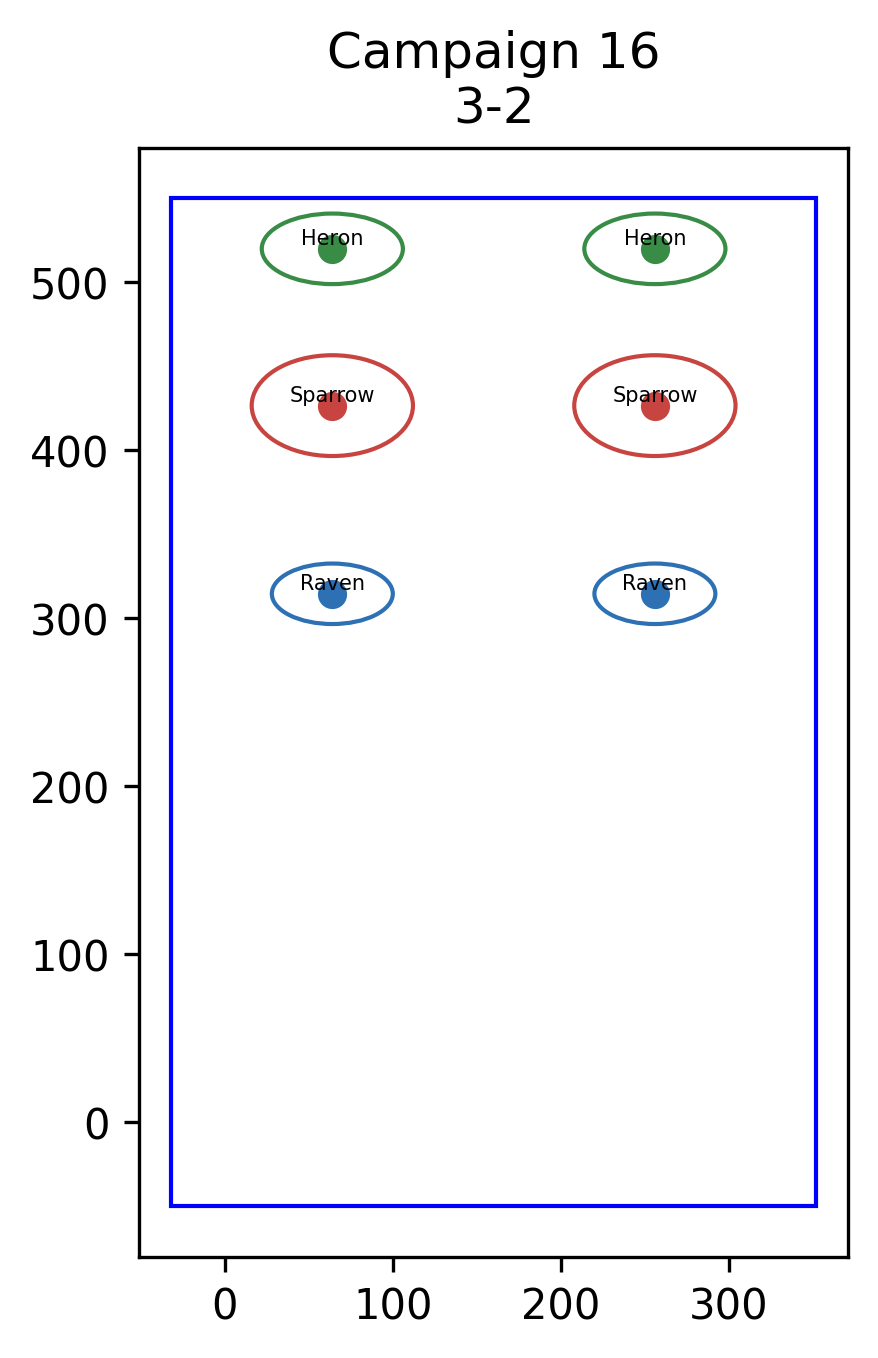 | 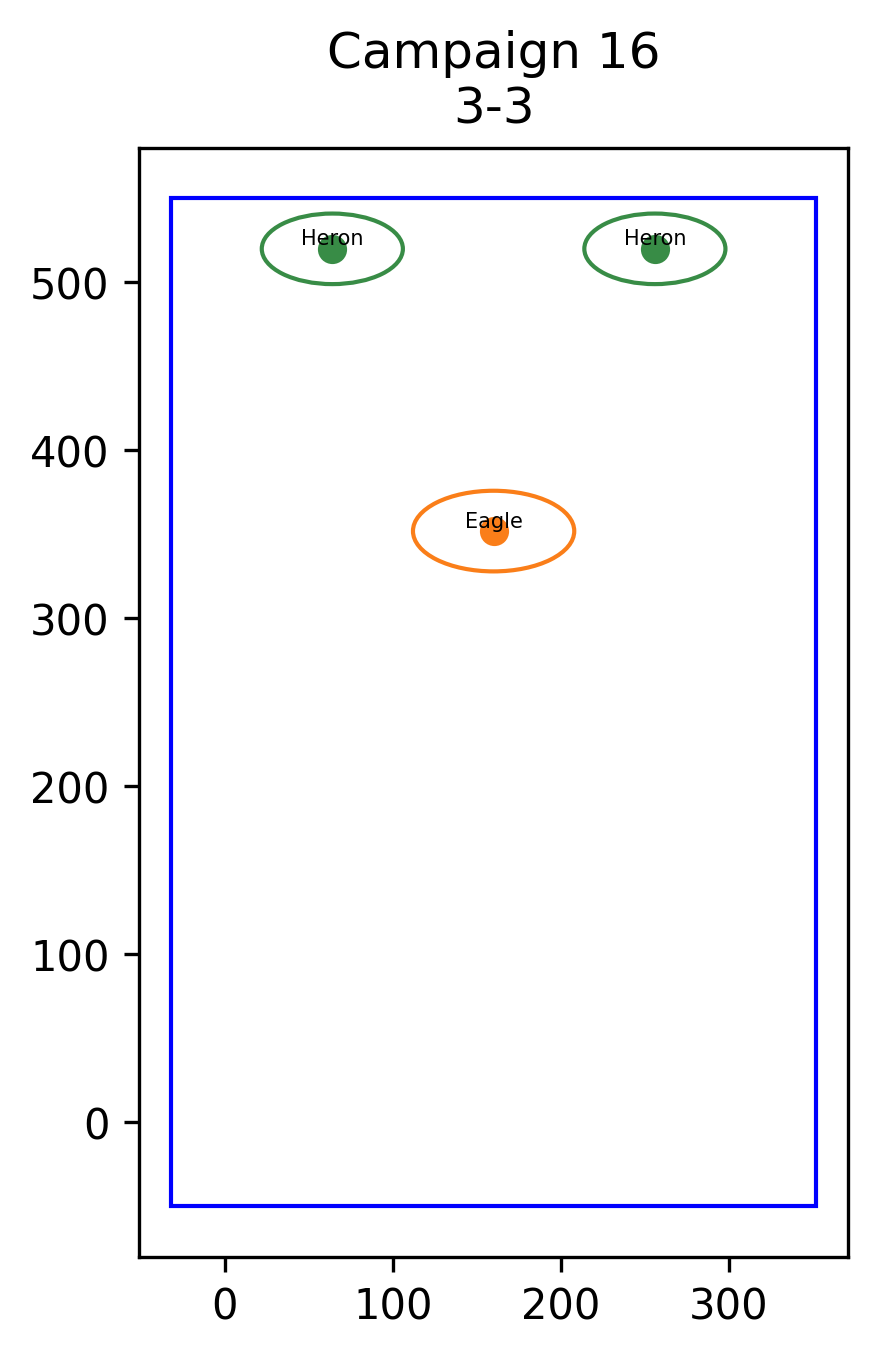 | 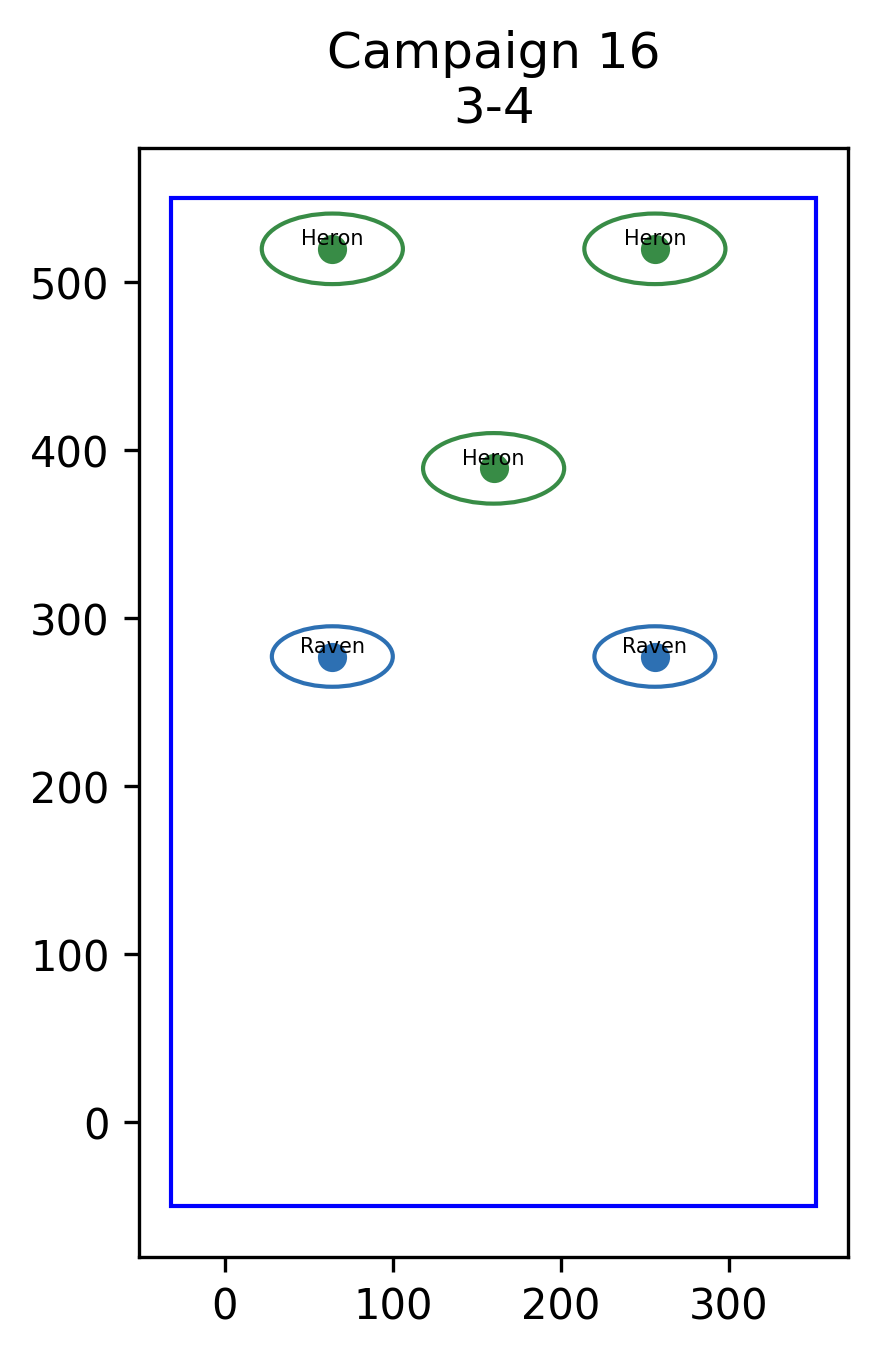 |
| Act 4 | 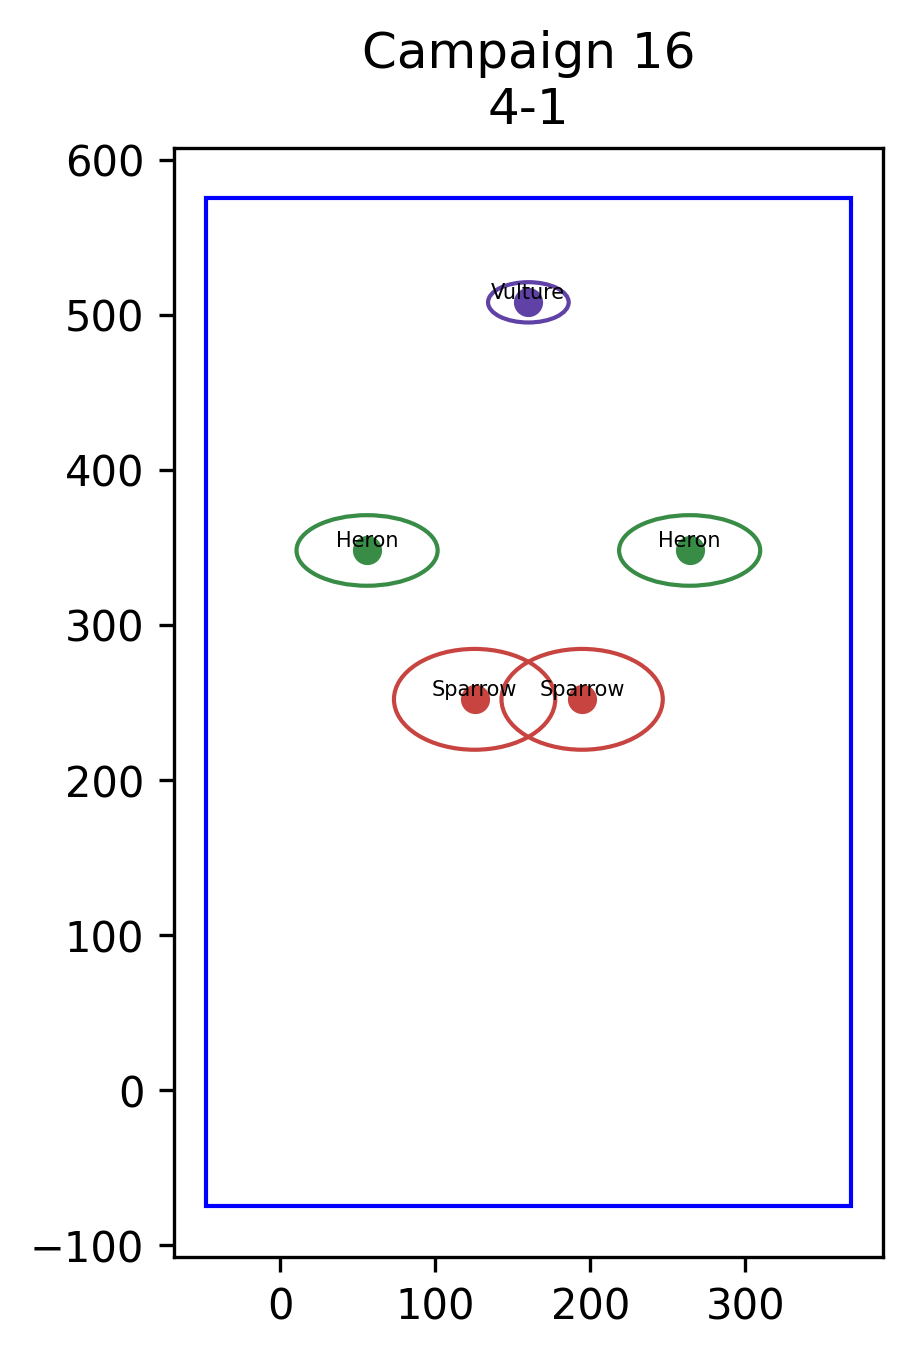 | 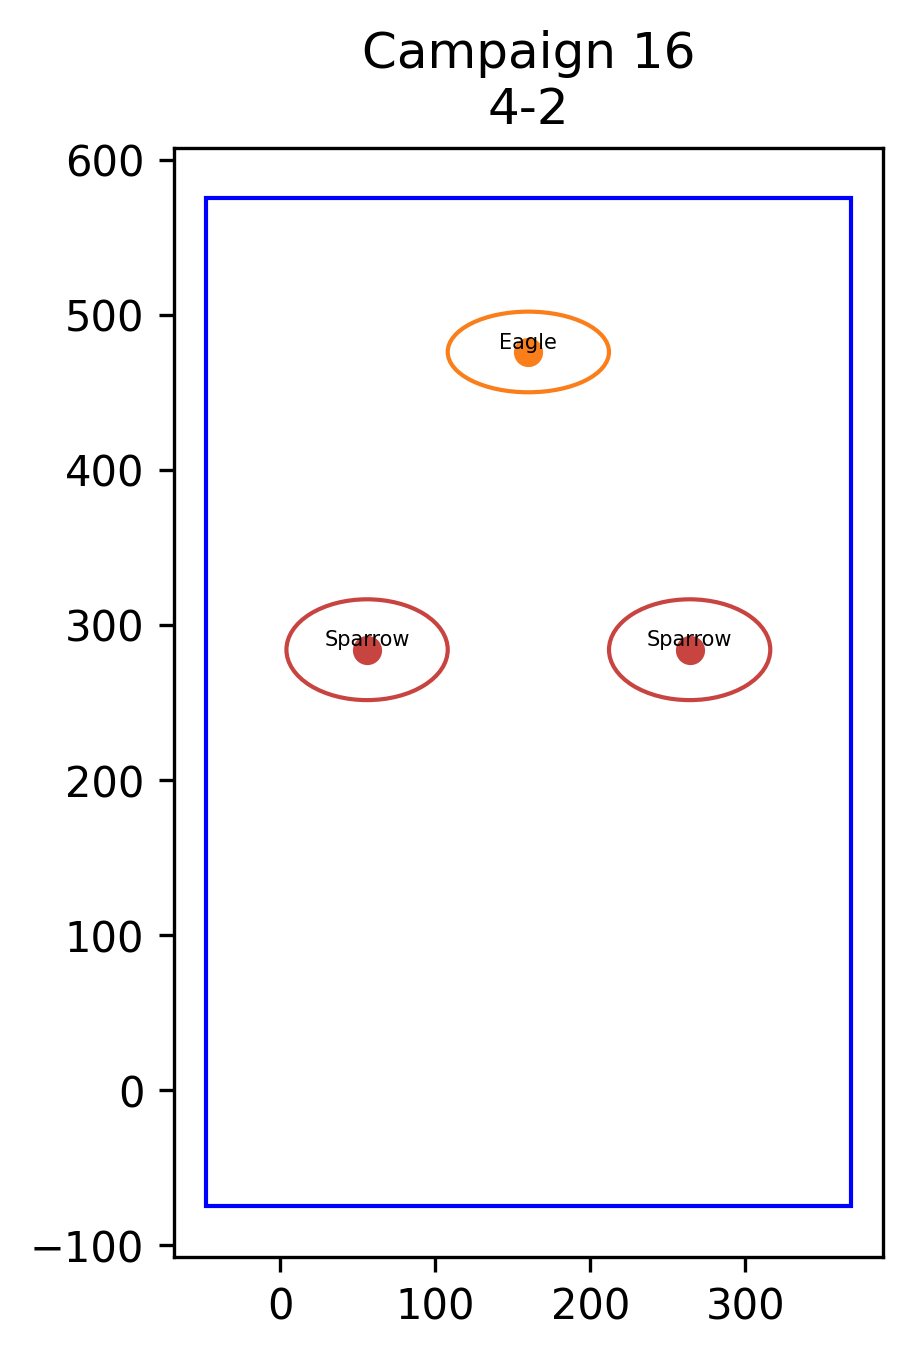 | 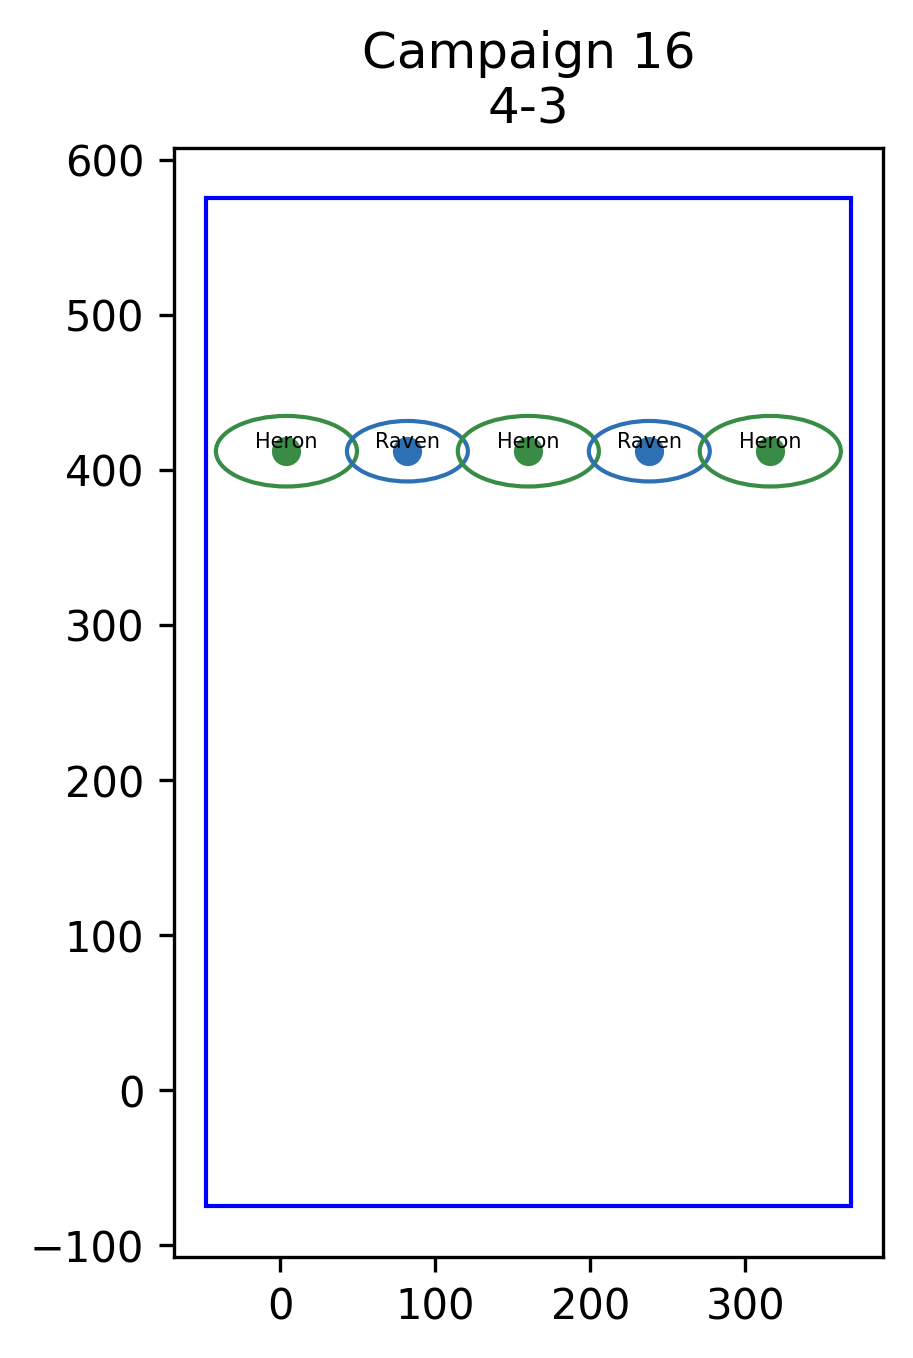 | 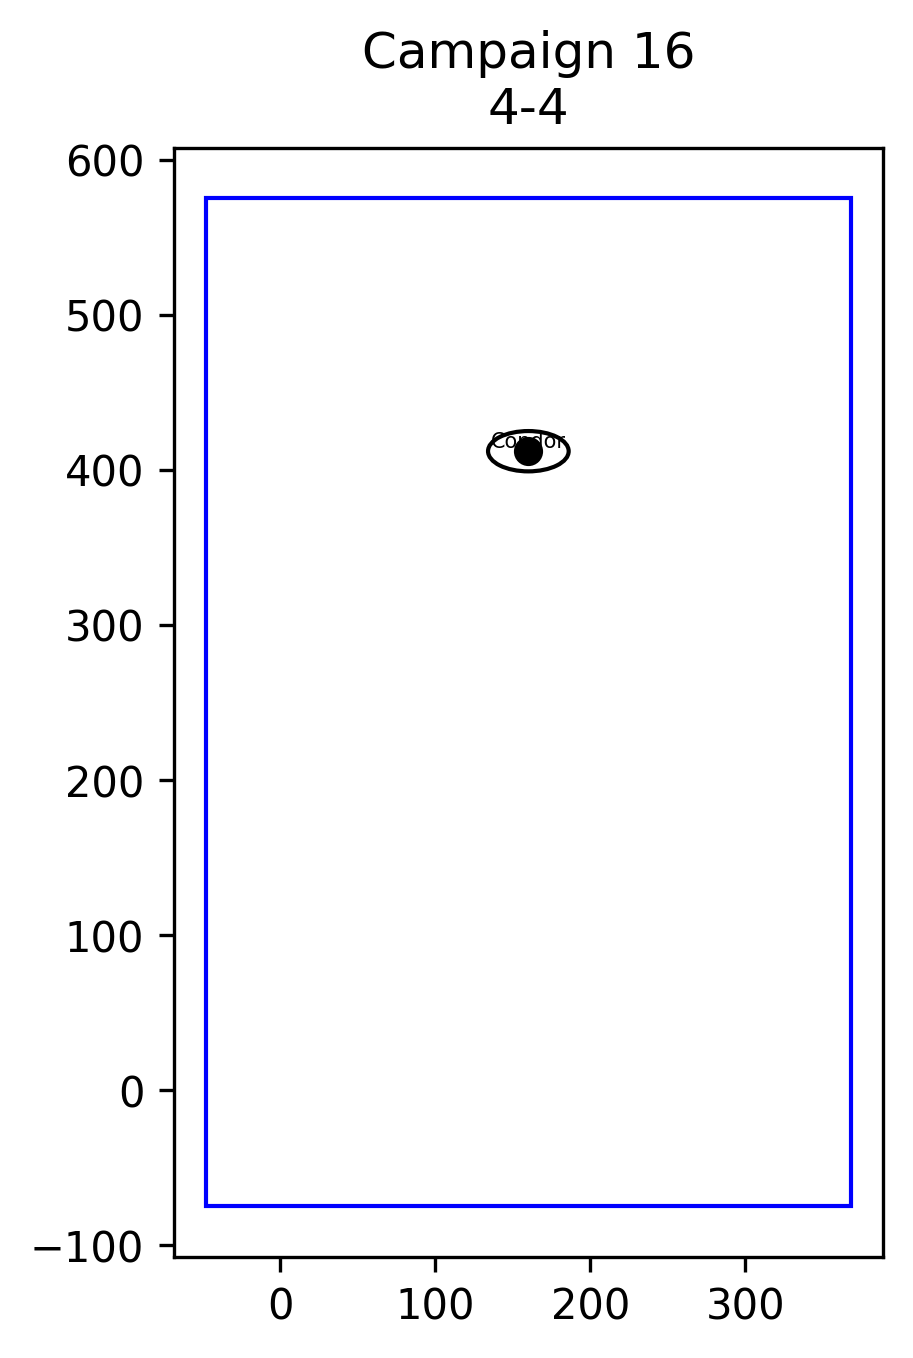 |
| NPC Giving Transmission | Condition | Transmission |
|---|---|---|
Commander Khier | Pre-Mission | The energy spike is located in this area. Your mission is to find its origin. |
Mission Start | [Rank], the power in this sector could turn the battle in our favor! Find it. We’re counting on you. | |
Operator Mian | Clear Wave 3-4 | I've pinpointed the exact location, its straight ahead! |
Commander Khier | Clear Wave 4-2 (The red crystal artifact, pictured below, appears from above and drifts to the middle of the screen) | Some sort of artifact is coming into view, clear the remaining Invaders. |
Mission Complete | Good work reaching the artifact, [Rank]. This could give us the edge we need against the Invaders. | |
Post Mission | The Invaders are aware of the artifact's power. We must secure it. | |

Campaign Mission #17
Mission Description: Invaders appear near the mysterious artifact, intent on claiming it…
Mission Intel:


Invader Notes:
- Both Pellet Spinners (Lane) (in Wave 3-3 only) & Pellet Spinners (Spiral) (in Act 5) appear.
- Cone Lasers and Speed Lasers do NOT appear.
- MIRVs only appear in Wave 4-1.
Total Reward for Completion: (5 Acts) × (4 Waves each) × ¢5 = ¢100
Video Walkthrough:
Wave Layout
| Wave 1 | Wave 2 | Wave 3 | Wave 4 | |
|---|---|---|---|---|
| Act 1 | 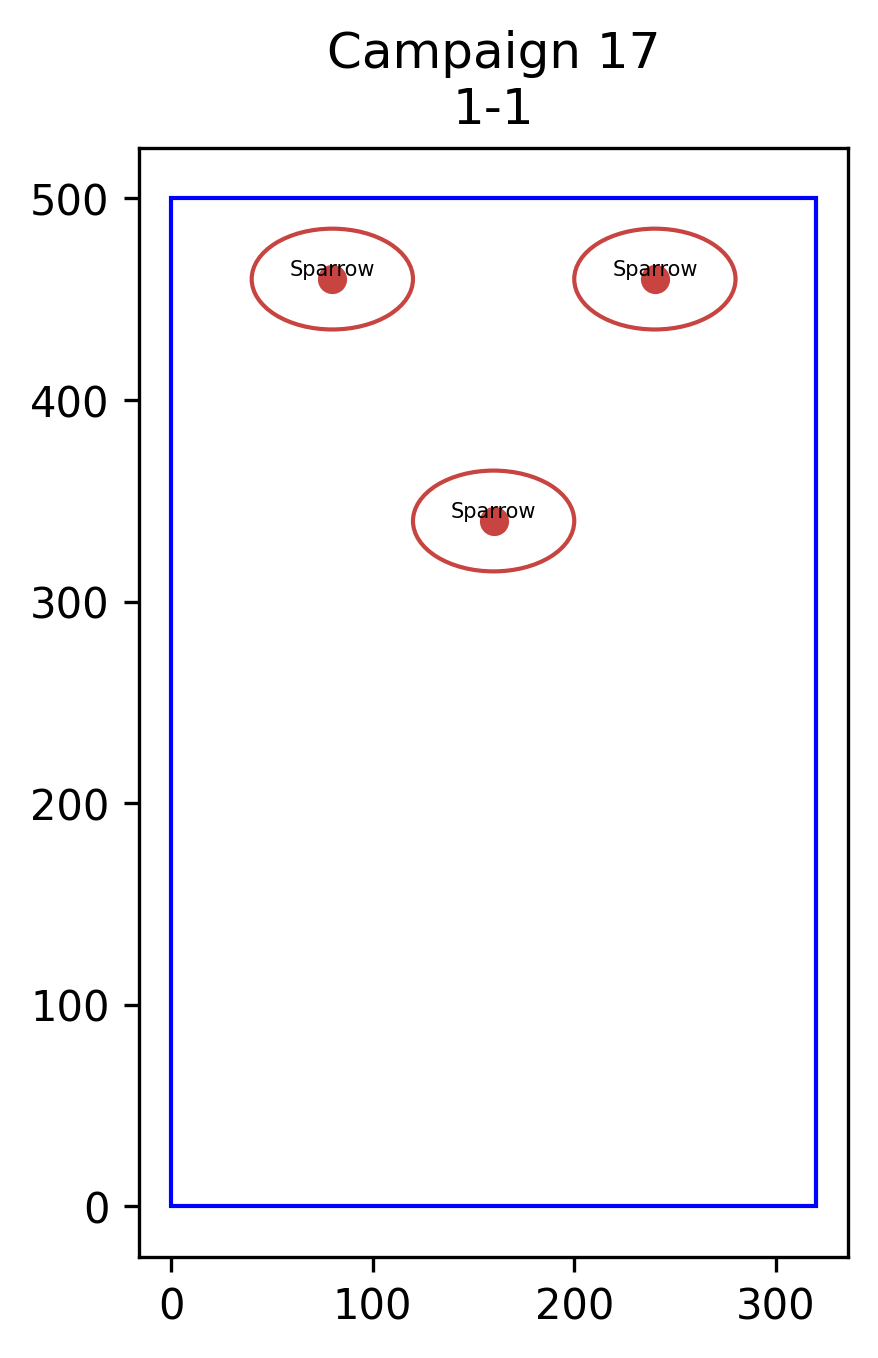 | 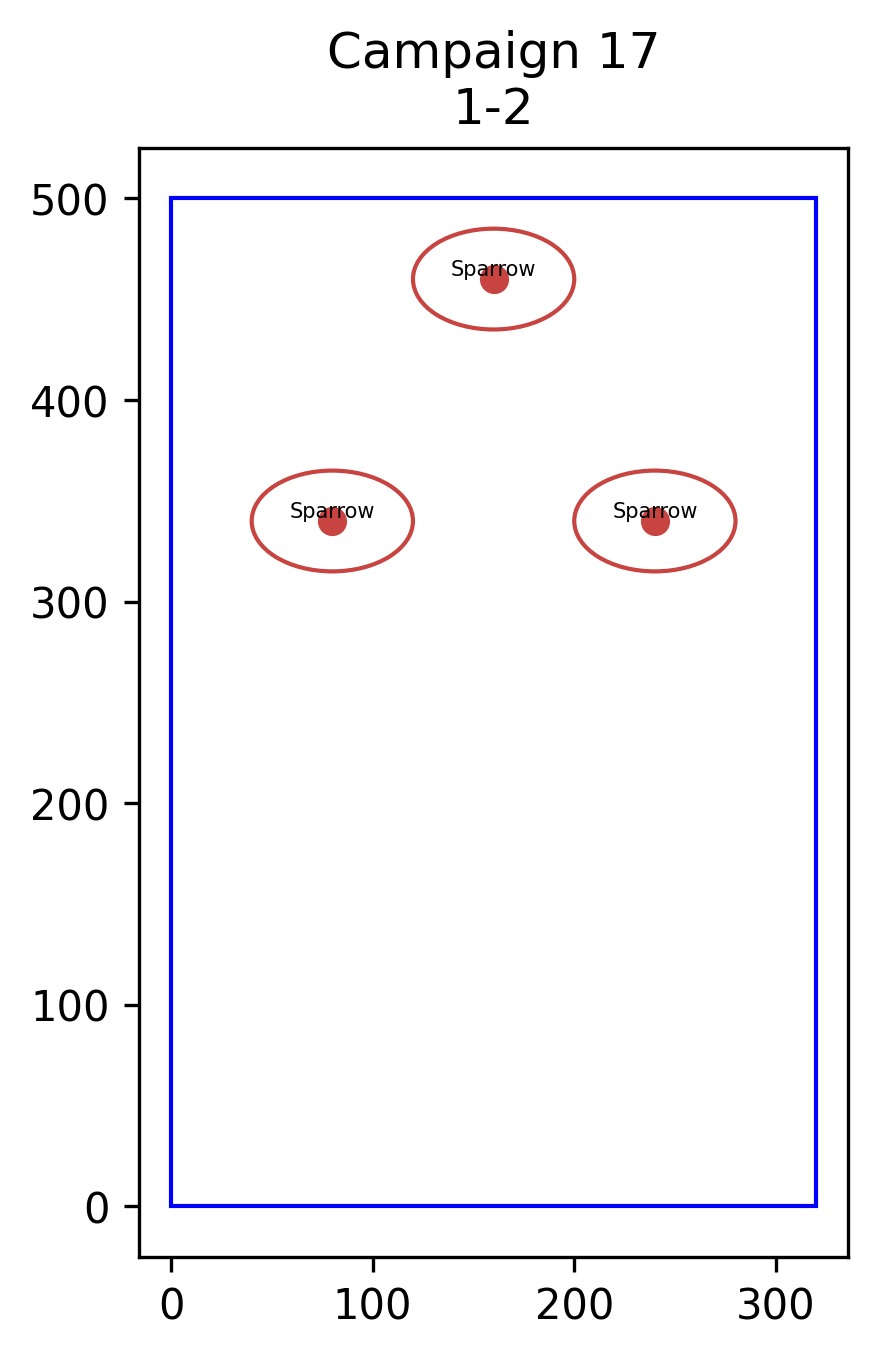 | 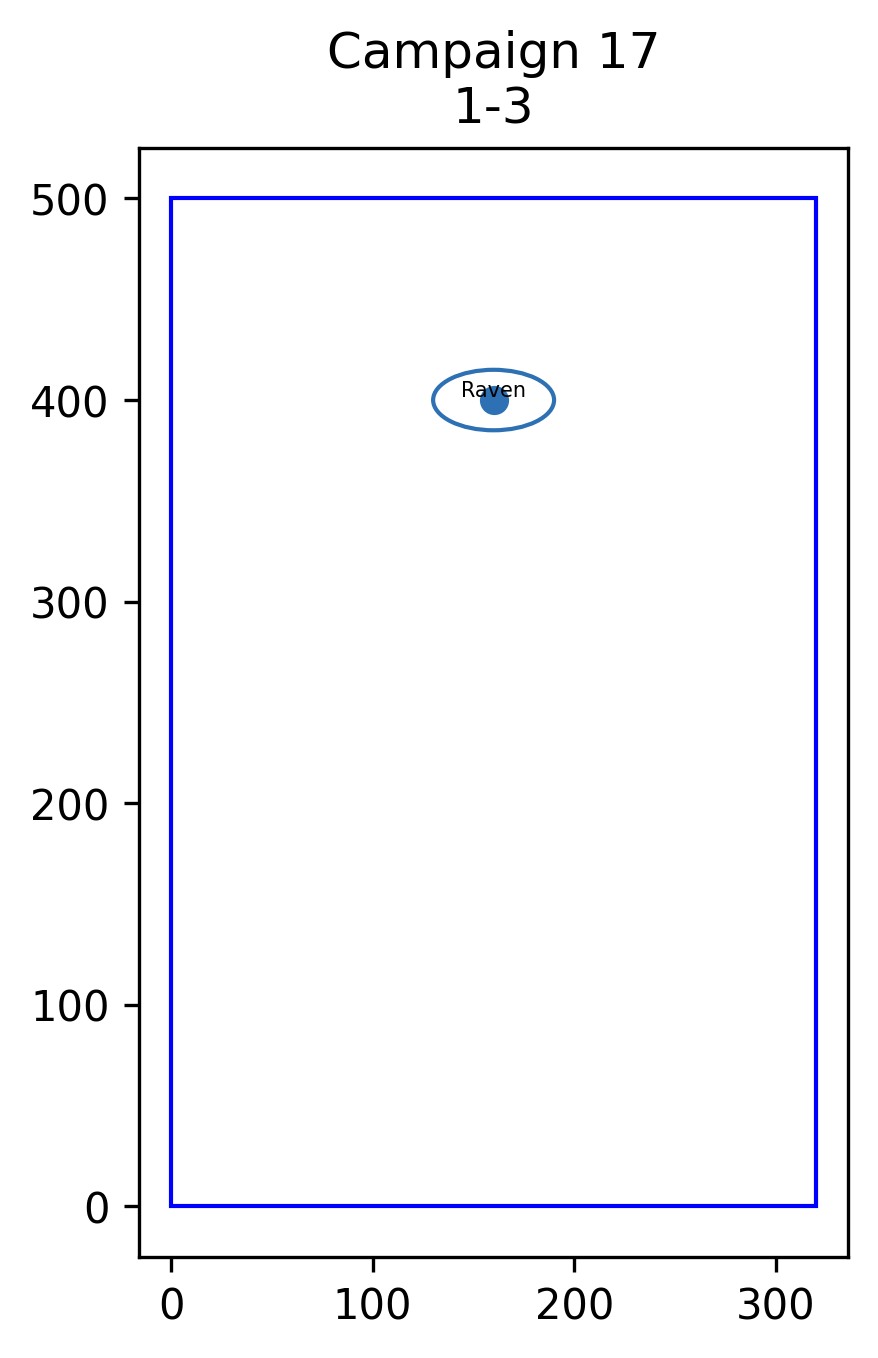 |  |
| Act 2 | 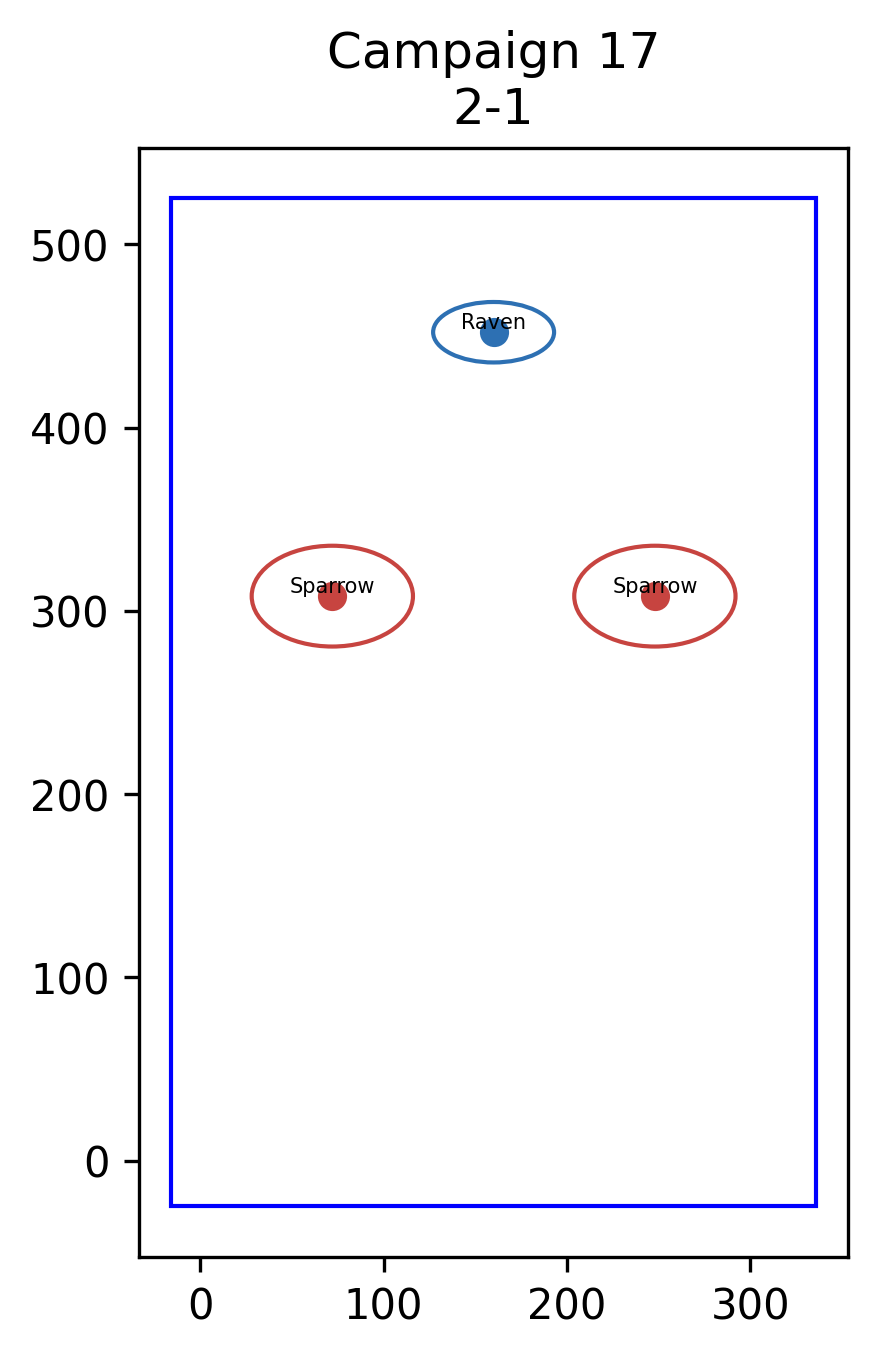 | 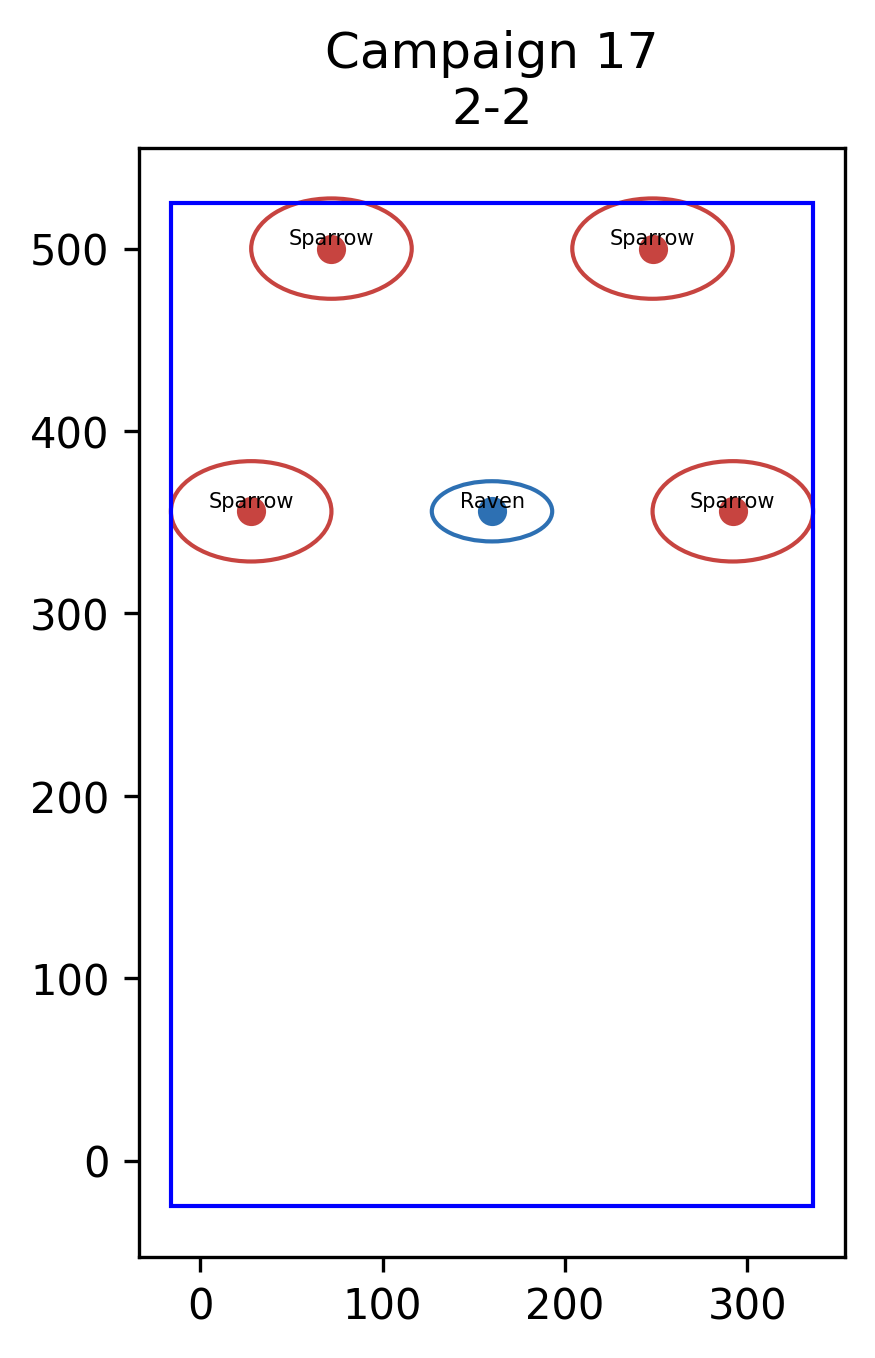 | 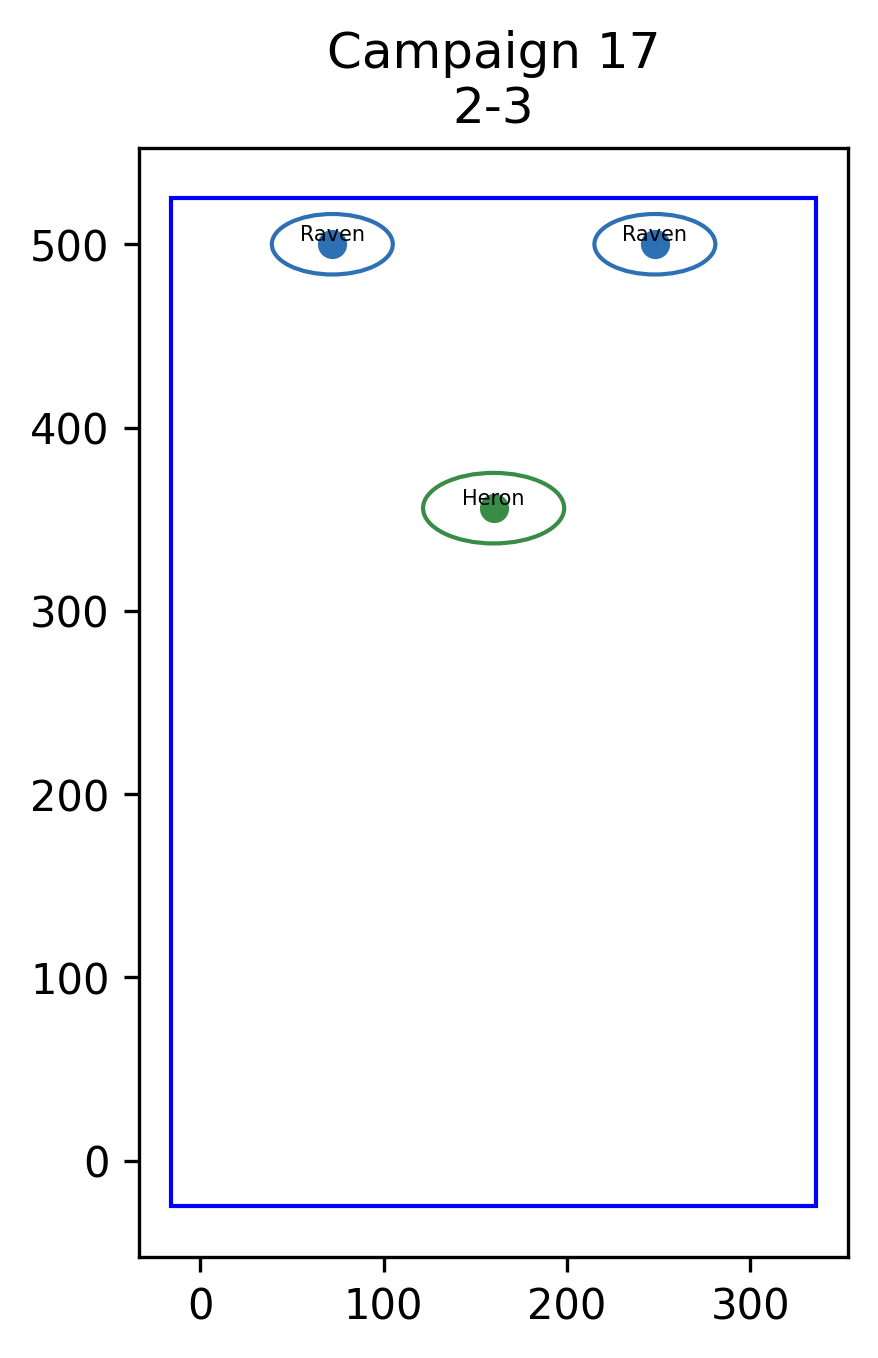 | 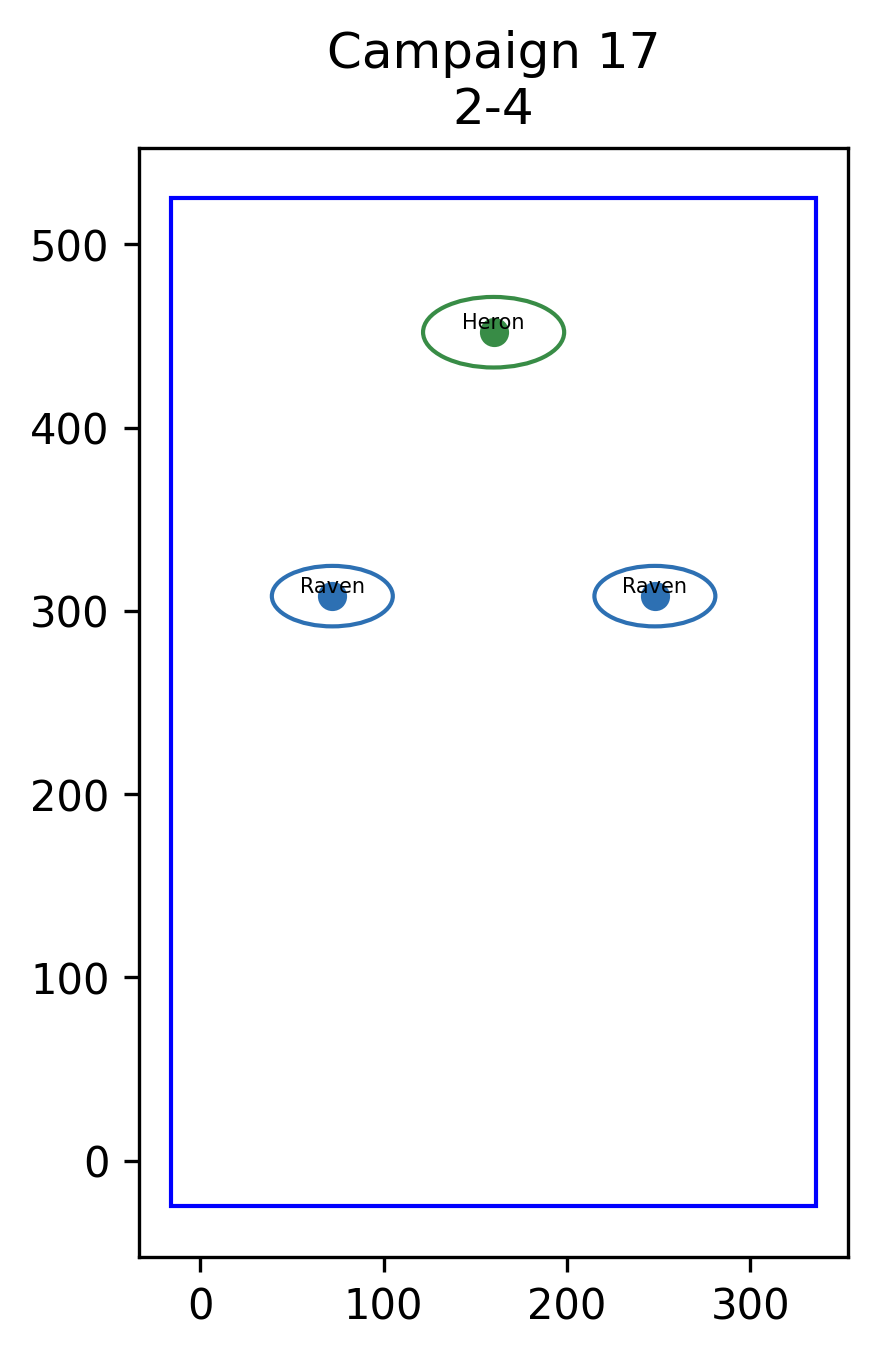 |
| Act 3 | 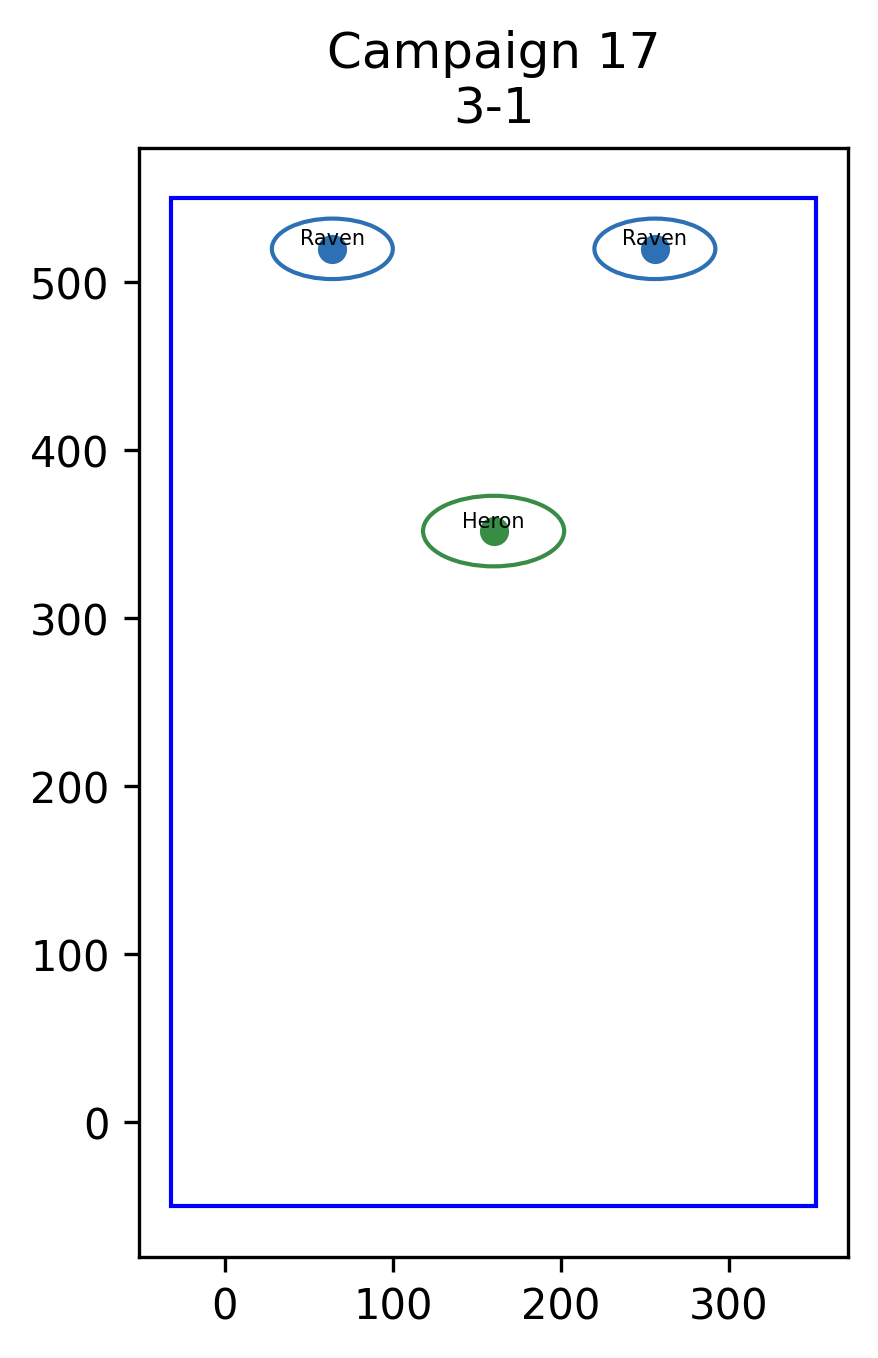 | 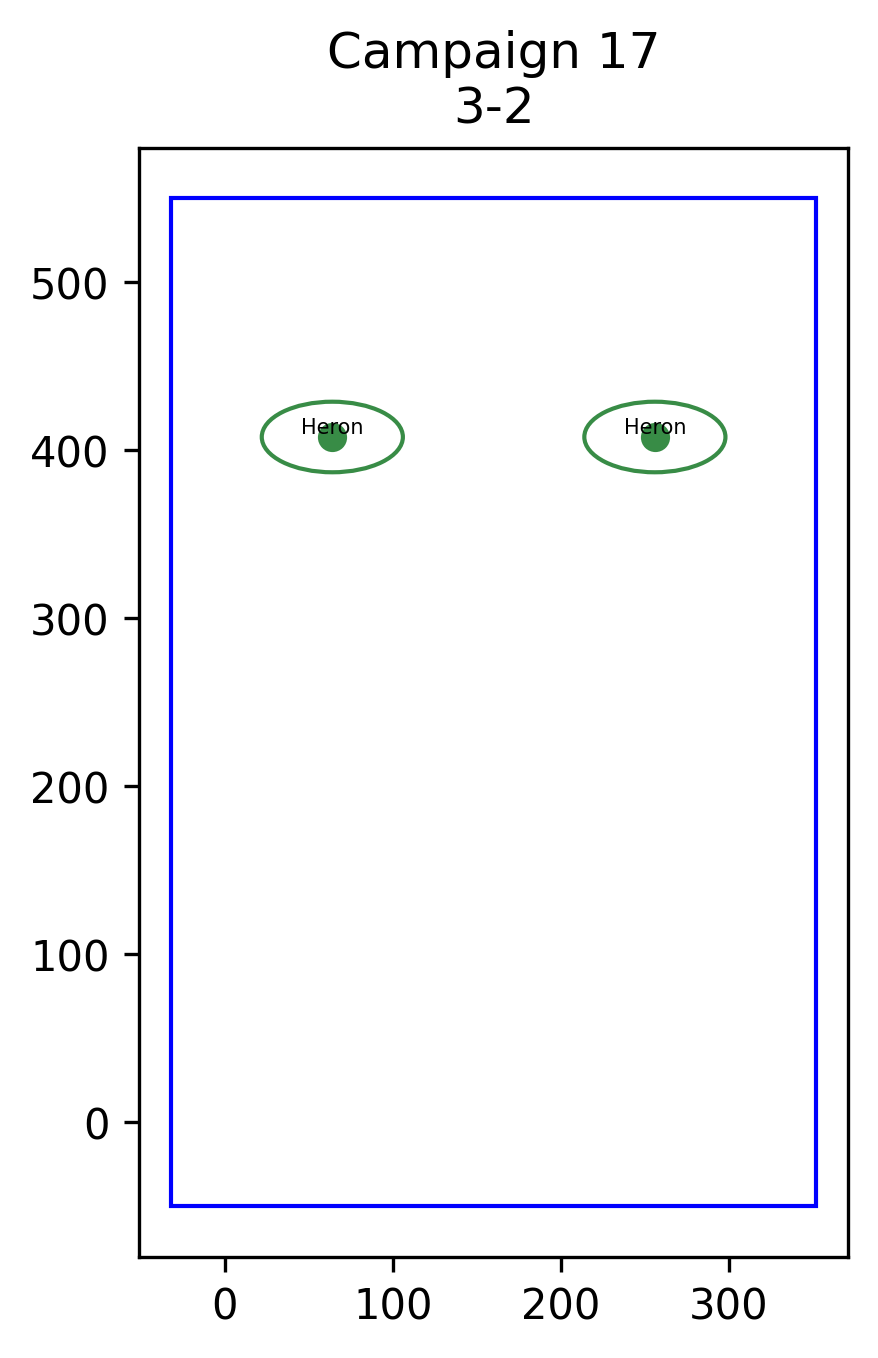 | 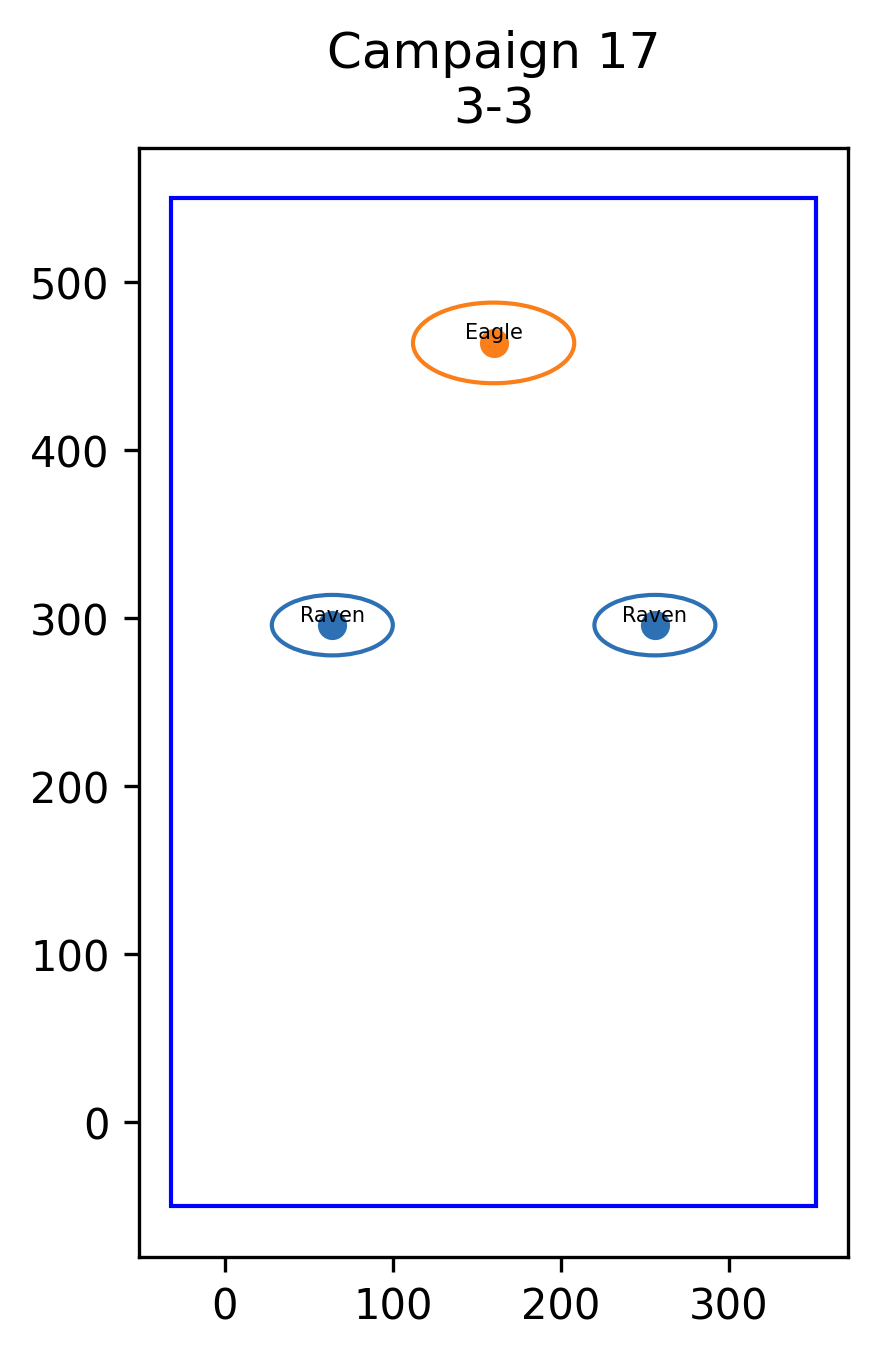 | 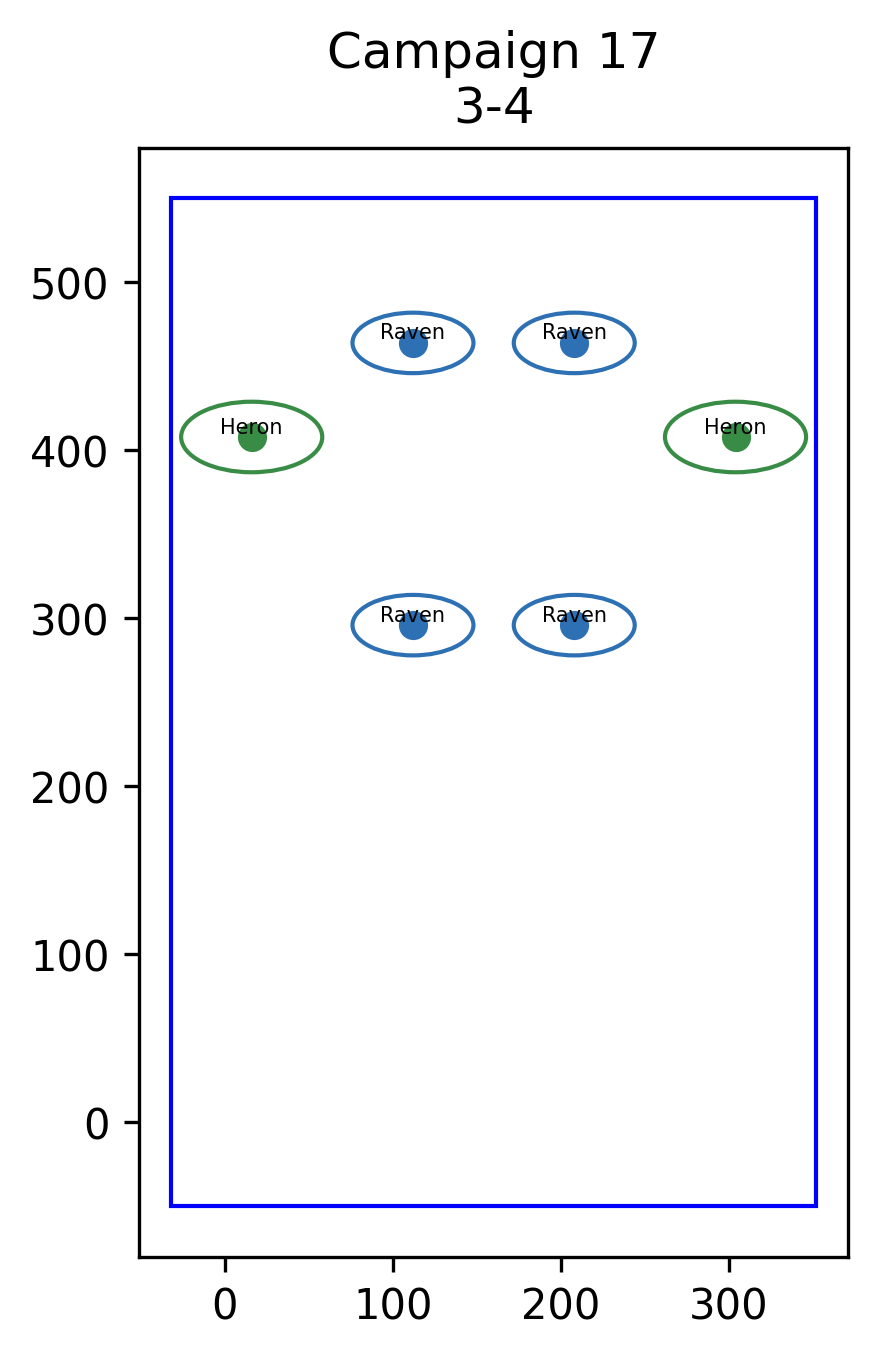 |
| Act 4 | 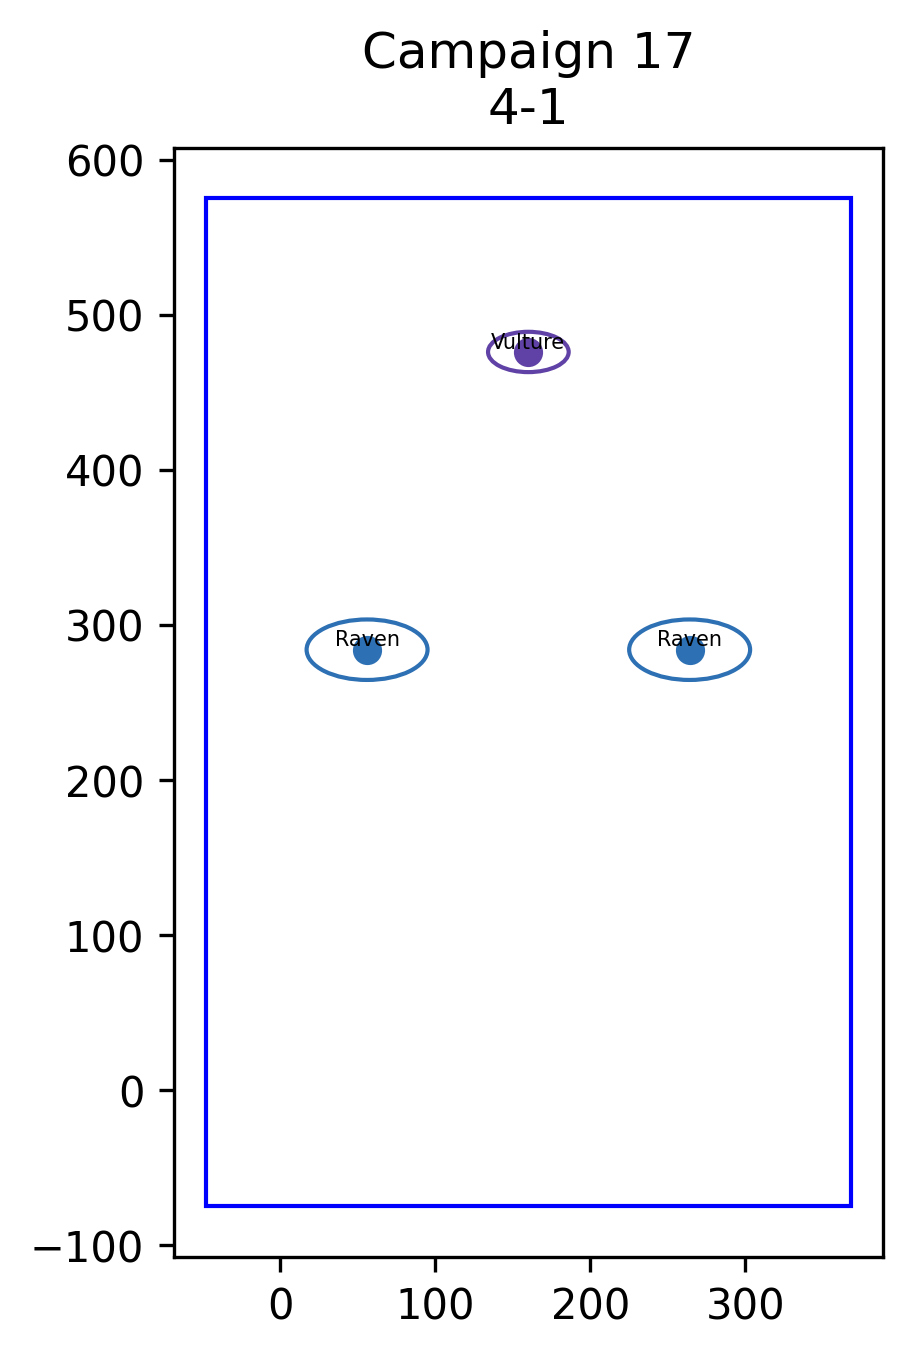 | 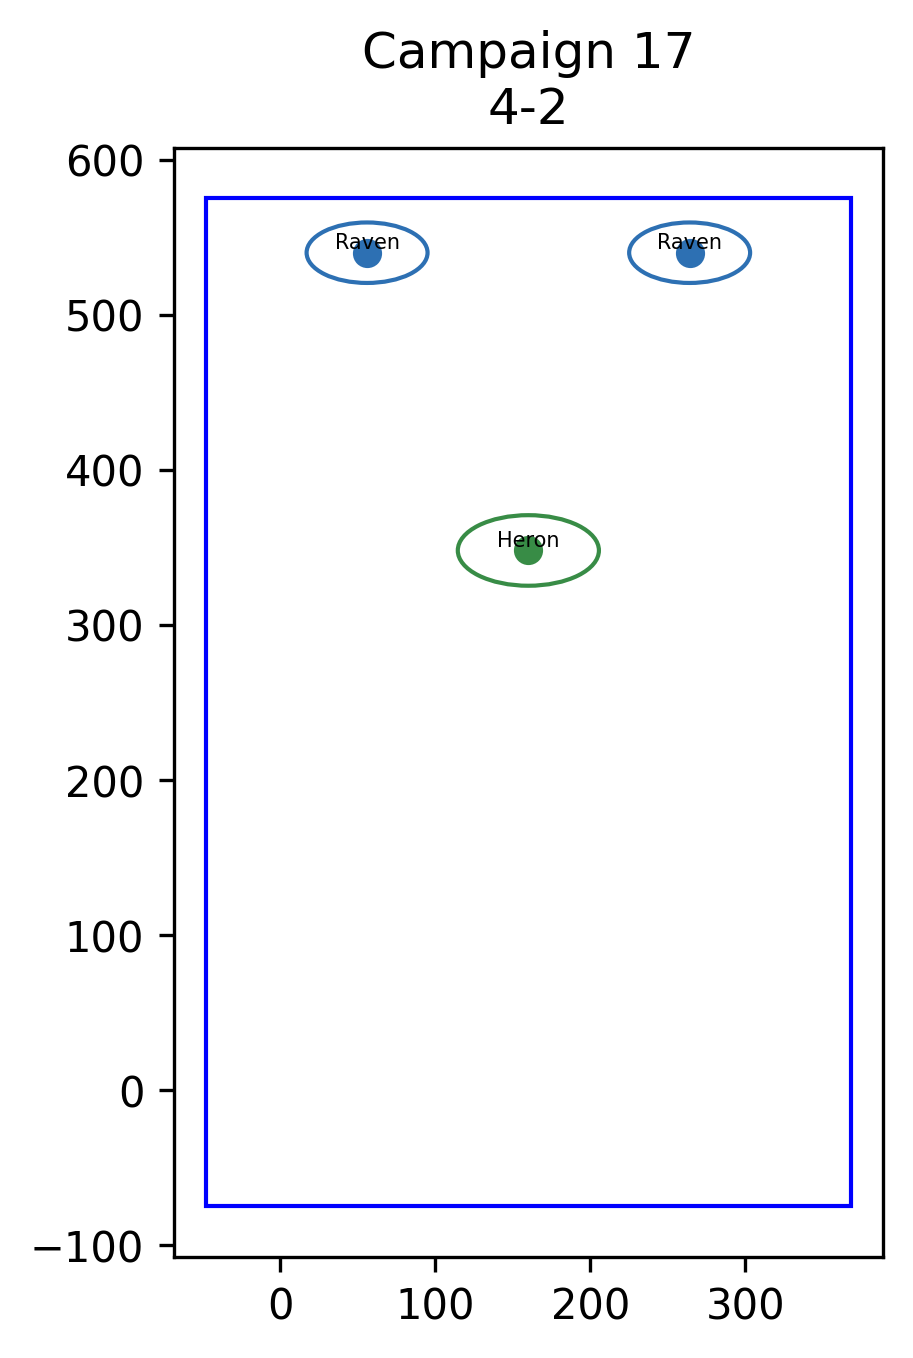 | 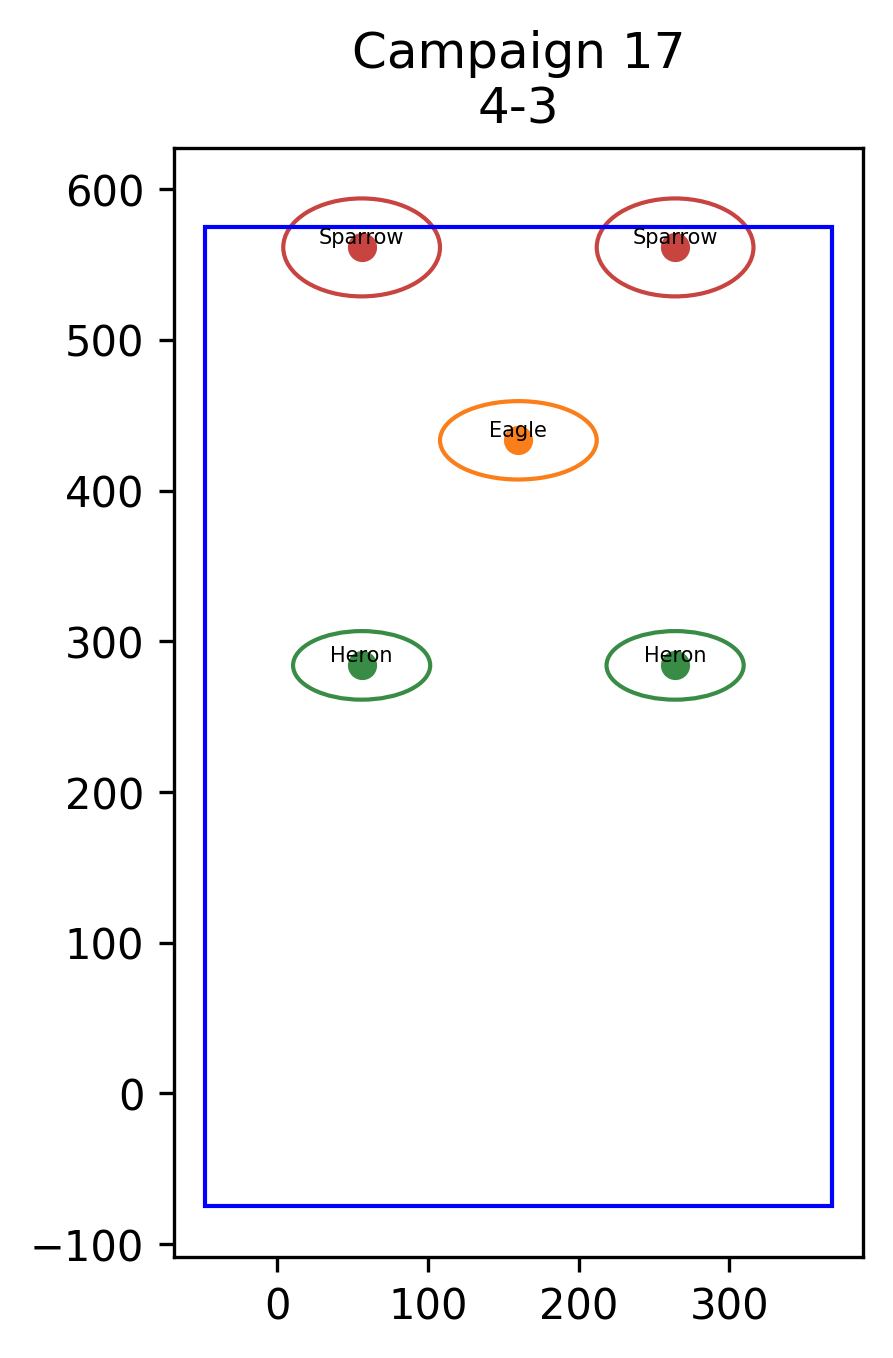 | 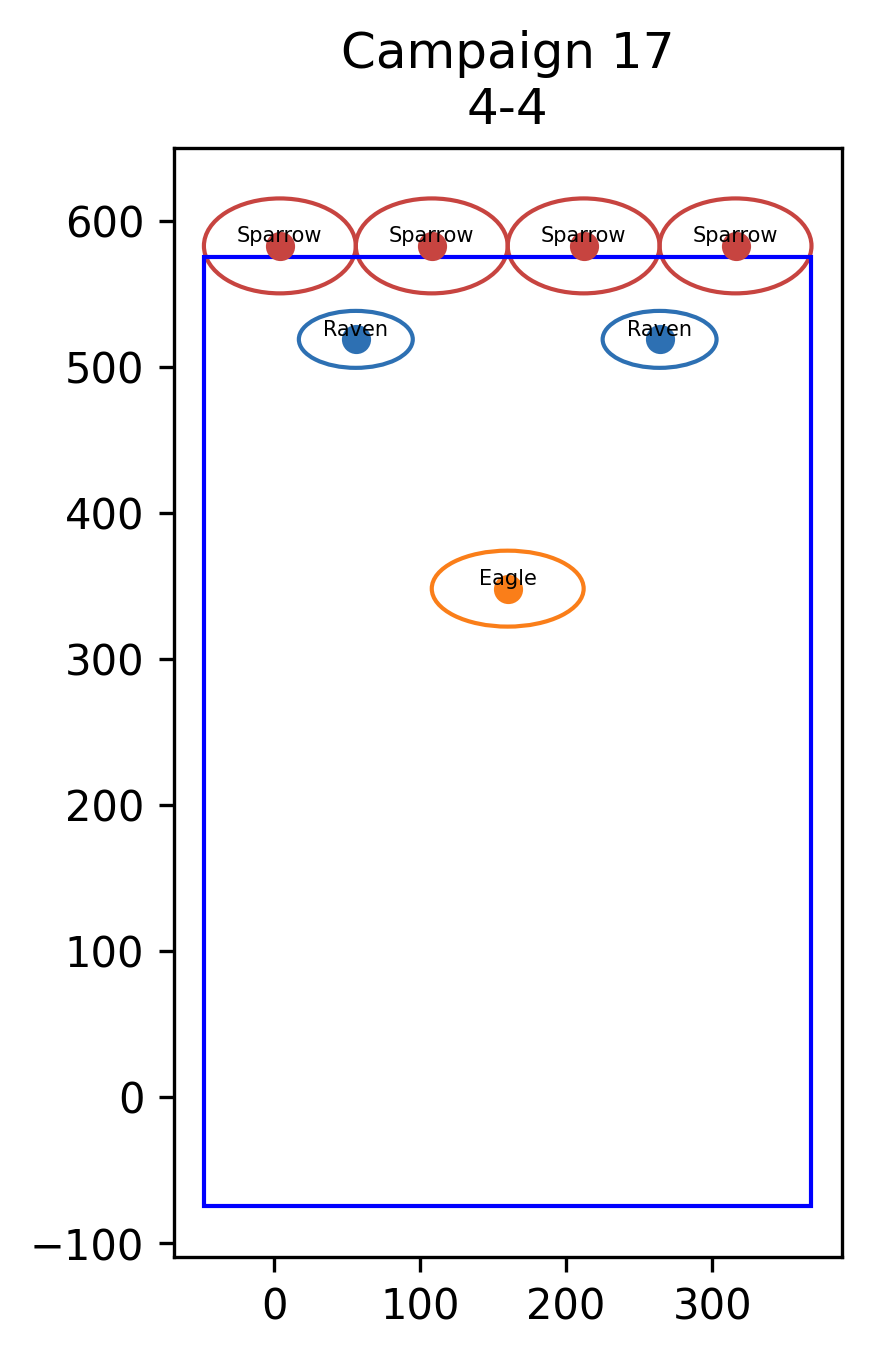 |
| Act 5 |  | 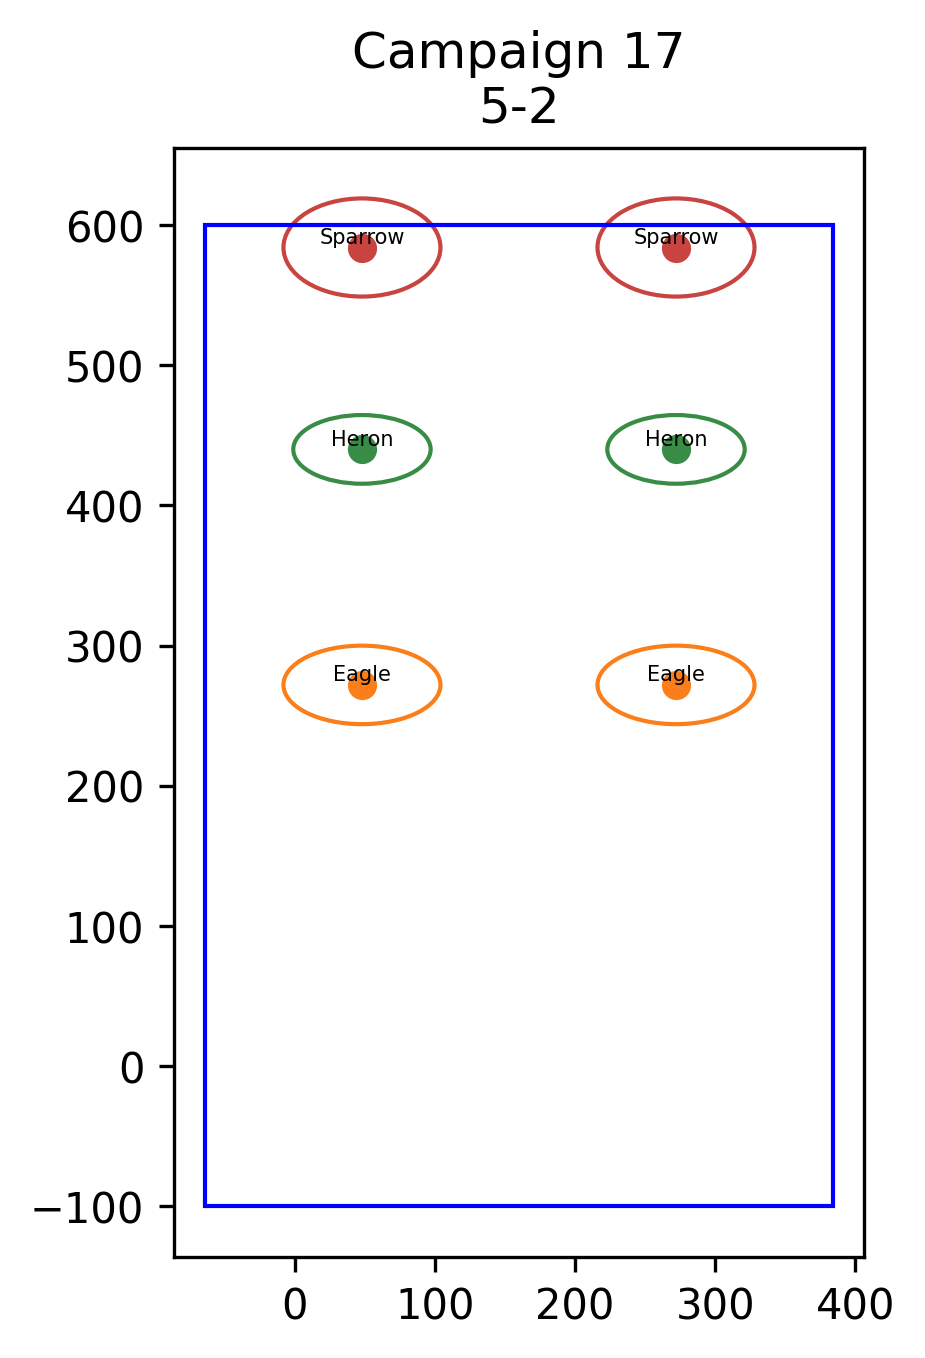 | 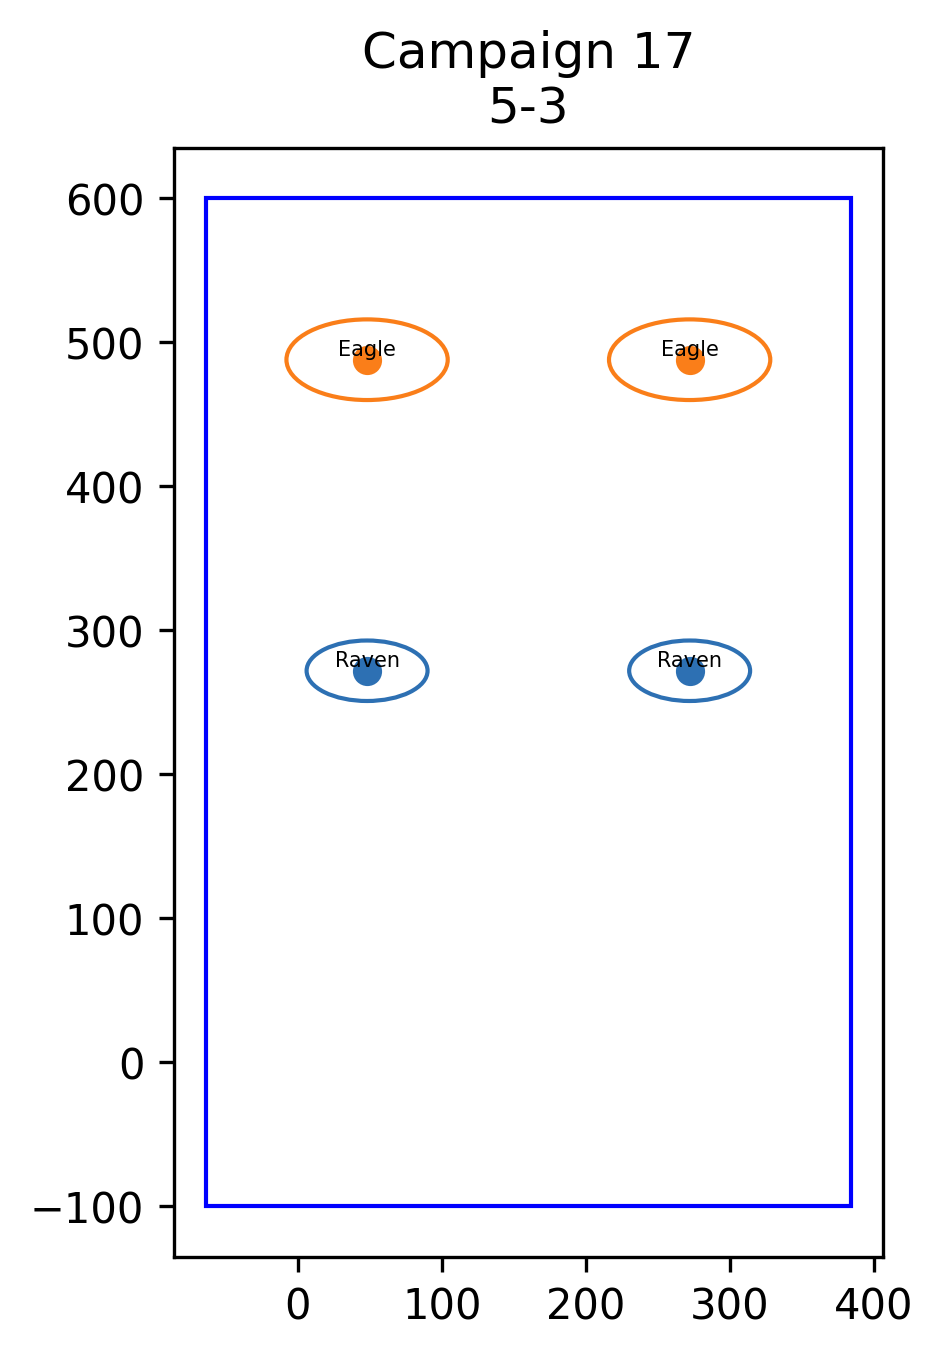 | 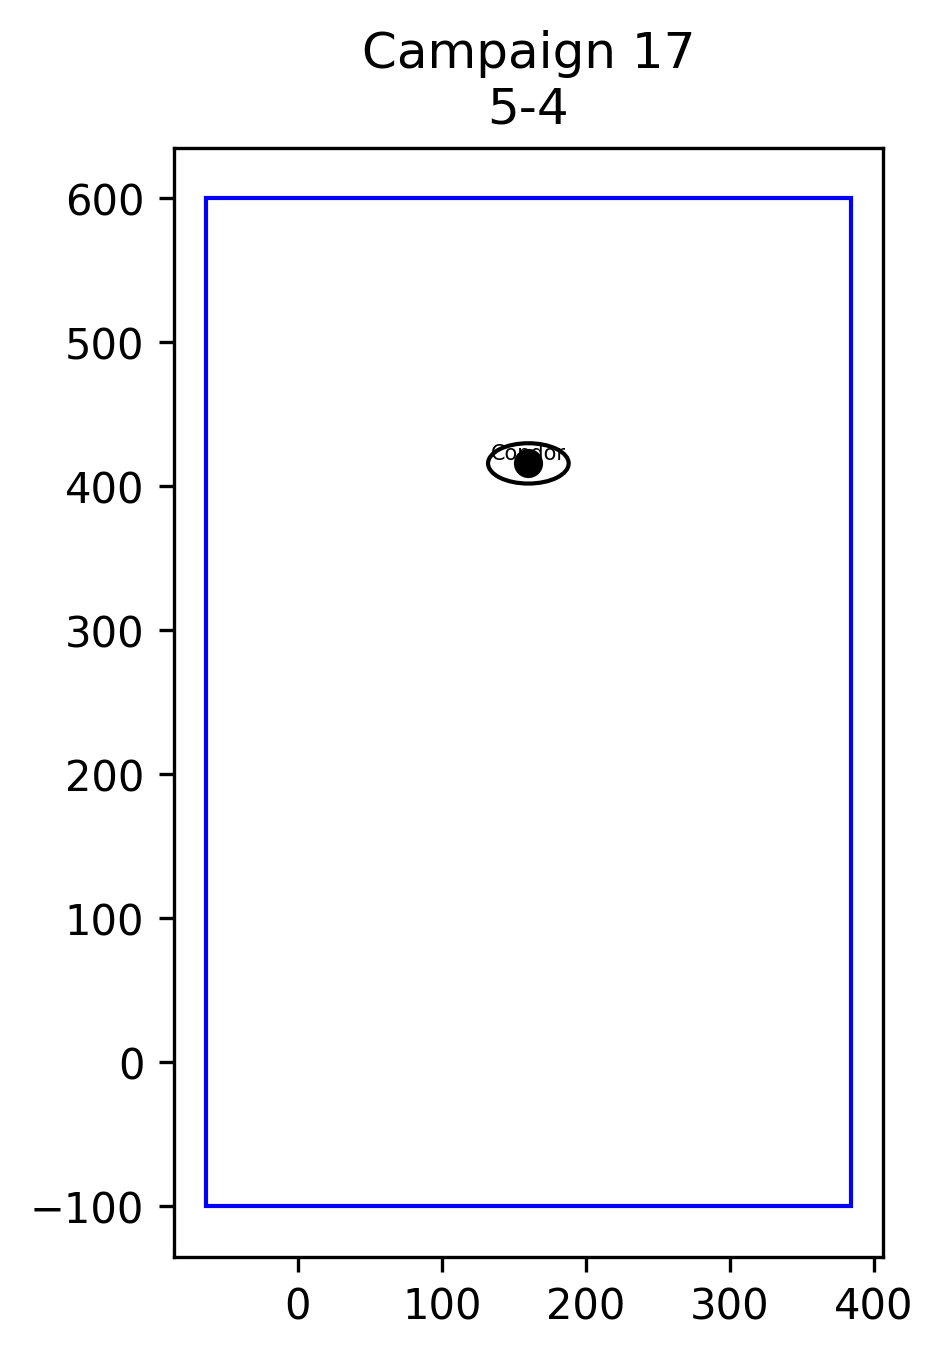 |
| NPC Giving Transmission | Condition | Transmission |
|---|---|---|
Operator Mian | Pre-Mission | Heads up, [Pilot Name]. Sensors are off the scale, many Invaders are incoming! |
Instructor Crubbs | Pre-Mission | The incoming Invaders have Shields. Consider picking a ship that is effective against them. |
Commander Khier | Mission Start (The red crystal artifact, pictured below, appears from above and drifts to the middle of the screen) | We need that artifact safe. Defend it against any Invaders. |
Operator Mian | Clear Wave 2-4 | Even more Invaders are arriving in the sector, be careful! |
Clear Wave 3-4 (An Assault Roc appears in the background from the bottom of the screen and goes over the red crystal artifact) | A Roc-class Invader is coming from the other side! It's heading towards the Artifact! | |
| After the Roc escapes via the Wormhole with the artifact | That Roc took the artifact! It's heading out! | |
Commander Khier | (Continues from the event above) | Do not let them get away [Rank]. Follow that Roc! |
Operator Mian | Clear Wave 4-4 (A full screen scan occurs) | I am scanning to see where they are taking it! |
Mission Complete | The Roc jumped away into a wormhole! I've locked on to its energy signature, jump now to follow it! | |
Commander Khier | Post Mission | Keep chasing that Roc [Rank]. We cannot let them have the artifact. |

Campaign Mission #18
Mission Description: In a last attempt, you chase the Roc that carries the mysterious artifact…
Mission Intel:

Other Bullets: Darts, Pellets, Shurikens
Invader Notes:
- Pellet Spinners (Both Spiral & Lane) do NOT appear.
- Both Shuriken Launchers & Shuriken Wave Launchers appear.
- The Assault Roc in this mission is inverted, meaning its cockpit faces away from you (or the same way as your ship).
- This Roc has specially tuned 2 × T3 Pellet Spreads and 4 × Doomsday Lasers that only fire when in cone range of the respective turrets.
- Doomsday Lasers only appear in Wave 4-4 in this mission, and are basically a non-existent threat, even though it appears in the mission intel.
- As such, this Roc has only 4 × T4 Dart Spreads that are actually a threat.
Special Notes: Although this mission is supposed to be in
Ceres Major, it actually takes place in the
Wormhole.
Total Reward for Completion: (4 Acts) × (4 Waves each) × ¢5 + (¢1.000 from Supply Drop) = ¢1.080
Video Walkthrough:
Wave Layout
| Wave 1 | Wave 2 | Wave 3 | Wave 4 | |
|---|---|---|---|---|
| Act 1 | 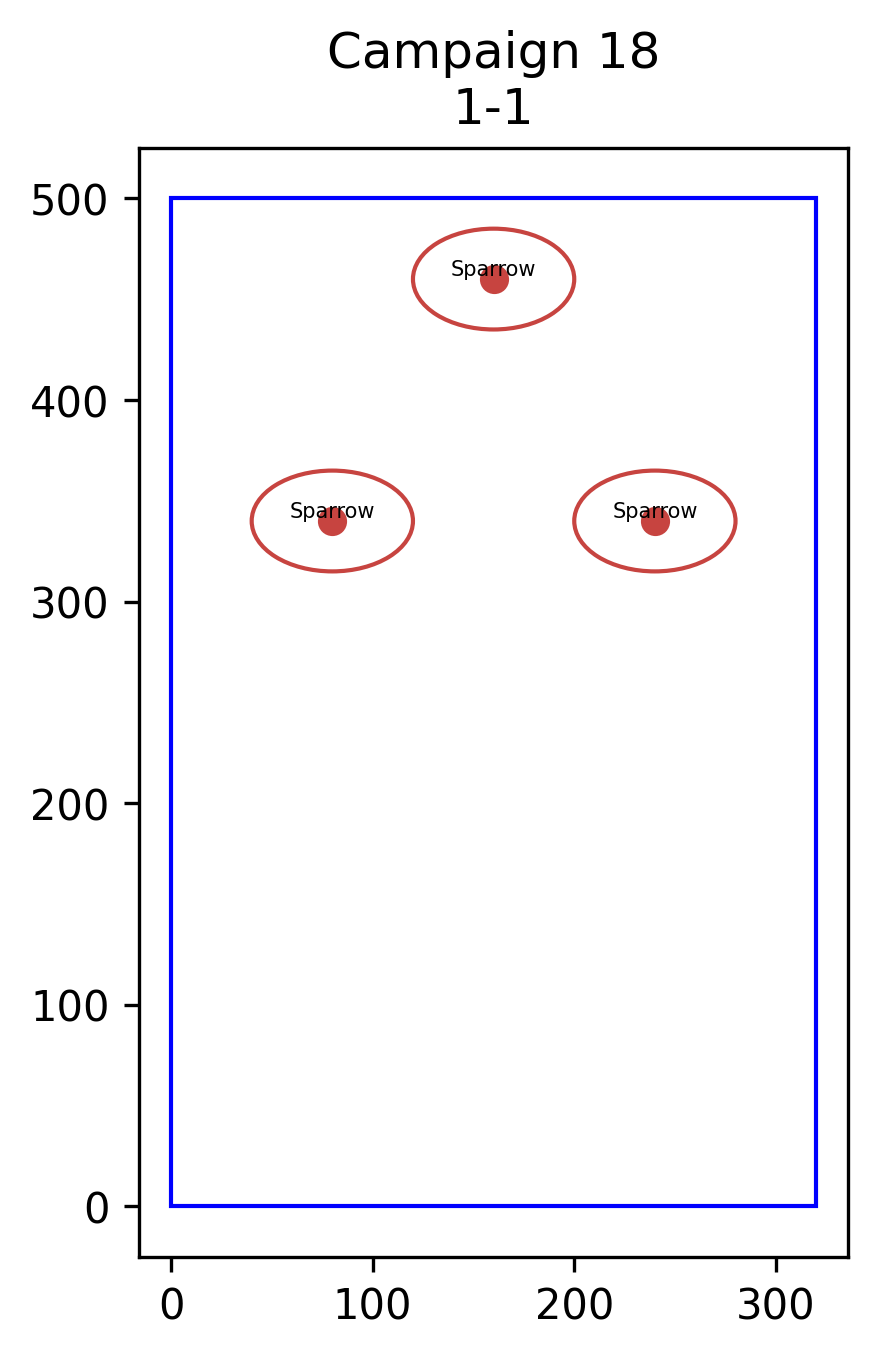 |  | 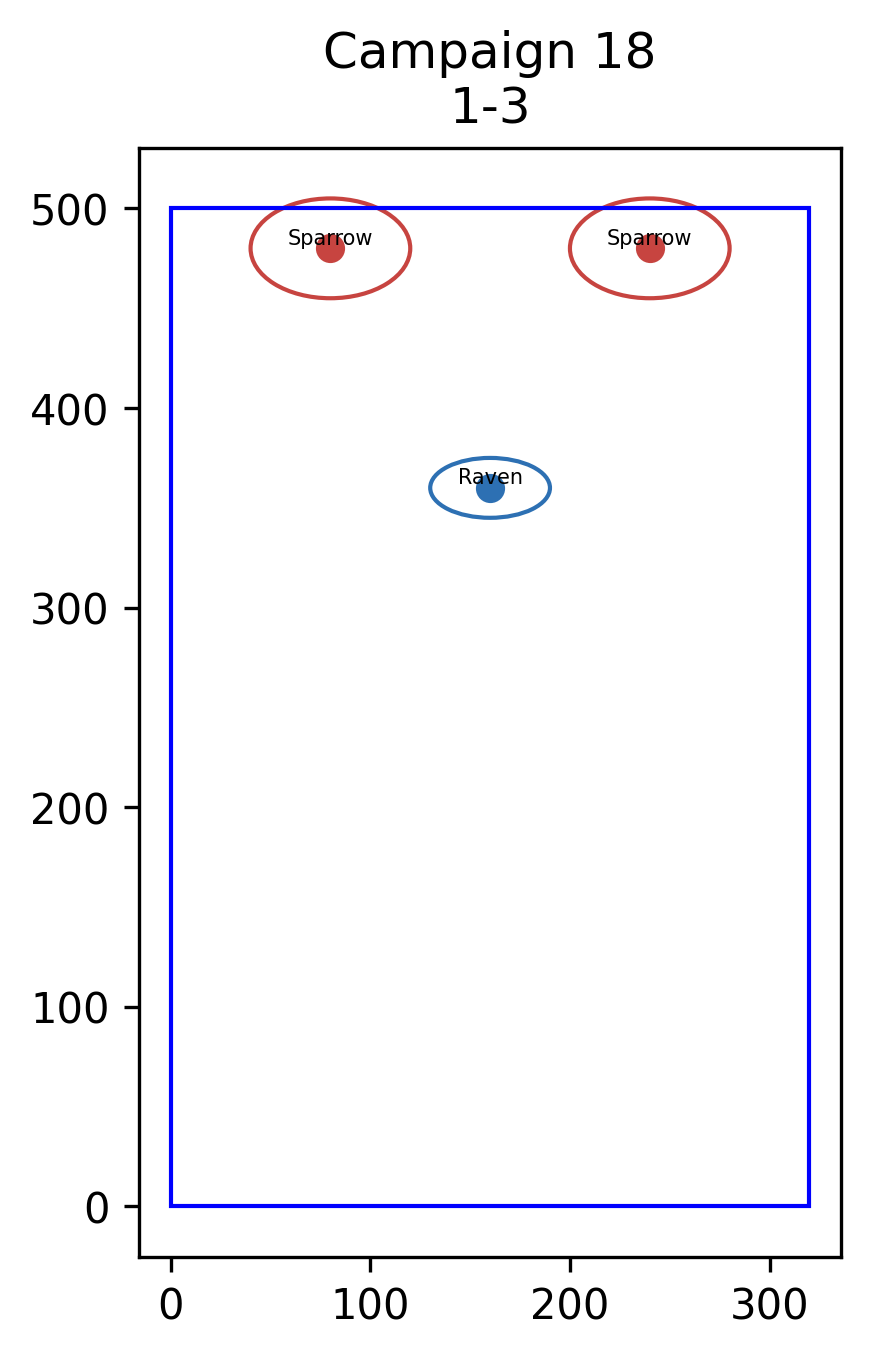 |  |
| Act 2 | 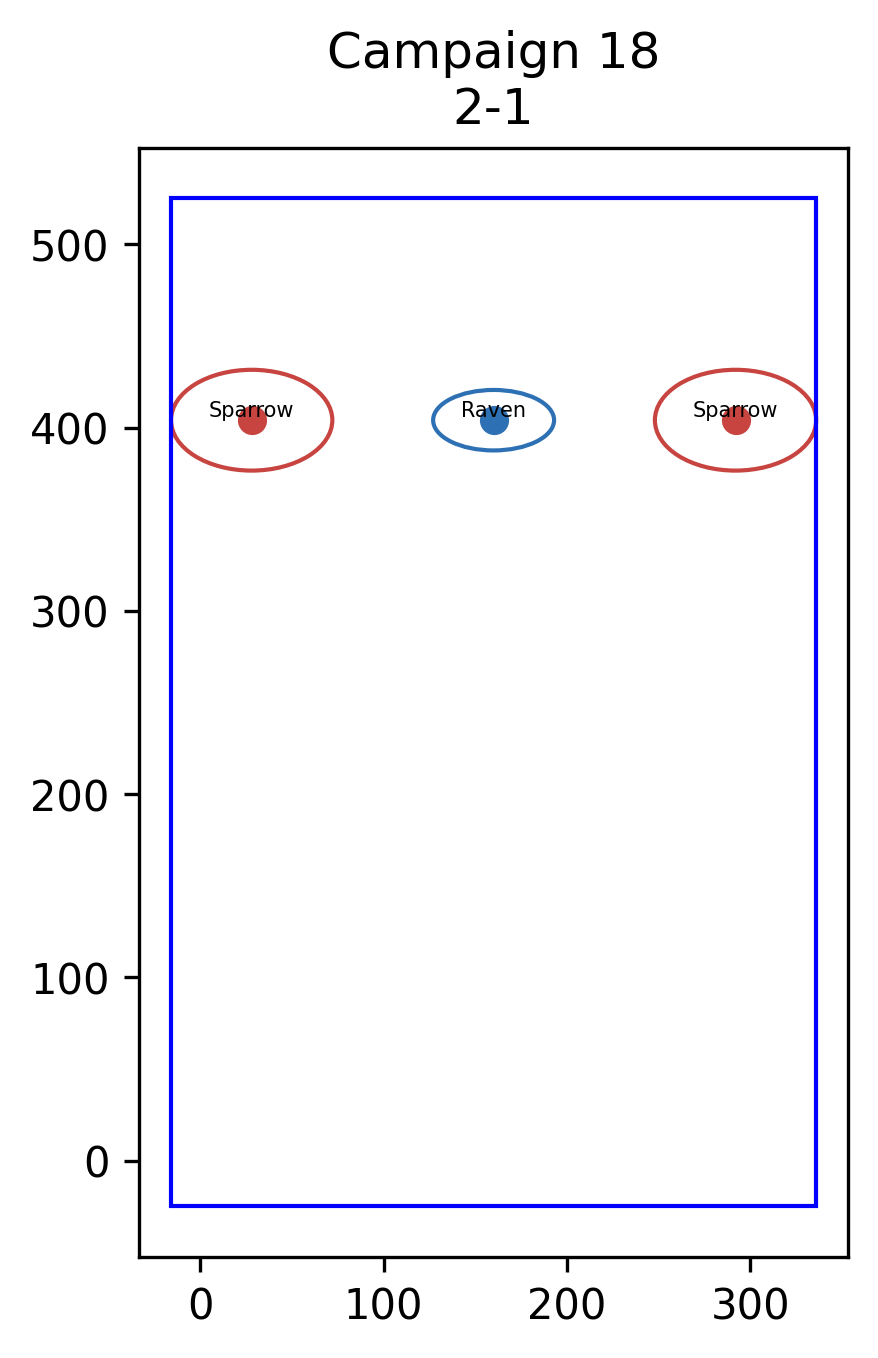 | 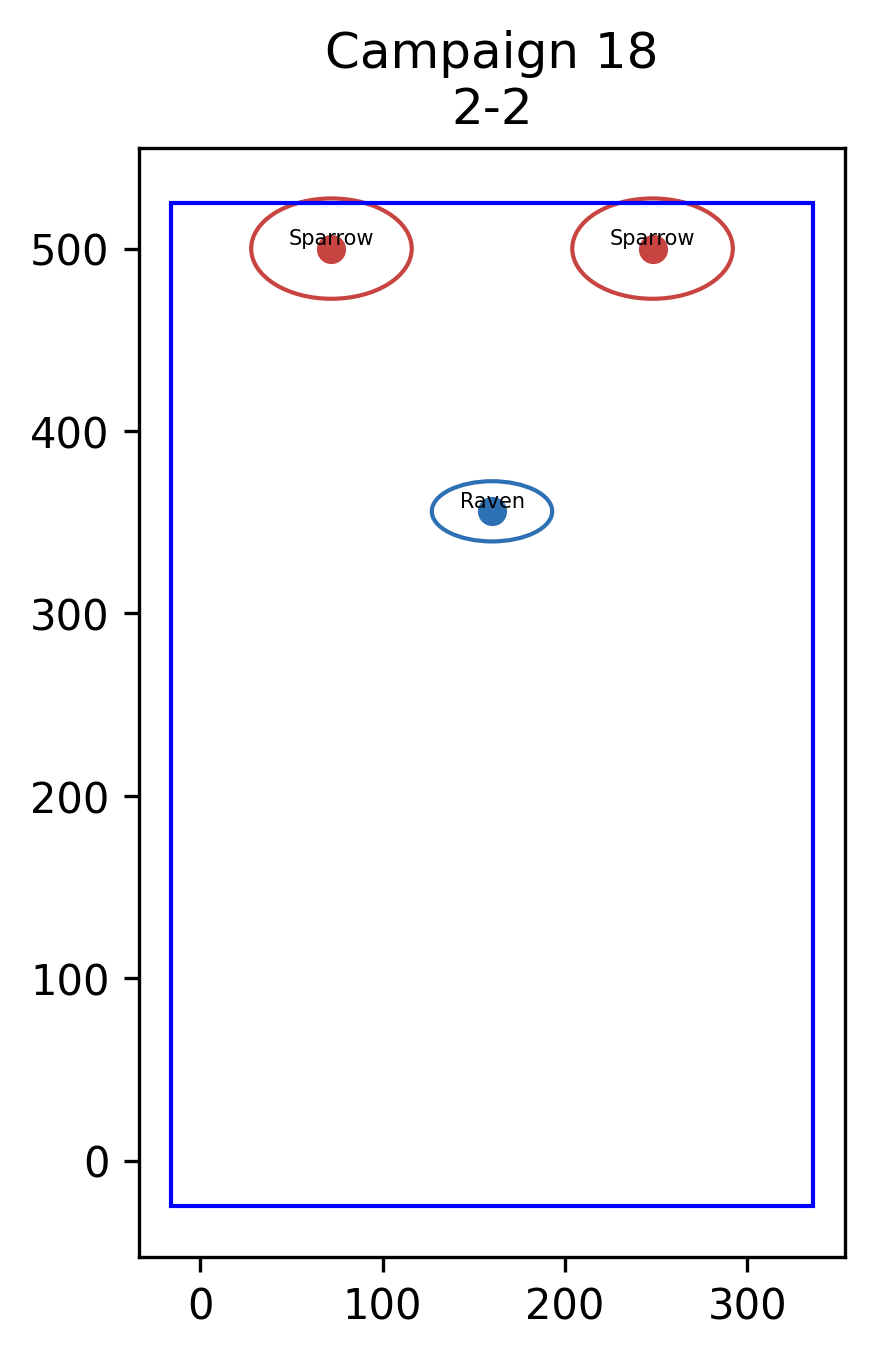 | 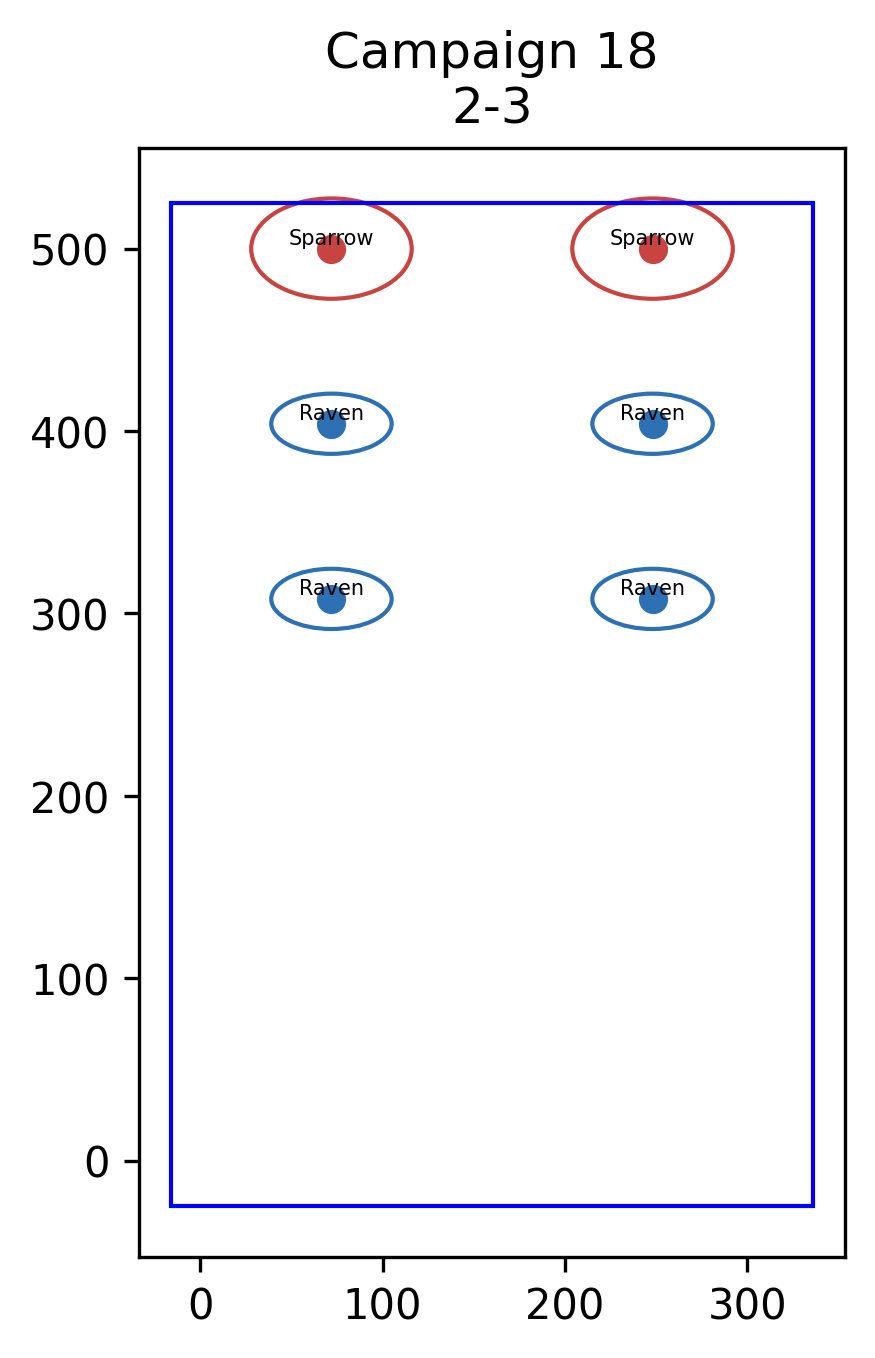 | 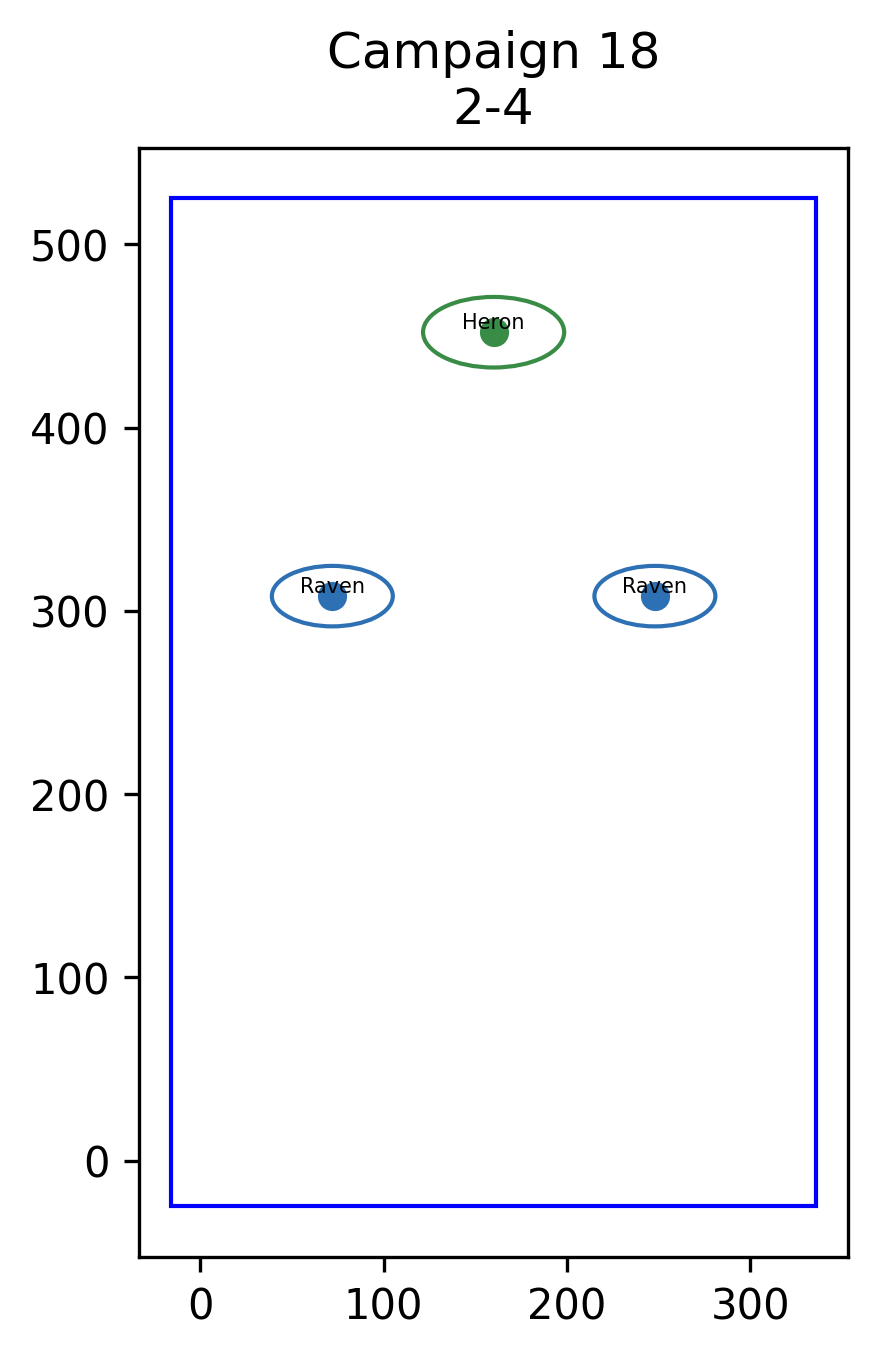 |
| Act 3 | 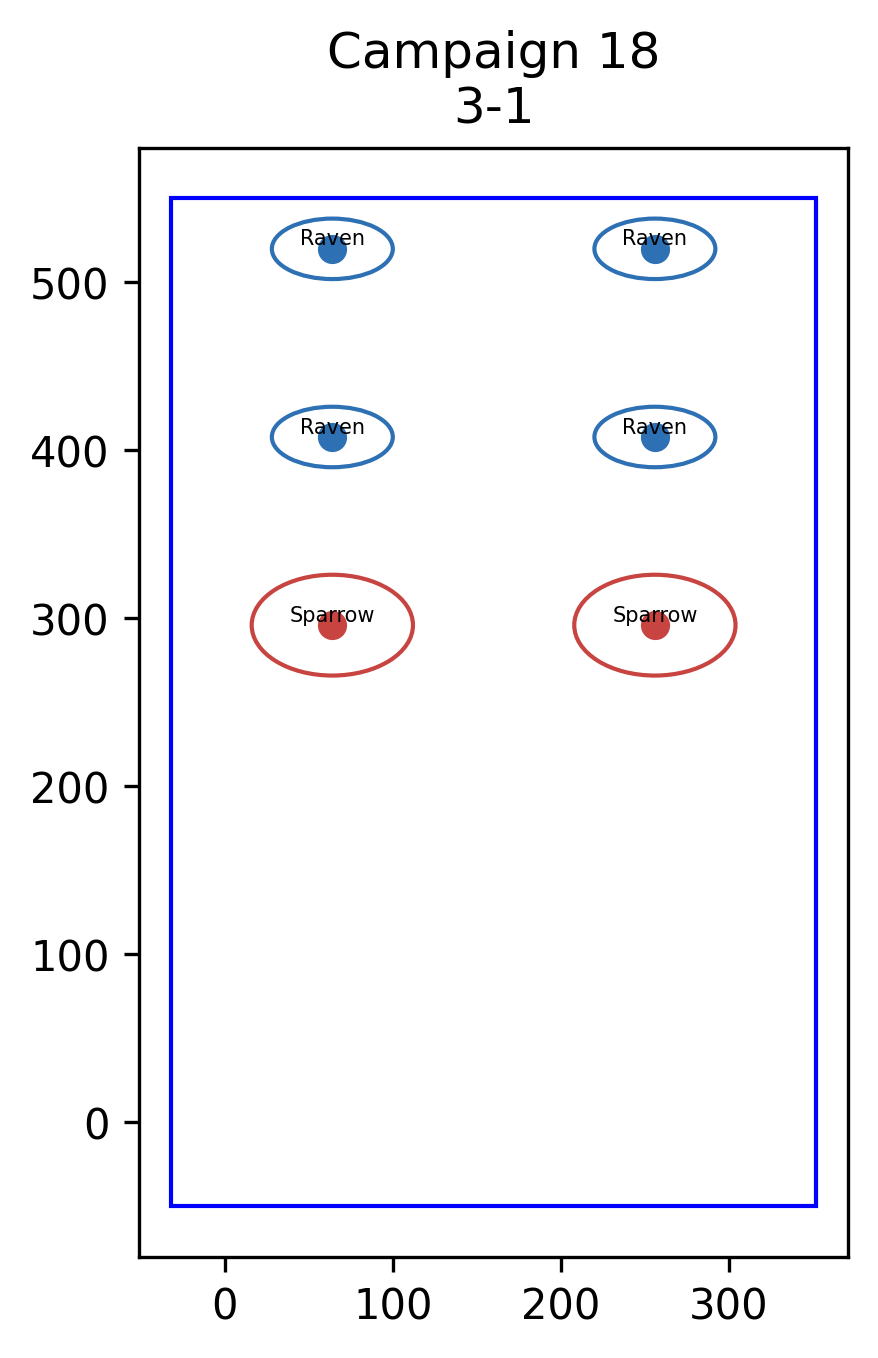 | 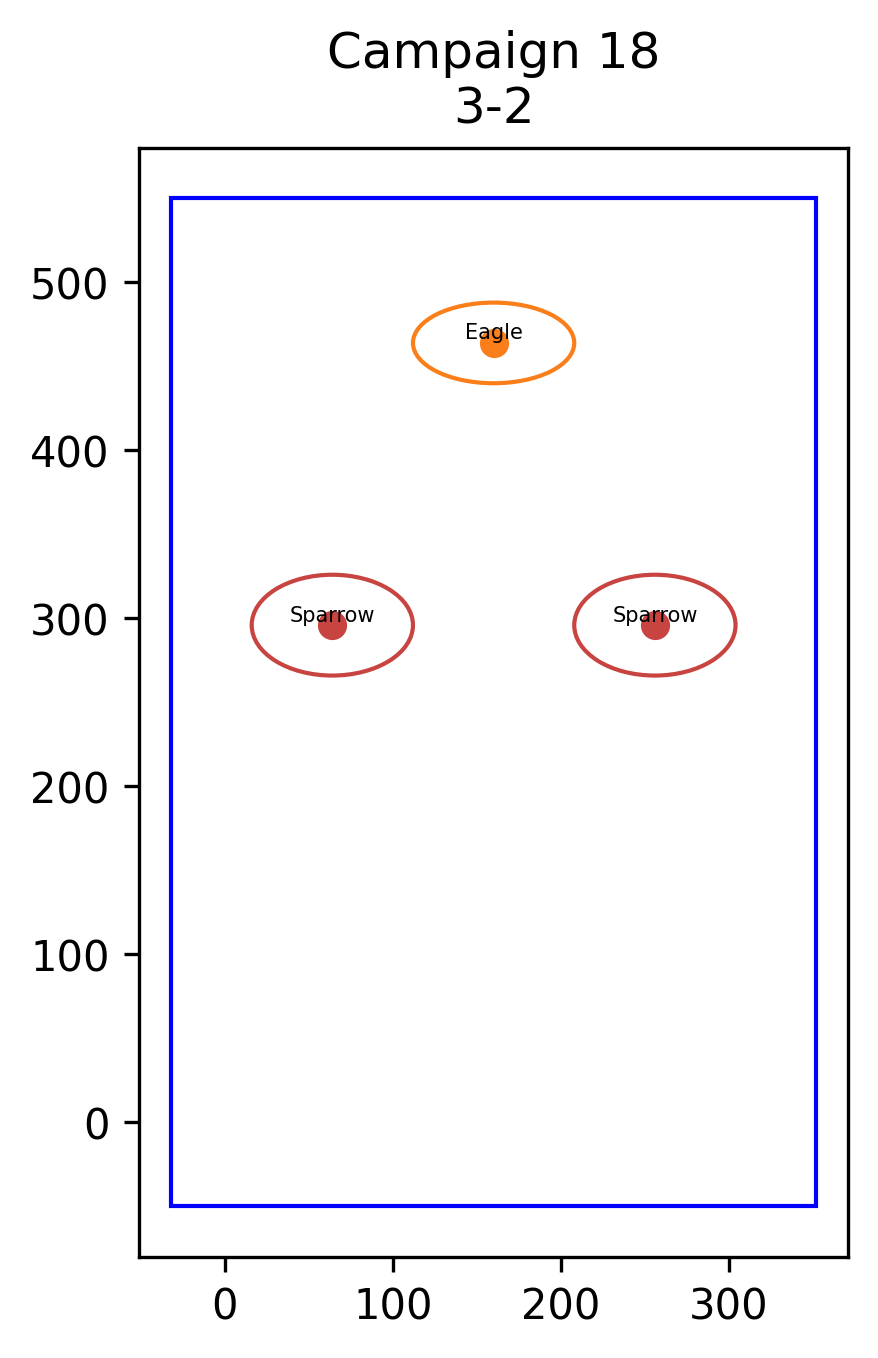 | 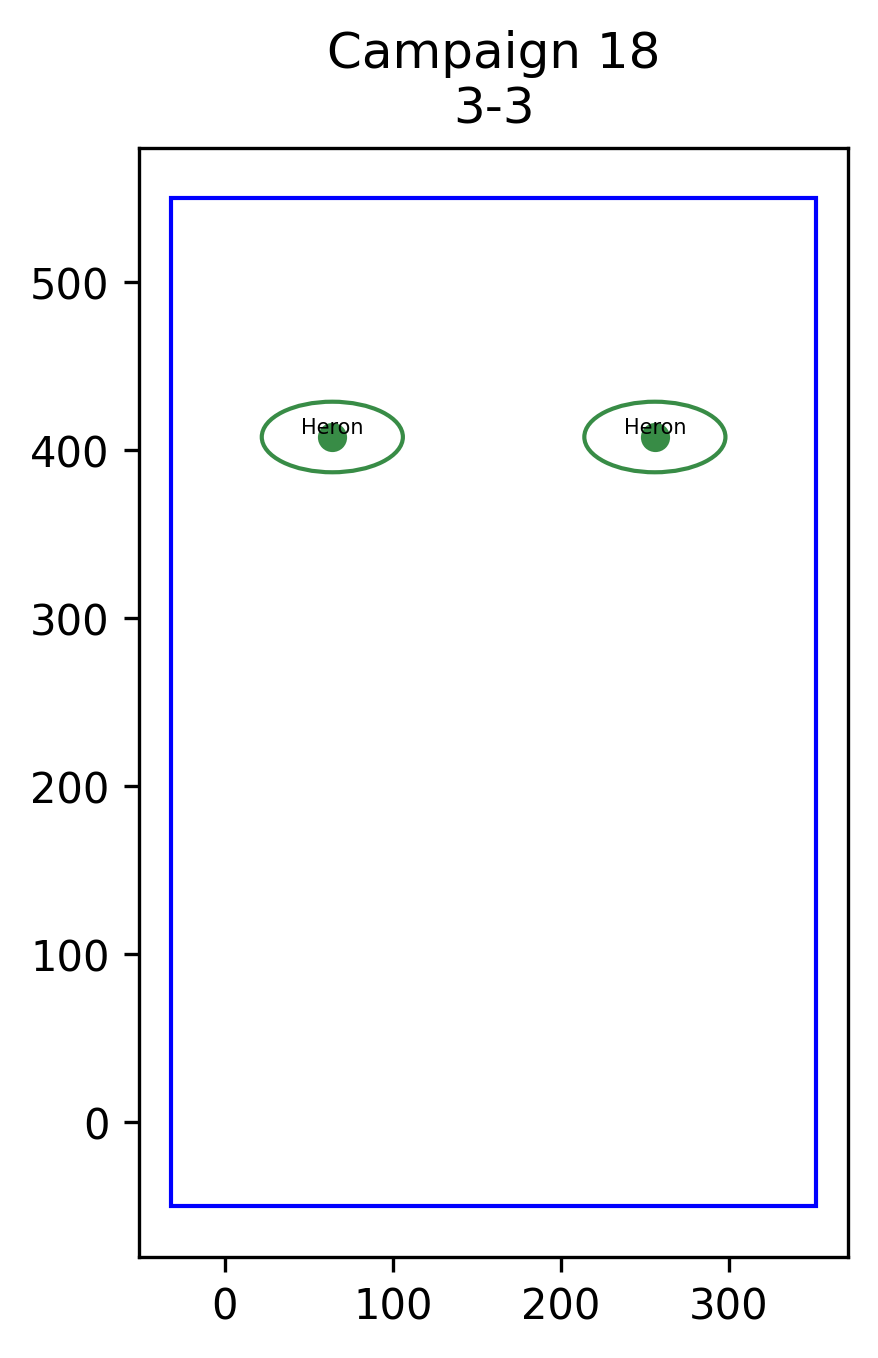 | 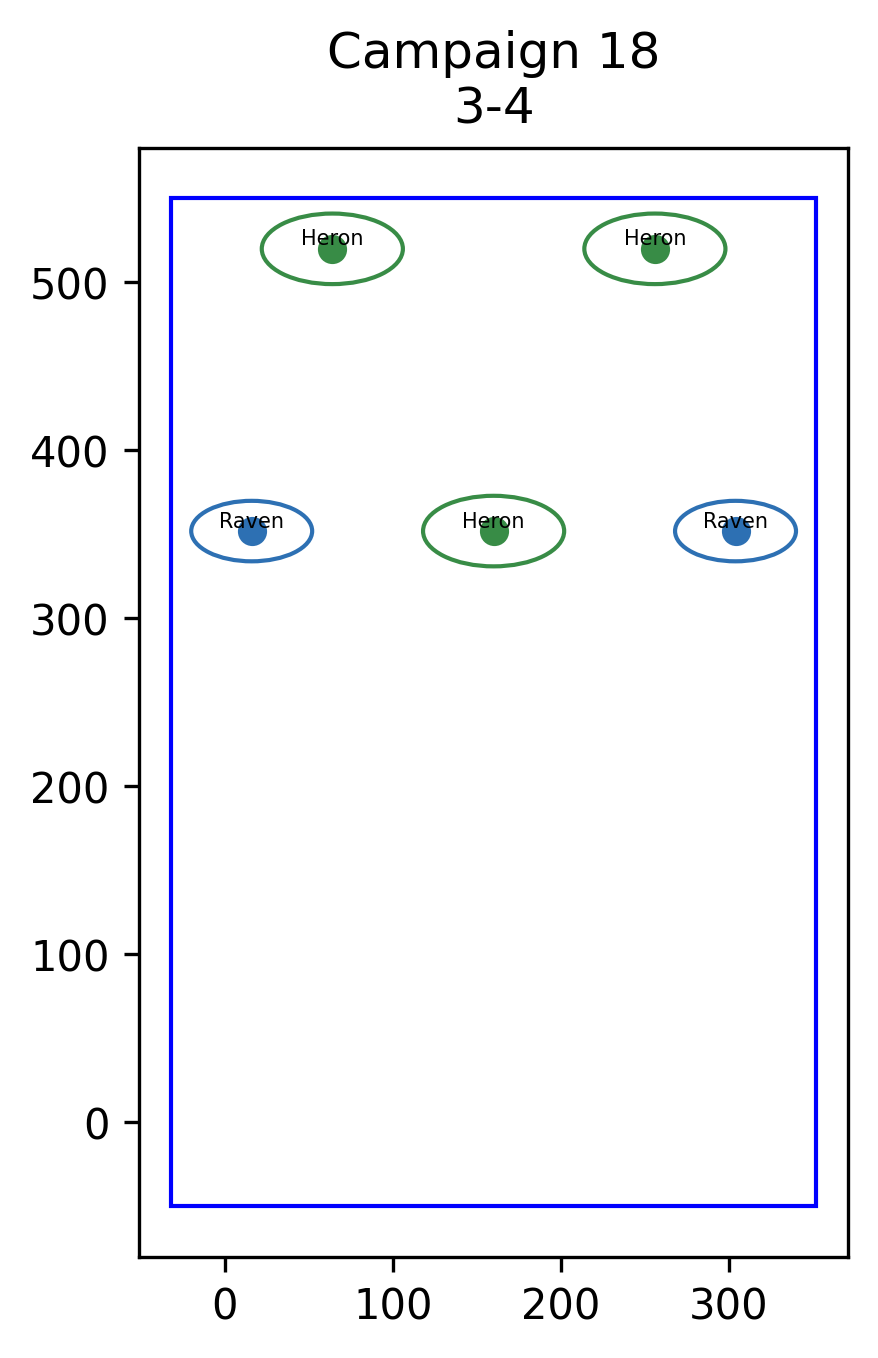 |
| Act 4 | 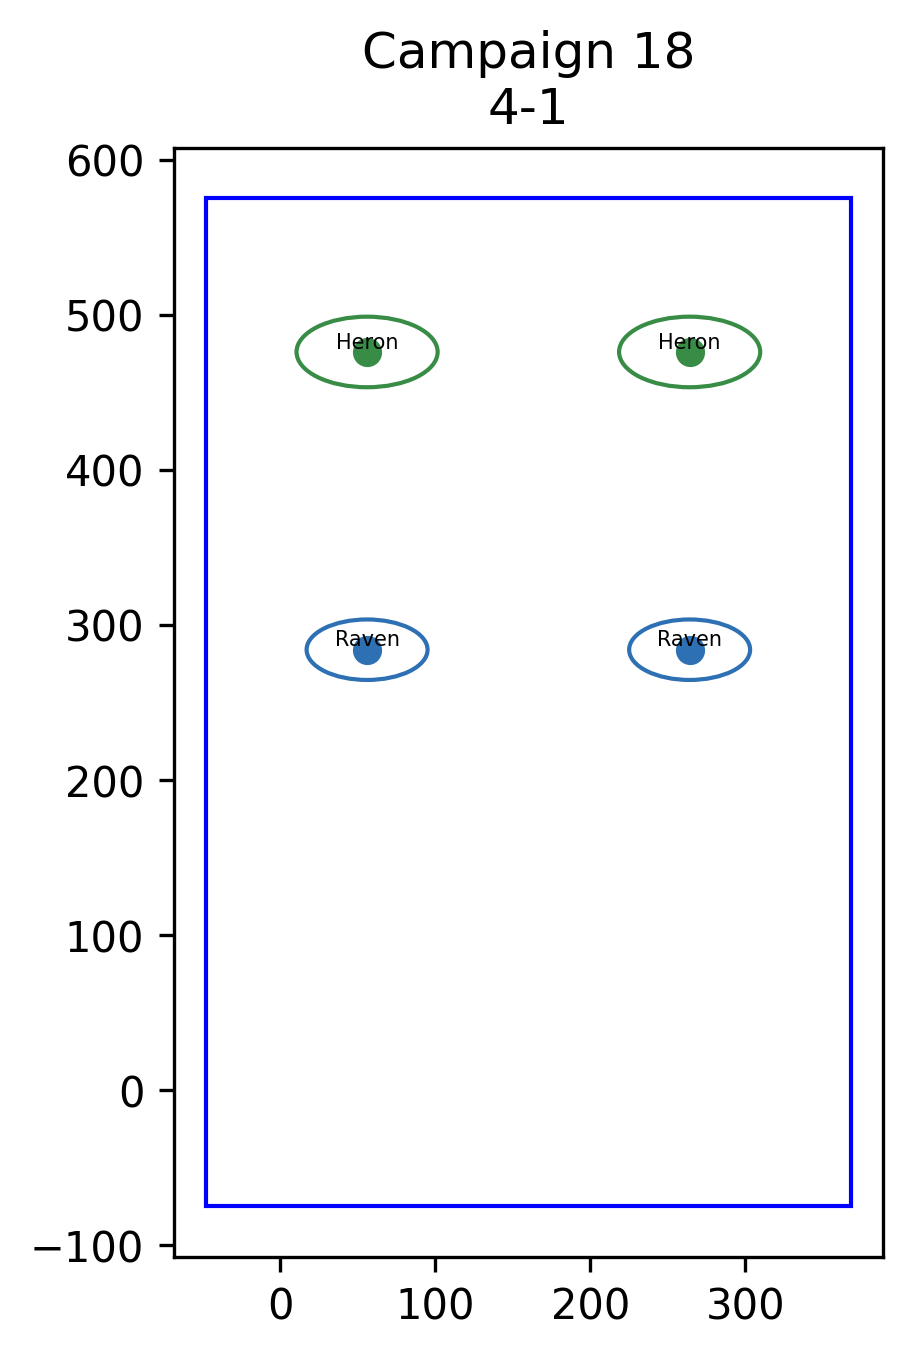 | 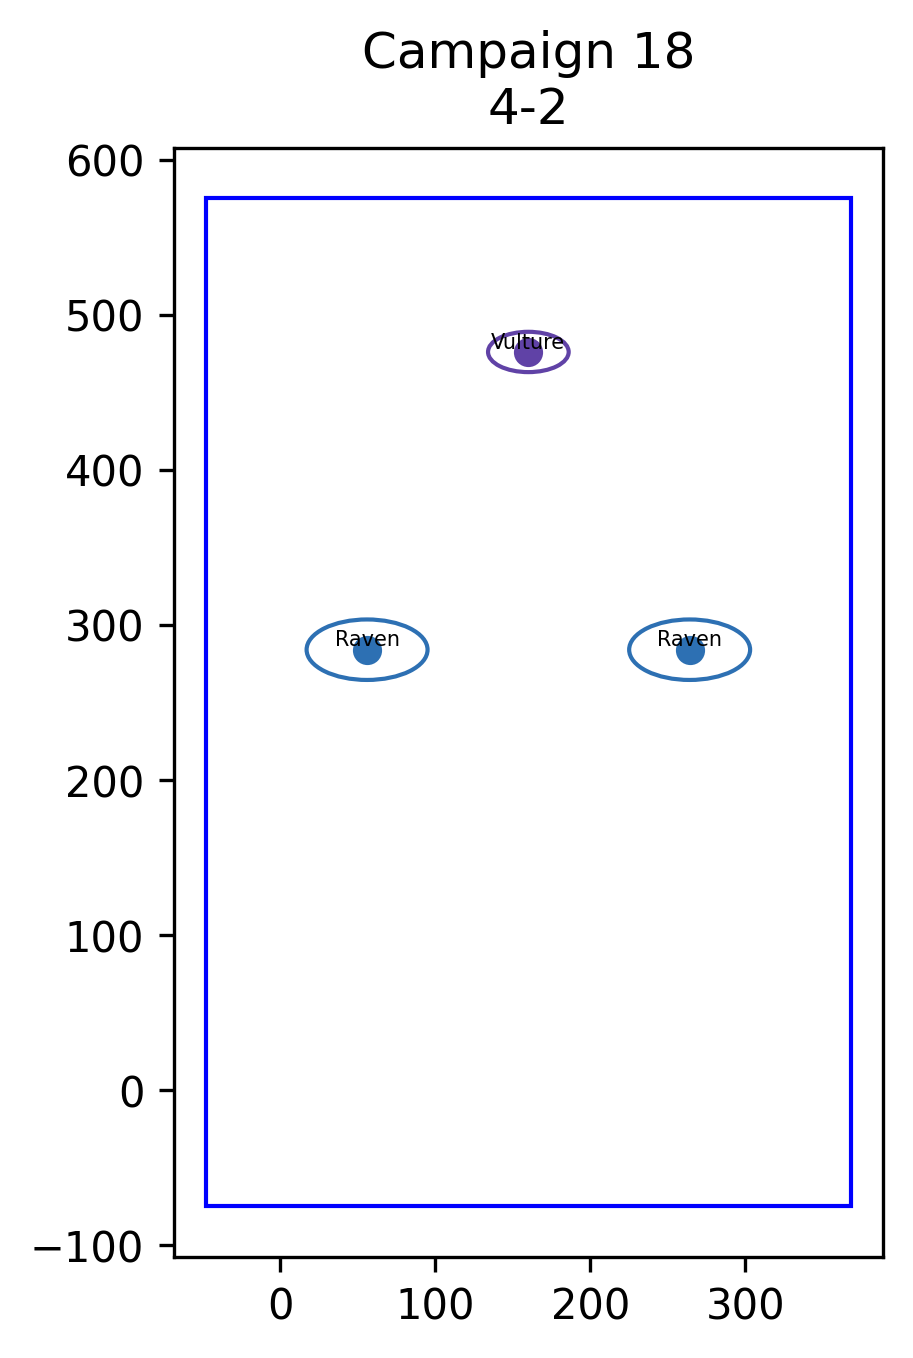 |  | 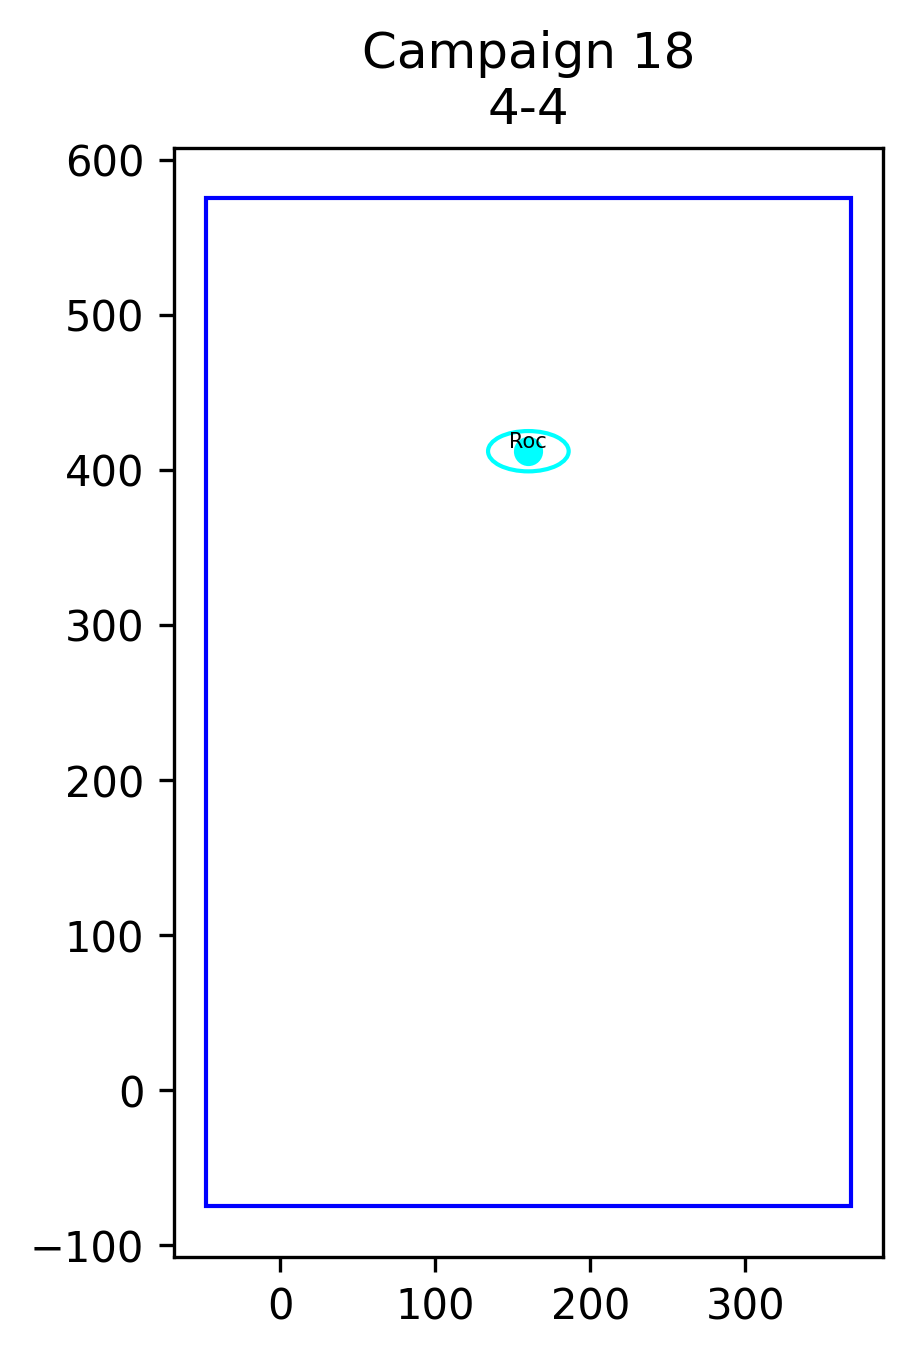 |
| NPC Giving Transmission | Condition | Transmission |
|---|---|---|
Commander Khier | Pre-Mission | Destroy the Roc carrying the artifact. We don't have much time. |
Operator Mian | Mission Start | I am tracking the Roc in their wormhole. You will need to intercept it. |
| Clear Wave 3-4 | The Roc is up ahead and trying to get away, keep going! | |
Mission Complete (Strangely, the Artifact, pictured below, is seen to be left behind in the Wormhole) | Fantastic, you stopped them at the last moment! Quick, get out of there. | |
Commander Khier | Post Mission | Excellent intercept [Rank]. If we cannot have the artifact, they should not have it either. |
| Performance like this highlights your skill and should be rewarded. | ||
Operator Mian | Post Supply Drop (You will receive ¢1.000) | Emergency! We've lost contact with the colony on New Eden. Captain Merrick, your squadron must report to Marshal Liss immediately! |
Trivia 1: This Assault Roc is the only special Roc that appears in Wave 4-4 which is in Act 4. Normally, Rocs only appear in Act 5 or 6. In addition, it seems to make sense that the Roc was inverted lore wise, since it was carrying the artifect and trying to escape, rather than intending to face and destroy you.
Trivia 2: It's not really clear if the Assault Roc in Campaign Missions #17 and/or #18 was supposed to give you some transmissions (but could be later dropped), as it already has a portrait, as shown below: